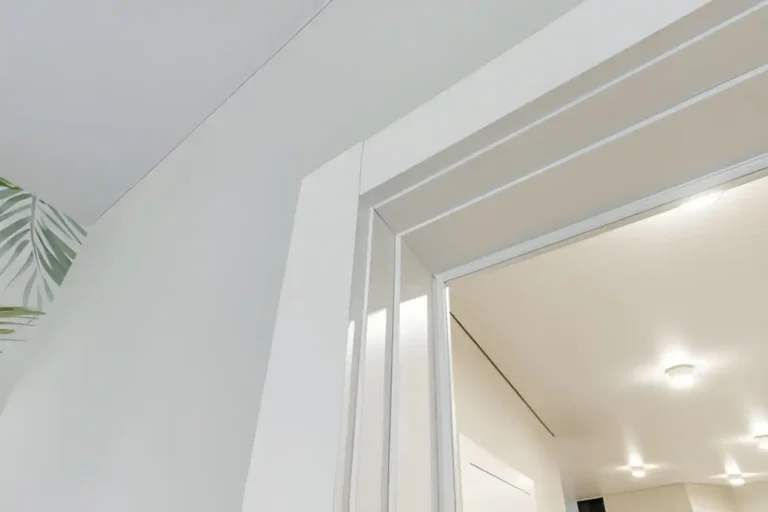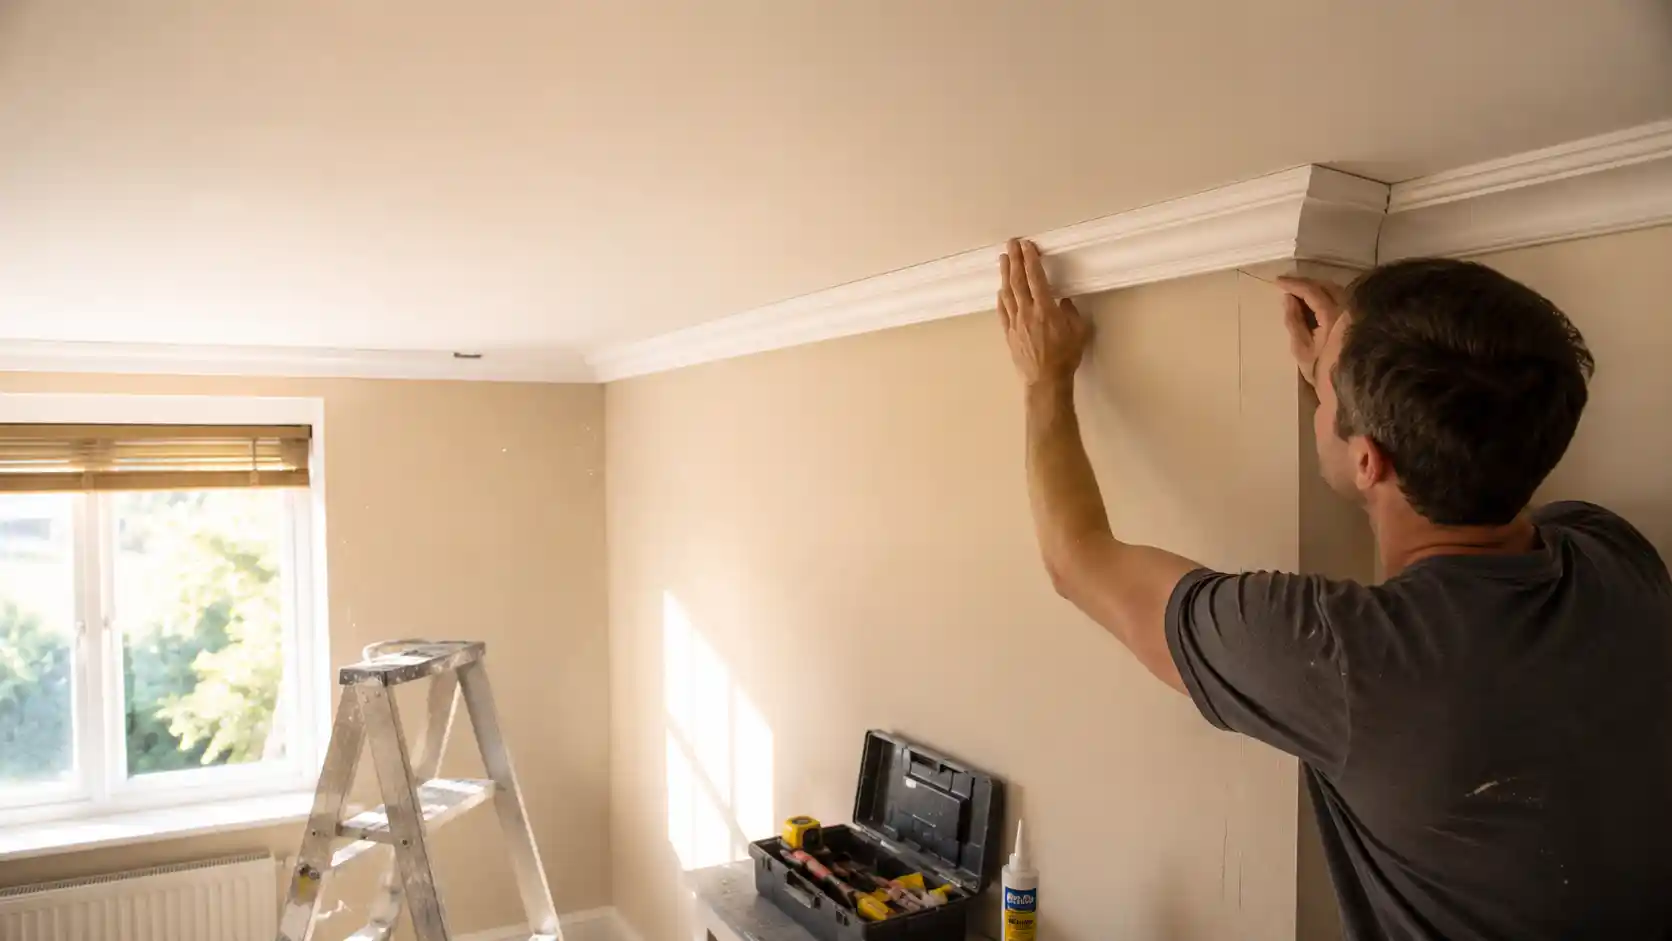
To fix coving to your ceiling DIY style, start by gathering essential tools like a tape measure, saw, and adhesive. Measure and mark out your ceiling for accurate placement. Cut the coving to size using a mitre box. Confirm the ceiling is clean and smooth before applying adhesive to the coving. Carefully position and secure it, pressing firmly. Tidy up any excess adhesive for a polished look. Stick around for more tips on perfecting this project!
Key Takeaways
- Gather necessary materials and tools, including coving, adhesive, tape measure, and saw.
- Measure and mark the ceiling using a tape measure and pencil for accurate guidance.
- Cut the coving to size using a mitre box or mitre saw for precise angles.
- Clean the ceiling surface, filling any holes or cracks, ensuring it’s dry before installation.
- Apply adhesive to the coving, press firmly against the ceiling starting from a corner, and clean excess adhesive immediately.
Gather Your Materials and Tools
Before you start fixing coving to your ceiling, make sure you’ve got all the right gear. It feels good to be prepared, doesn’t it?
First, gather your coving materials. Whether you’re going for plaster or polystyrene, choose what’s best for your room’s vibe.
Next, get your essential tools ready. You’ll need a tape measure, spirit level, saw, and adhesive. Don’t forget a mitre box for those tricky corners—it’s a lifesaver.
A pencil for marking and a damp cloth for cleaning up are also handy. Pop by your local B&Q or Wickes if you’re missing anything.
With everything in place, you’re part of the DIY community, ready to give your ceiling that classic touch. Let’s crack on!
Measure and Mark the Ceiling
Right, let’s get you started on measuring and marking that ceiling like a pro.
Grab your trusty tape measure and a pencil—precision’s the name of the game when you’re making your marks.
Don’t forget your step ladder; no one likes a crick in the neck from stretching too far!
Accurate Measuring Techniques
When you’re ready to tackle fitting coving, getting your measurements spot-on is essential. Whether you’re working with plaster or polystyrene coving types, accurate measuring makes all the difference.
Start by gathering your measuring tools— a trusty tape measure, pencil, and a spirit level are your best mates here. Measure the length of each wall where the coving will go, ensuring you account for any corners or unique angles. Don’t rush this bit—accuracy is key and will save you from any fitting headaches later on.
Once you’ve double-checked your numbers, mark the ceiling where the coving will sit. This way, you’ll have a clear guide as you work.
Ceiling Marking Tools
With your measurements double-checked, it’s time to grab the right gear for marking the ceiling. You might think, “What do I even need?” Don’t fret! There’s a whole stash of marking tool types ready to make your life easier.
For precise ceiling marking techniques, you can’t go wrong with a chalk line tool. It’s perfect for ensuring your lines are straight as a die. If you’re after something less permanent, a soft pencil will do the trick. Just avoid biro pens; they’re a nightmare to clean up later.
Cut the Coving to Size
To get that perfect finish, you’ll need to start by cutting the coving to the right size.
First things first, grab your tape measure and carefully note the length you need for each wall. It’s all about making those precise size adjustments.
Here’s a quick rundown of the cutting techniques that’ll help you nail it:
- Mitre Box Method: Place the coving in the mitre box, aligning it to the correct angle, and saw carefully for a clean cut.
- Mitre Saw: If you’ve got a mitre saw, it’s quicker and more precise, especially for those tricky corners.
- Utility Knife: For small adjustments, a sharp utility knife can be handy.
Prepare the Surface
Before you start sticking that coving up, it’s essential to make sure your surface is ready for action. Surface preparation is key.
First, grab a sturdy ladder and check the ceiling for any dust or grime. Ceiling cleaning mightn’t be the most glamorous task, but it can make all the difference. Use a damp cloth or sponge and some mild soap to give it a good wipe down.
If you spot any cracks or holes, fill them in with filler and sand it smooth. You want the surface to be as even as a freshly ironed shirt.
Once it’s clean and dry, you’re all set to move on. It’s like preparing a canvas before creating your masterpiece.
Apply Adhesive to the Coving
You’ll want to pick the right adhesive for your coving, so pop down to your local B&Q and grab one that’s suitable for your specific material.
Once you’ve got it, apply the adhesive along the back of the coving with a notched trowel for even coverage.
Don’t skimp on the corners—those need a bit extra to stay put!
Choosing Right Adhesive
When it comes to fixing coving to the ceiling, picking the right adhesive is essential for a lasting finish. You’ll want to take into account adhesive types and surface compatibility to guarantee everything sticks together like a proper cuppa and a biscuit.
Here’s a handy guide to help you out:
- Polymer-based Adhesives: These are flexible and ideal for coving made from polystyrene or polyurethane. They provide strong bonding and are easy to apply.
- Coving Adhesive: Specifically designed for this job, it suits plaster coving and offers a reliable hold on both plaster and painted surfaces.
- Grip Fill or No More Nails: Brilliant for heavier coving options, these adhesives provide a sturdy stick, especially on porous surfaces like plaster or wood.
Pick wisely, and you’ll be chuffed with the results!
Proper Application Technique
Once you’ve got your adhesive sorted, it’s time to crack on with applying it to the coving.
First off, make certain you’ve got the right coving materials to hand, whether it’s plaster or polyurethane. A good tip? Use a cartridge gun for more control and less mess.
Start by applying a continuous bead of adhesive along the back edges of the coving. Don’t go too heavy, just enough to secure it firmly to the ceiling. Pay extra attention to the corners, as they need a bit more adhesive to sit properly.
Press the coving gently onto the ceiling and wiggle it slightly to guarantee a snug fit.
For those perfect joins, follow these installation tips: align the edges precisely and wipe away any excess adhesive immediately.
Fix the Coving to the Ceiling
Getting the coving up on the ceiling is where the magic happens. You’ve got your coving materials ready, and now it’s time to transform your ceiling design into something fab.
Here’s a simple plan to follow:
- Measure and Cut: Measure your ceiling’s perimeter and cut the coving pieces to fit. Remember, measure twice, cut once.
- Apply Adhesive: Spread a generous amount of adhesive on the back of the coving. Make certain it’s evenly distributed for a strong hold.
- Position and Press: Gently press the coving onto the ceiling, starting from one corner and working your way along the wall. A firm press ensures it sticks well.
You’re well on your way to a gorgeous room transformation!
Secure and Adjust the Coving
With the coving now in place, you’re ready to make certain it stays put and looks spot on. First, give the coving a gentle nudge to verify it’s securely attached.
Different coving types, like plaster or polystyrene, might need a bit more attention. For heavier plaster coving, consider using some small nails or screws temporarily until the adhesive sets.
Installation tips? Always double-check your corners—they should be snug and seamless.
Grab a damp sponge and wipe away any excess adhesive before it dries. If you spot any gaps, a bit of filler will do the trick.
Finishing Touches and Clean-Up
Although the hard part is done, the final touches are what make your coving project truly shine. First, grab your cleaning tools and give the area a good wipe down. Dust and debris can be a right nuisance, so make sure everything’s spick and span.
Next, inspect your work for any small gaps or imperfections. Here’s a little checklist to guide you:
- Use touch up paint to cover any scuffs or marks on the coving.
- Fill in any gaps with filler for a seamless look.
- Smooth over surfaces with fine sandpaper if needed.
Finally, stand back and admire your handiwork! It’s always satisfying to see a job well done, and your coving now looks like it belongs in a proper British home. Well done, mate!
Frequently Asked Questions
Conclusion
And there you have it, mate! You’ve become a coving master quicker than you can say “Bob’s your uncle.” With your ceiling looking sharper than a 90s Britpop album cover, it’s time to put the kettle on and enjoy a well-deserved cuppa. Don’t forget to tidy up—no one wants to trip over leftover bits and bobs. So, take a step back and admire your handiwork; you’ve turned your room into a right royal masterpiece!
Not sure how much adhesive to pick up before you start? See How Much Coving Adhesive Do I Need? so you’re not caught short mid-job.