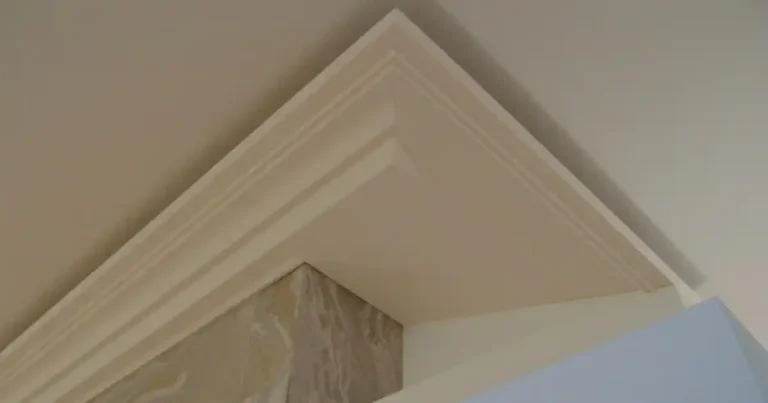
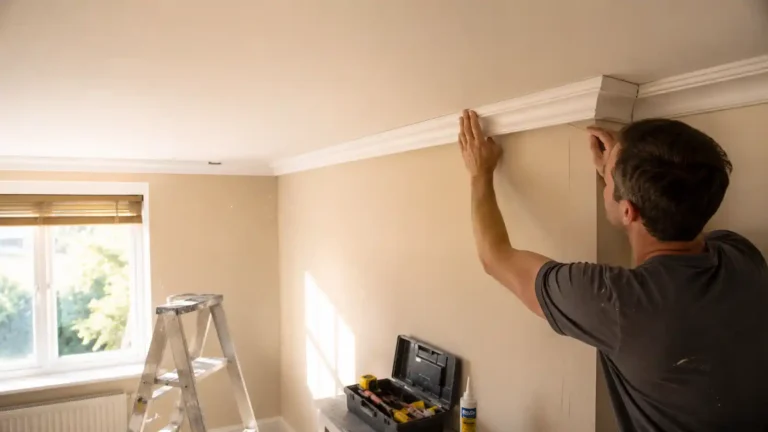
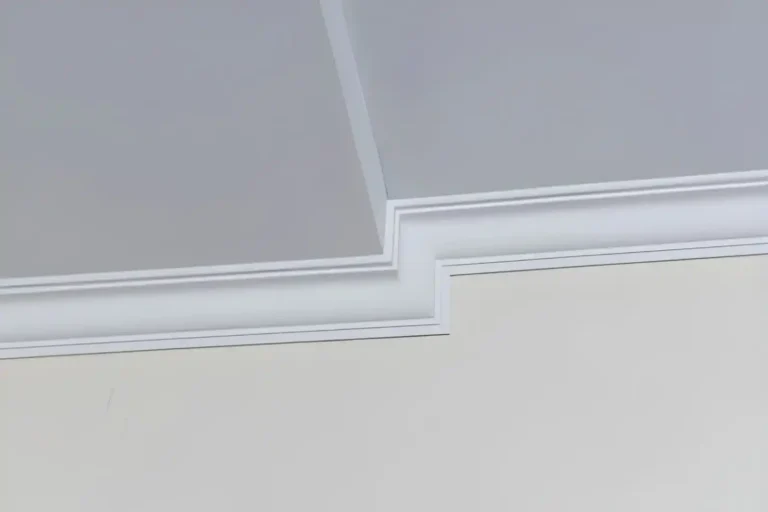
Straight joins are where many cornice installations fall down. Corners get most of the attention, but once the room is painted and lit, poor straight joins are just as visible—sometimes more so. Hairline cracks, shadow lines, or stepped profiles can instantly make an otherwise good job look unfinished.
This guide explains how to join cornice cleanly for seamless lines, using a professional, repeatable method that works for both DIY installers and trades. Follow these steps and your joins will virtually disappear after painting.
For the complete workflow, use our step-by-step ceiling cornice fitting guide, and choose the right preparation method with our comparison of timber and polyurethane cornice cutting.
Why Clean Cornice Joins Matter
Straight joins sit along the most continuous visual lines in a room. If they’re poorly done, you’ll often see:
- Hairline cracks after painting
- Shadows along the join under ceiling lights
- Slight steps or lips in the profile
- Repeated filling and repainting over time
The key point: clean joins are created by alignment and adhesive—not filler. Filler is for finishing, not for hiding bad joins.
When Do You Need to Join Cornice?
You’ll need straight joins whenever:
- A wall run is longer than a single cornice length
- Kitchens require multiple short runs above cabinets
- Hallways and open-plan rooms exceed standard lengths
Planning where joins will sit before cutting or fixing makes a noticeable difference to the final result.
What Type of Cornice Are You Joining?
Lightweight Polyurethane & Polystyrene Cornice
Modern lightweight cornice is ideal for clean joins because it:
- Has consistent profiles along every length
- Is easy to align and adjust
- Bonds securely with adhesive
- Sands lightly without crumbling
This is why precision mouldings from Gaudi Coving are widely used for projects where finish quality matters.
Traditional Plaster Cornice (Brief Contrast)
- Heavier and more brittle
- Joins are less forgiving
- Often requires specialist skills
This guide focuses on modern lightweight cornice, which covers most current installations.
Tools & Materials Needed for Clean Joins
Essential Tools
- Cornice adhesive
- Caulking gun
- Spirit level
- Filling knife
Helpful Extras
- Fine sandpaper (used after curing)
- Damp cloth or sponge
- Offcuts for test fitting
Preparation here reduces stress later.
Types of Cornice Joins Explained
Butt Joints (Most Common)
A butt joint is a straight end-to-end join.
- Fast and simple
- Perfectly suitable for modern cornice
- Invisible when aligned correctly
For most rooms, butt joints are the preferred method.
Scarf Joints (Optional Upgrade)
A scarf joint uses a shallow angled cut instead of a straight cut.
- Often used by professionals on very long runs
- Can reduce visibility under strong lighting
- Takes more time and accuracy
Both methods work—accuracy matters more than joint type.
Step 1 – Plan Join Locations Carefully
Before fixing anything:
- Avoid placing joins right next to corners
- Keep joins away from strong light sources where possible
- In kitchens, plan joins so they don’t sit directly above cabinet doors
Thoughtful placement reduces how noticeable joins will be later.
Step 2 – Dry-Fit Straight Cornice Joins
Dry-fitting is essential.
- Hold both lengths together in position
- Check the profile lines up perfectly
- Ensure faces meet flush with no gaps
- Adjust cuts now—not after adhesive is applied
If the profiles don’t line up dry, they won’t line up glued.
Step 3 – Apply Adhesive to Joint Faces
This step prevents future cracking.
- Apply adhesive to both joint faces
- Use full coverage—not just a dab in the middle
- Avoid dry spots
Joint adhesive ensures the two pieces behave as one continuous length.
👉 Fixing detail: How to Attach Cornice to Walls & Ceilings Securely
Step 4 – Fix Joined Cornice in Place
- Offer the joined lengths up together as one run
- Press evenly into wall and ceiling
- Check level across the join immediately
- Clean excess adhesive straight away
Don’t rely on filler to correct misalignment—fix it while adhesive is workable.
Step 5 – Aligning & Finishing the Join
While the adhesive is still soft:
- Adjust the pieces so the profile flows smoothly
- Check by running your fingers lightly across the join
- Eliminate any step or lip
Once aligned, leave it alone until cured.
Step 6 – Allow Adhesive to Cure Before Filling
- Initial grab happens quickly
- Full cure usually takes 24 hours
- Filling too early often leads to cracks
Patience at this stage saves future repairs.
Step 7 – Filling & Sanding for a Seamless Finish
After curing:
- Fill only hairline gaps
- Use minimal filler—less is more
- Lightly sand once dry
- Avoid over-sanding profile detail
A good join needs very little filler.
Joining Cornice in Kitchens vs Other Rooms
Kitchens are less forgiving because:
- Joins sit at eye level above cabinets
- Short runs highlight inaccuracies
- Lighting is often brighter
Take extra time dry-fitting and aligning joins in kitchens.
Common Cornice Joining Mistakes (And How to Avoid Them)
- Relying on filler instead of alignment
- Skipping dry-fitting
- Applying too little adhesive at joins
- Misaligning profiles and “fixing it later”
- Rushing before adhesive has cured
Most visible joins come from rushing, not lack of skill.
DIY vs Professional Cornice Joining
DIY-Friendly Scenarios
- Straightforward rooms
- Lightweight modern cornice
- Careful dry-fitting and alignment
When Trade Experience Helps
- Long uninterrupted runs
- High ceilings
- Commercial interiors
Modern materials mean DIY results can now look fully professional when done methodically.
Frequently Asked Questions About Joining Cornice
Final Tips for Seamless Cornice Lines
- Plan join locations early
- Dry-fit every join
- Use adhesive generously at joints
- Align profiles carefully
- Let adhesive fully cure
Final Thoughts: Seamless Lines Come from Method, Not Filler
Invisible cornice joins aren’t about hiding mistakes—they’re about preventing them. With proper planning, careful dry-fitting, and correct adhesive use, straight joins can disappear completely once painted.
Modern precision mouldings make this process far more forgiving, which is why many installers across Ireland rely on products from Gaudi Coving—engineered for consistent profiles, clean alignment, and professional results.
When the joins vanish, the cornice does its job: framing the room quietly and confidently.
The GAUDI 1.50.183 cornice is a good example of the coherent, soft-transition profile that joins cleanly using the technique above.