If you’ve searched how to cut timber cornice, you’re likely weighing up whether timber or modern lightweight cornice is the better option for your project. While both can look good once installed, they behave very differently when it comes to cutting, accuracy, and long-term results.
This comparison explains how cutting methods differ between timber and polyurethane cornice, what tools and skill levels each requires, and why many DIYers and professionals now choose polyurethane for predictable, professional finishes—especially in Irish interiors.
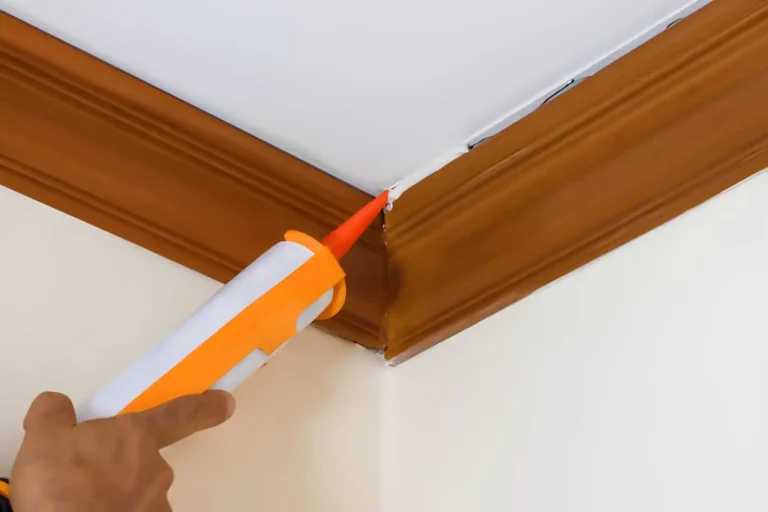
After cutting each length, follow our guide on joining cornice cleanly for seamless lines.
Why Cornice Material Changes How You Cut It
Cornice isn’t “one size fits all”. The material directly affects:
- How cleanly it cuts
- How forgiving it is if angles are off
- How easy it is to adjust mitres
- How joints behave over time
Many installation problems happen when timber cutting techniques are applied to lightweight mouldings—or vice versa. Understanding the differences upfront helps you choose the right material and the right cutting method.
🔗 Related pillar guide: How to Cut Cornice Accurately: Tools, Angles & Common Errors
What Is Timber Cornice?
Timber cornice is most commonly used in:
- Cabinetry and kitchen joinery
- Built-in furniture
- Bespoke carpentry details
It is less commonly used today for wall–ceiling junctions because:
- It reacts to humidity and temperature changes
- It requires precise carpentry skills
- Movement over time can open joints
Timber still has its place—but mainly where it forms part of a larger joinery system.
What Is Polyurethane Cornice?
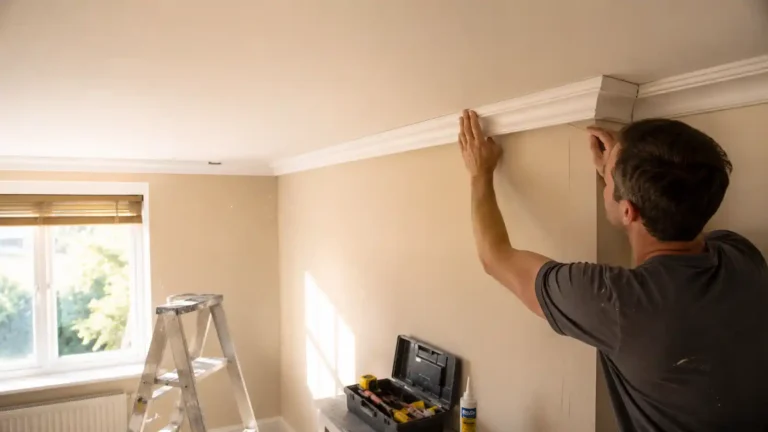
Polyurethane cornice is a modern architectural moulding designed specifically for wall–ceiling junctions and decorative detailing.
Key characteristics:
- Manufactured to precise, consistent dimensions
- Lightweight and stable
- Moisture-resistant
- Designed to be painted
This is the type of cornice supplied by Gaudi Coving, widely used in both residential and commercial interiors across Ireland.
Cutting Timber Cornice: What to Expect
Tools Commonly Used
- Mitre saw (often with specialist blades)
- Fine-tooth woodworking blades
- Clamps and additional supports
Timber-Specific Cutting Challenges
- Grain direction can cause tear-out
- Harder woods chip if blades aren’t perfect
- Small angle errors are difficult to correct
- Mitres often require sanding or re-cutting
Mitre Accuracy with Timber
Timber mitres:
- Offer little forgiveness
- Are difficult to micro-adjust
- Can open over time as timber moves
This makes timber less suitable for beginners or quick-turnaround projects.
Cutting Polyurethane Cornice: What’s Different
Tools Required
- Standard mitre saw
- Fine-tooth blade
- Basic DIY setup
Why Polyurethane Cuts More Predictably
- No grain direction
- Uniform density
- Clean edges with minimal chipping
- Easy to test-cut and fine-tune
Flat Cutting vs Nested Cutting
Polyurethane performs exceptionally well with flat cutting, where the cornice lies flat on the mitre saw bed. This:
- Simplifies angle logic
- Improves repeatability
- Reduces orientation mistakes
Timber vs Polyurethane: Cutting Comparison
| Feature | Timber Cornice | Polyurethane Cornice |
|---|---|---|
| Ease of Cutting | Moderate–Hard | Easy |
| Tool Sensitivity | High | Low |
| Margin for Error | Low | High |
| Adjustability | Limited | Excellent |
| Waste Levels | Higher | Lower |
| DIY-Friendly | ❌ | ✅ |
| Long-Term Stability | Medium | High |
Internal & External Corners: Which Performs Better?
Timber:
- Corners must be extremely accurate
- Hard to adjust once cut
- Movement can cause joints to open
Polyurethane:
- Easier to fine-tune angles
- Forgiving when walls aren’t square
- Cleaner joins after painting
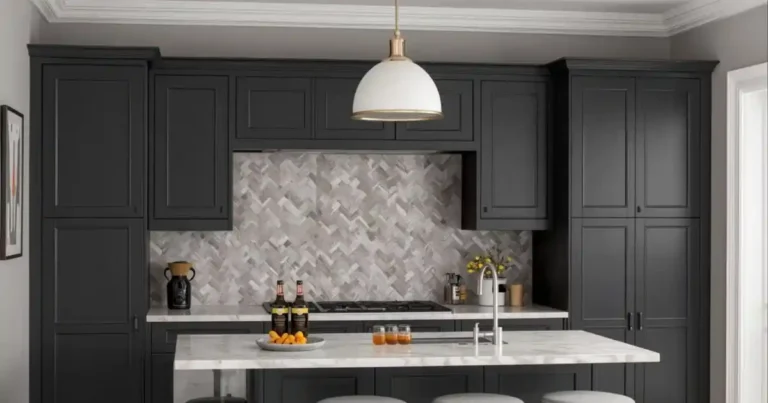
Kitchens: Timber vs Polyurethane Cornice Cutting
Kitchens expose cutting errors more than any other room:
- Short runs
- Joins at eye level above cabinets
- Heat and humidity fluctuations
Timber risks
- Movement over time
- Visible joint separation
- More difficult cutting above cabinets
Polyurethane advantages
- Moisture resistance
- Stable mitres
- Repeatable cuts for cabinet runs
DIY vs Trade Perspective
Timber Cornice Is Best For:
- Experienced carpenters
- Joinery-focused projects
- Cabinet-integrated detailing
Polyurethane Cornice Is Best For:
- DIY-savvy homeowners
- Interior designers
- Fit-out specialists
- Projects needing speed and consistency
Modern lightweight cornice bridges the gap between DIY and trade-quality results.
Common Mistakes When Cutting Timber Cornice
- Treating it like lightweight moulding
- Ignoring grain direction
- Over-sanding mitres
- Assuming joints won’t move over time
These issues rarely occur with polyurethane when cut correctly.
Why More Professionals Are Switching to Polyurethane Cornice
Across Ireland, many professionals now specify polyurethane because it offers:
- Predictable cutting
- Faster installation
- Cleaner paint finishes
- Less waste on site
- Better performance in moisture-prone areas
It’s not about cutting corners—it’s about choosing a material designed for modern interiors.
Frequently Asked Questions
Final Thoughts: Choose the Material That Matches Your Project
Timber still has a role in joinery-led projects, but for wall–ceiling junctions, kitchens, and modern interiors, polyurethane cornice is simply easier to cut, fit, and finish.
Cutting success isn’t just about tools—it’s about using a material designed for accuracy. When profiles are consistent, stable, and forgiving, clean results become achievable without specialist skills.
That’s why many homeowners, designers, and trades trust Gaudi Coving for premium European-inspired cornice that cuts cleanly, installs easily, and delivers professional results across Ireland.
For the specifics of getting clean mitre joins once you’ve settled on a material, see How to Cut Mitre Angles on Cornice.