
Installation Guide
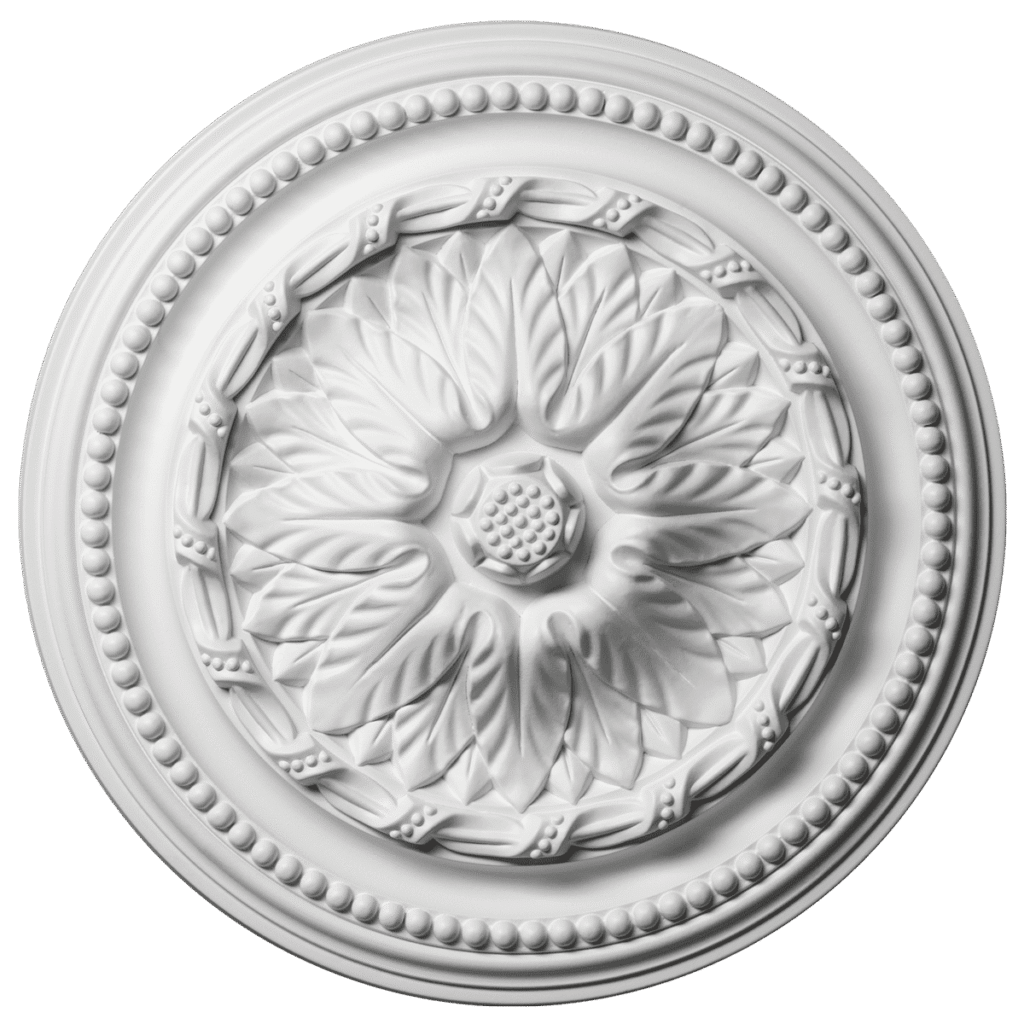
Ceiling Rose Installation Guide

Facade Profiles Installation Guide

LED Coving Installation Guide

Ceiling Cornice Installation Guide

Balustrade Installation Guide

Skirting Board Installation Guide

Moulding Installation Guide

G08.S.60 Adhesive Installation Guide

G10.U.290 Adhesive Installation Guide
Proper installation is essential to achieve a flawless finish and long-lasting results. Follow the steps below carefully to ensure your cornices, mouldings, and decorative elements are installed correctly and securely.
Tools Required
- Mitre box
- Saw tool or serrated hacksaw
- Ruler or measuring tape
- Glue “Connecting” (for joining products together)
- Glue “Installation” (for fixing products to walls and ceilings)
- Fine-grained sandpaper (for removing excess glue after hardening)
- Puncher and tapping screws (for concrete walls)
- Hammer and nails (for brick or wooden walls)
Prior to Installation
- Leave stucco elements in the room for at least 24 hours to adapt to room temperature.
- Ensure walls, ceilings, and mounting surfaces are clean, dry, and free from dust or grease.
- Walls and ceilings must be properly aligned.
- Painting walls and ceilings, as well as applying wallpaper, is recommended after installing stucco décor.
- Calculate the required amount of material, considering cutting losses:
- One corner requires approximately 10 cm of extra material.
- Pattern matching must be taken into account.
Installation Process
- Mark the Layout:
Create a layout on the wall using the moulding or ceiling cornice as a guide to ensure accurate positioning. - Prepare Fixing Points:
Drill holes in the product for screws when fixing to concrete walls. Two holes per section are sufficient. Use the holes in the product to mark dowel positions on the wall. - Prepare Corner Cuts:
Mark cutting points for internal and external corners. Use a mitre box to make precise corner cuts. - Apply Adhesive:
Apply Glue “Installation” evenly along the back edges of the product that will contact the wall and ceiling. - Fix the Product:
Press the product firmly into place and secure it using screws (for concrete walls) or nails (for brick and wooden walls). - Remove Excess Glue:
Remove any excess adhesive immediately using a spatula for a clean finish. - Final Finishing:
Slightly recess the screws into the product. After 24 hours, once the adhesive has dried, fill the holes with putty and sand smooth if required.
Painting After Installation
- Products can be painted 24 hours after installation.
- Use any suitable paint that does not contain acetone.
- Apply paint evenly to achieve a smooth, professional finish.
Helpful Installation Tips
- Measure twice before cutting.
- Dry-fit all pieces before applying adhesive.
- Work in manageable sections for better accuracy.
- Ensure proper ventilation during installation and painting.