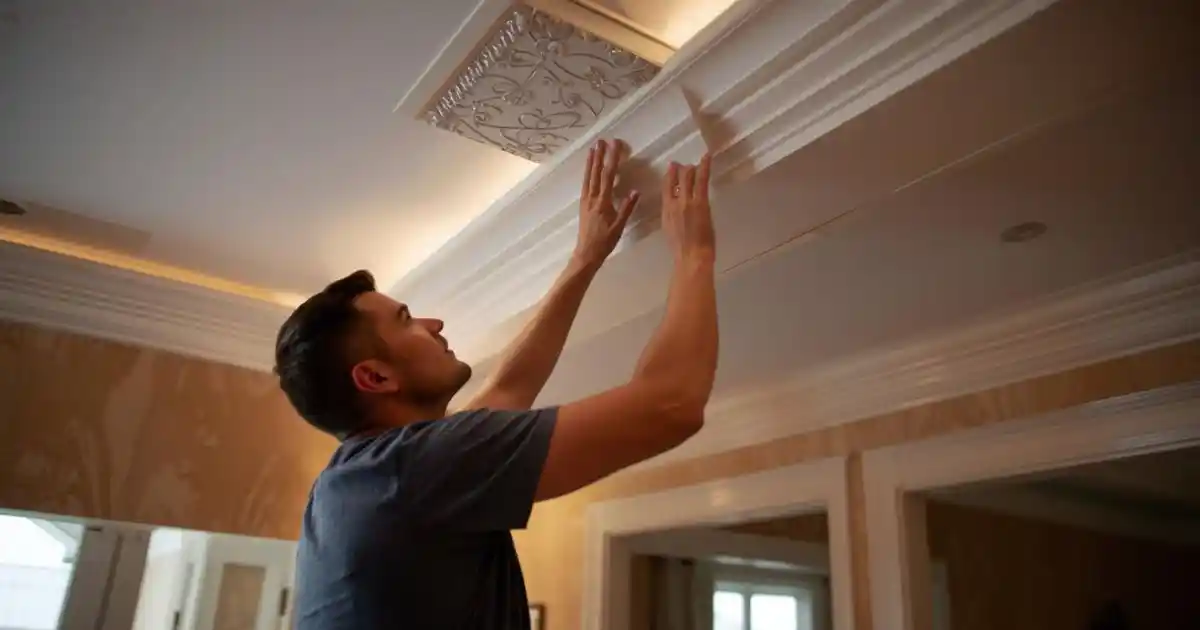
Fitting ceiling cornice is one of the most effective ways to elevate an interior—but only if it’s installed correctly. Even the best-designed profile can look amateur if it’s poorly fitted, while a clean installation delivers that crisp, architectural finish professionals aim for.
This step-by-step installation pillar is written for DIY-savvy homeowners and trade professionals alike. It covers preparation, fixing, kitchens, straight joins, and common mistakes—showing how modern, lightweight mouldings make professional results achievable without specialist skills.
Why Proper Cornice Installation Matters
Cornice sits at the most visible junction in a room. Installation quality determines whether the finish looks:
- Intentional and refined
- Clean and seamless
- Or uneven, cracked, and patchy
Modern cornice profiles are engineered for adhesive fixing, dimensional stability, and easy alignment, which dramatically reduces installation risk when the right method is followed.
What Type of Cornice Are You Fitting?
Lightweight Polyurethane & Polystyrene Cornice
Most modern interiors use lightweight cornice because it:
- Is easy to lift and position
- Bonds securely with adhesive
- Resists moisture and movement
- Suits DIY and professional installation
This is the type of cornice supplied by Gaudi Coving, designed specifically for Irish homes and commercial interiors.
Traditional Plaster Cornice (Brief Contrast)
- Heavy and fragile
- Requires mechanical fixing
- Usually installed by specialists
For most projects today, lightweight cornice is the practical choice.
Tools & Materials Needed to Fit Cornice
Essential Tools
- Cornice adhesive (manufacturer-approved)
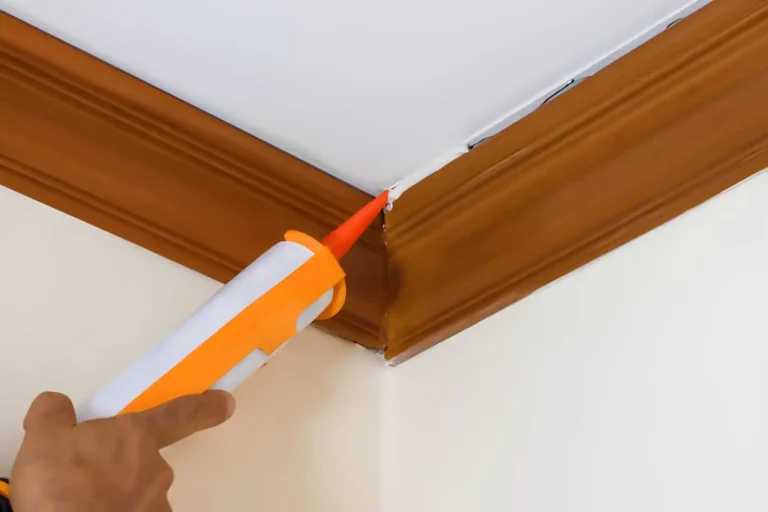
- Caulking gun
- Tape measure and pencil
- Spirit level
- Step ladder or platform
Helpful Extras
- Filling knife
- Damp cloth or sponge
- Fine sandpaper (once cured)
- Pre-cut cornice lengths
Having everything ready avoids rushing once adhesive is applied.
Preparing Walls & Ceilings Before Installation
Preparation is where professionals gain their edge.
- Clean surfaces – remove dust, grease, and loose paint
- Check wall and ceiling straightness
- Mark guide lines using a spirit level for consistent height
- Dry-fit all pieces, especially corners and joins
Skipping preparation is the fastest way to visible gaps later.
How to Fit Ceiling Cornice: Installation Overview
At a high level, fitting ceiling cornice follows this sequence:
- Measure and mark guide lines
- Apply adhesive to both contact edges
- Position cornice carefully
- Press firmly into place
- Check level and alignment
- Clean excess adhesive
- Allow adhesive to cure before filling and painting
How to Attach Cornice to Walls & Ceilings Securely
Lightweight cornice is designed to be fully supported by adhesive.
Best Practice
- Apply adhesive in continuous beads along both edges
- Ensure full contact with wall and ceiling
- Press evenly—don’t force
- Use temporary support only if needed on longer lengths
No nails or screws are required when adhesive is applied correctly.
Fitting Cornice in Kitchens & Moisture-Prone Areas
Kitchens need extra attention due to:
- Heat and humidity
- Short, highly visible runs
- Installation above cabinets
Key Tips
- Use moisture-resistant cornice
- Check cabinet alignment before fixing
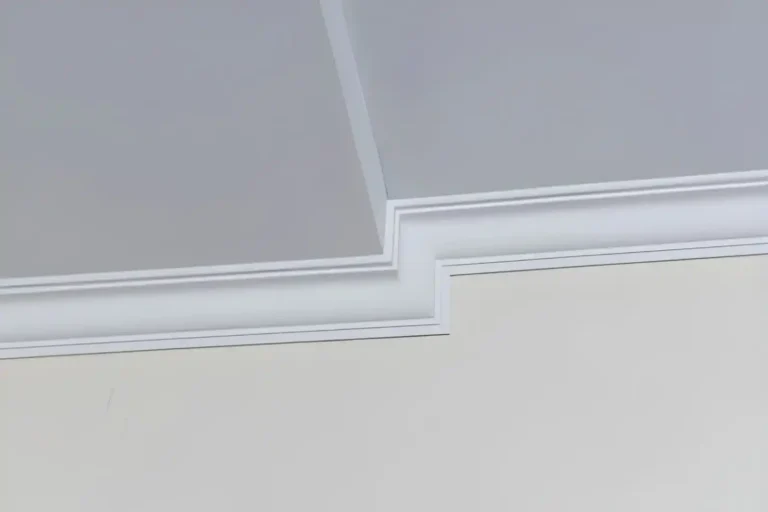
- Dry-fit above units to avoid stepped lines
- Keep joints tight—kitchens highlight errors
How to Join Straight Lengths of Cornice Cleanly
Straight joins are just as important as corners.
Professional Approach
- Dry-fit both lengths first
- Use tight butt joints (or scarf joints for longer runs)
- Apply adhesive to both faces
- Press together firmly and clean excess immediately
Done correctly, straight joins disappear after painting.
Common Cornice Installation Mistakes (And How to Avoid Them)
- Applying too little adhesive
- Skipping guide lines
- Rushing joins and corners
- Not dry-fitting before fixing
- Painting before adhesive has cured
Most issues come from rushing—not from the product itself.
DIY vs Professional Installation: What’s Realistic?
DIY Installation Works Well When:
- Rooms are straightforward
- Using lightweight, modern cornice
- Installer follows a methodical process
Professional Installation May Be Better When:
- High ceilings or complex layouts
- Period properties with uneven walls
- Large-scale or commercial projects
Modern materials allow DIY results to rival professional work when installed carefully.
Why Modern Cornice Is Easier to Fit Than Ever
Today’s cornice benefits from:
- Lightweight construction
- Adhesive-only fixing
- Consistent dimensions
- Reduced cracking and movement
- Compatibility with modern paints and LED lighting
These features are central to why Gaudi Coving is trusted by both homeowners and professionals nationwide.
Frequently Asked Questions About Fitting Cornice
Final Tips for a Professional-Looking Installation
- Dry-fit everything first
- Work methodically around the room
- Clean adhesive immediately
- Take extra care at joins and corners
- Let the adhesive cure fully before finishing
Final Thoughts: Installation Is Where Cornice Comes to Life
Cornice installation is where design becomes reality. With the right preparation, correct fixing method, and modern lightweight materials, achieving a professional finish is well within reach—whether you’re a DIY homeowner or an experienced installer.
Precision-made mouldings, designed for easy handling and secure fixing, remove much of the traditional difficulty. That’s why so many Irish projects rely on Gaudi Coving to deliver consistent, refined results across residential and commercial interiors.
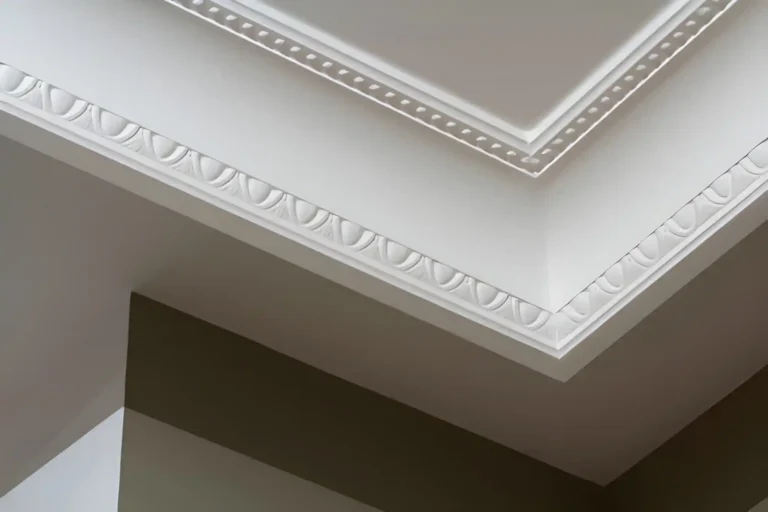
The GAUDI 1.50.158 cornice is a good example of the versatile profile this fitting method applies to.