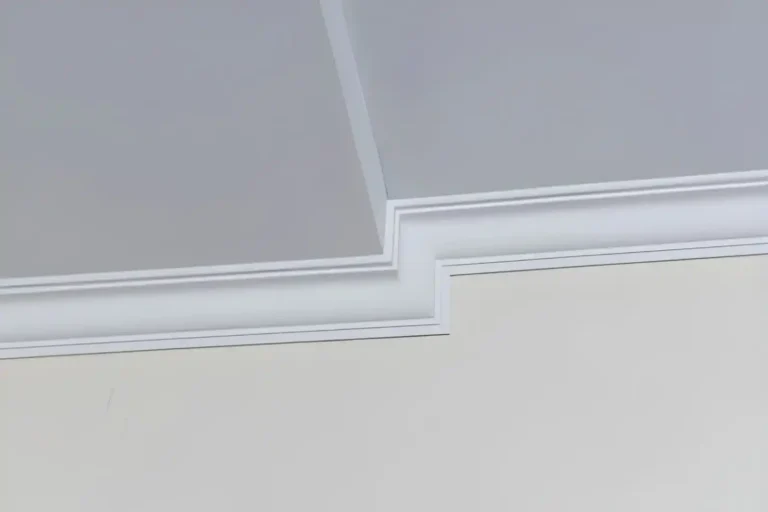
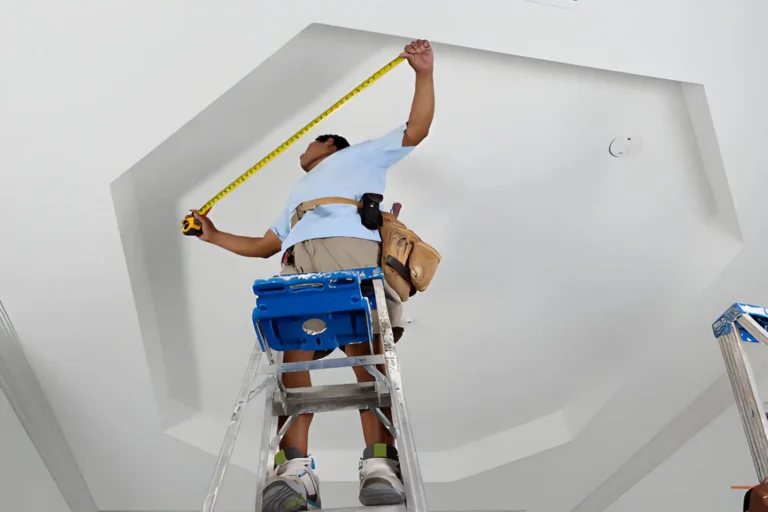
How to remove old coving without damaging walls? Removing old coving is a common part of renovation projects—especially when updating dated interiors or repairing cracked mouldings. The challenge isn’t taking the coving down; it’s doing so without damaging walls and ceilings, which can create extra work and cost.
This guide explains how to remove coving without damage, whether it’s traditional plaster or lightweight moulding, and shows how renovation is the perfect opportunity to upgrade to modern, easier-to-install alternatives.
Before taking down period mouldings, learn how to identify old plaster cornice. If the walls will be replastered, also check whether plastering should be done before installing cornice.
When & Why You Might Need to Remove Coving
Coving is usually removed during:
- Full room renovations
- Ceiling or wall repairs
- Style updates from heavy or dated profiles
- Replacement of cracked or damaged plaster
Careful removal matters because walls and ceilings are often being repainted or refinished, and excessive damage can delay the project.
What Type of Coving Are You Removing?
Before you start, identify the material. This affects both difficulty and technique.
Plaster Coving
- Heavy and brittle
- Often fixed with strong adhesive and nails
- Higher risk of wall and ceiling damage
Plaster coving usually breaks during removal, which is normal—but wall damage doesn’t have to be.
Lightweight Coving
- Made from polyurethane or polystyrene
- Much easier to remove
- Typically causes less surface damage
Lightweight coving often comes away in sections with minimal disruption.
Tools You’ll Need to Remove Coving Safely
You don’t need specialist tools—just the right ones used patiently.
- Utility knife or sharp blade
- Wide filling knife or scraper
- Small pry bar
- Hammer
- Dust sheets
- Safety glasses and gloves
Avoid large crowbars or excessive force—they cause more damage than progress.
How to Remove Coving Without Damage
Step 1: Score Along the Edges
Using a sharp utility knife:
- Score along the top and bottom edges of the coving
- Cut through paint and caulk lines
This step is critical. It prevents paint and plaster tearing away from the wall or ceiling.
Step 2: Loosen the Coving Gradually
Start at one end:
- Gently tap a filling knife or scraper behind the coving
- Work in small sections
- Avoid levering directly against plasterboard
Patience here saves hours of repair later.
Step 3: Remove in Sections
Don’t try to pull the entire length off at once:
- Allow plaster coving to break naturally
- Support pieces as they come away
- Keep pressure controlled and even
Controlled removal is far safer than brute force.
If you’re updating the room’s style, replacing dated coving with modern moulding profiles can help create cleaner lines while still adding architectural interest and character.
How to Minimise Wall & Ceiling Damage
Common Causes of Damage
- Skipping edge scoring
- Pulling too hard, too quickly
- Using oversized tools
Proven Tips
- Accept that coving may break—it’s expected
- Focus on protecting the surface behind it
- Use filler later rather than force now
Small imperfections are easy to repair; torn plasterboard is not.
Repairing Walls After Coving Removal
Once the coving is down:
- Scrape off remaining adhesive
- Fill gouges and uneven areas with decorator’s filler
- Sand lightly once dry
- Wipe clean before painting or refitting
Proper preparation ensures a clean base for redecorating or new coving.
Once the old coving has been removed and any minor wall imperfections have been repaired, many homeowners take the opportunity to upgrade their interiors with decorative wall panels, creating a fresh and more contemporary finish.
Replacing Old Coving with a Modern Alternative
Renovation is the ideal time to upgrade.
Why Lightweight Coving Is Easier After Removal
Modern lightweight coving:
- Puts far less stress on walls
- Fixes cleanly with adhesive
- Handles minor surface imperfections better
- Installs faster with less mess
This is why many renovators replace old plaster with modern profiles from Gaudi Coving, which are designed for contemporary interiors and easier installation.
Modern Design Options
- Slim, minimalist profiles
- Clean-lined European styles
- Paint-ready finishes for fast turnaround
The result is a sharper finish with far less effort.
Should You Remove or Over-Board Existing Coving?
In most cases:
- Remove coving if it’s cracked, uneven, or outdated
- Replace rather than over-board for the cleanest finish
Over-boarding often leads to awkward proportions and visible transitions.
Frequently Asked Questions
Final Thoughts: Renovate First, Upgrade Second
Removing coving doesn’t have to be messy or destructive. With the right approach, you can protect your walls, keep repairs minimal, and prepare your space for a cleaner, more modern finish.
Once the old coving is gone, upgrading to lightweight alternatives is often the simplest way to achieve a professional result—without repeating the problems of the past.
Coving removal is often part of a larger renovation project. Pairing refreshed walls with decorative arch frames can help enhance doorways and transitions between spaces, creating a more elegant overall design.
Replacing old coving is also a good opportunity to update the profile — a clean, minimalist option like the GAUDI 1.50.130 cornice suits most modern refurbishments.