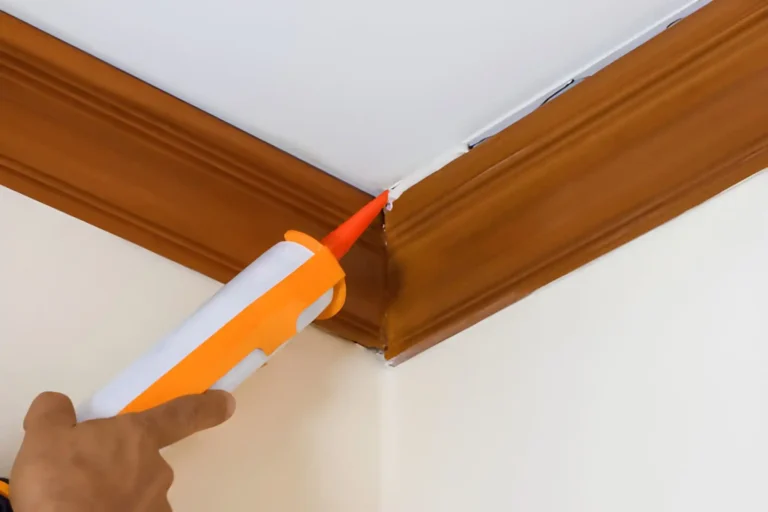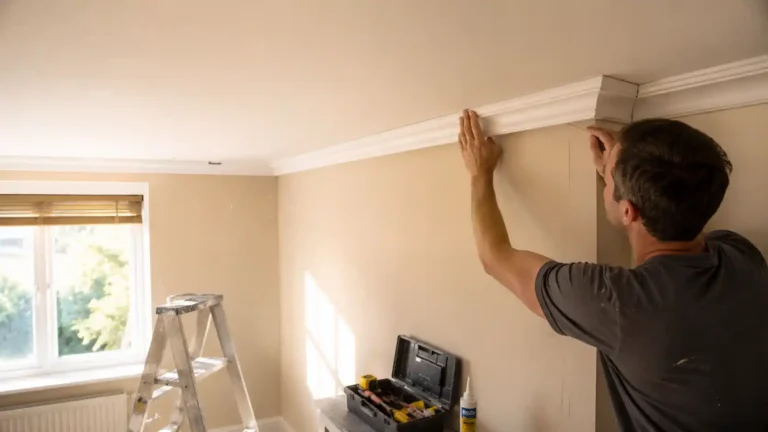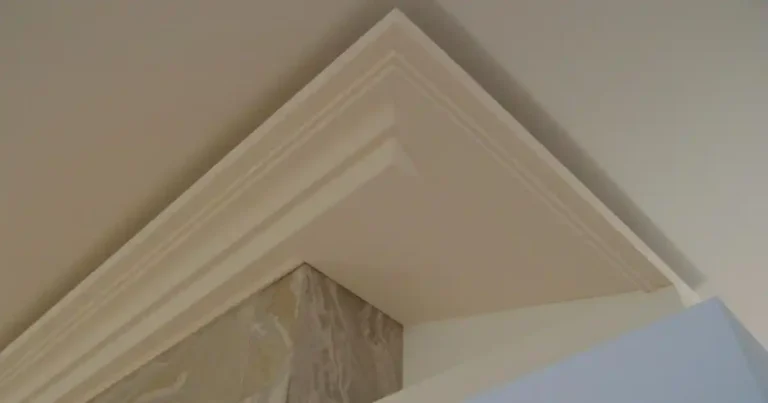
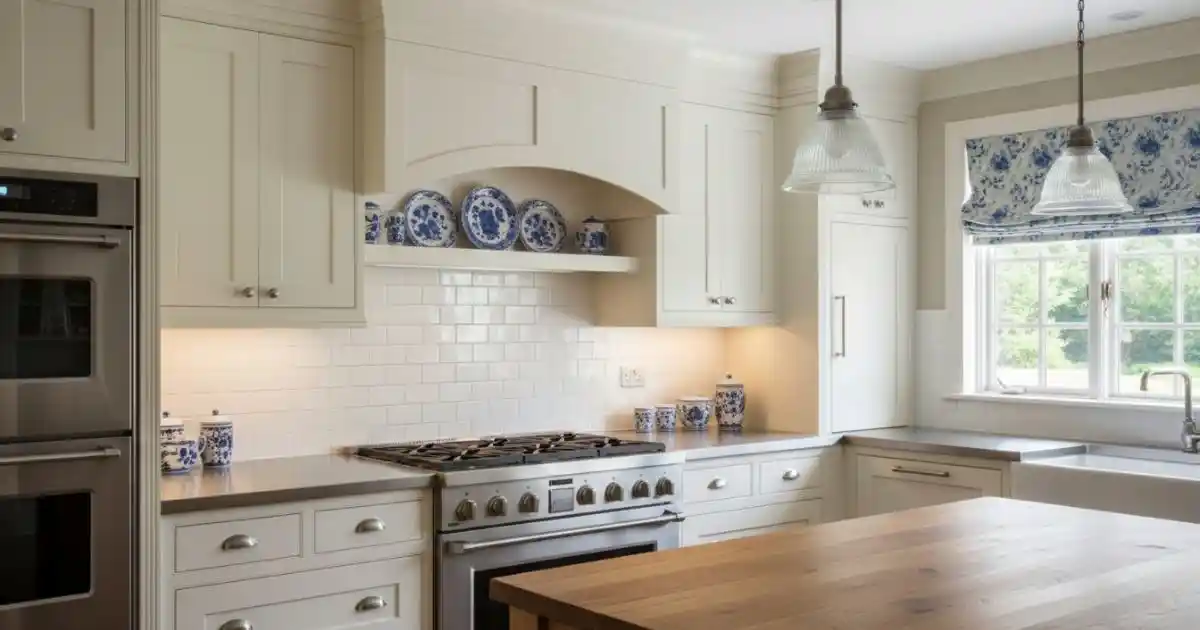
Cutting kitchen cornice accurately is one of the most important steps in achieving a clean, built-in finish. Kitchens are less forgiving than other rooms: runs are shorter, joins sit at eye level above cabinets, and even small errors stand out once painted.
This practical guide walks DIY-savvy homeowners and trade professionals through how to cut kitchen cornice for perfect corners, with clear methods, common mistakes to avoid, and tips that make the job faster and more predictable—especially when working with modern, lightweight mouldings.
Why Cutting Kitchen Cornice Is Different from Other Rooms
Kitchen cornice presents a few unique challenges:
- Shorter runs mean errors can’t be hidden along long walls
- Highly visible joins above cabinets draw the eye
- Cabinet alignment must be respected to avoid stepped or uneven lines
- Moisture and heat demand stable, paint-ready materials
This is why accurate measuring, correct orientation, and test cuts matter more in kitchens than almost anywhere else.
What Type of Kitchen Cornice Are You Cutting?
Before cutting, identify the material. It affects both technique and tolerance.
Lightweight Polyurethane Cornice (Recommended)
- Consistent, precision-made profiles
- Easy to handle above cabinets
- Clean cuts with standard tools
- Ideal for DIY and trade installs
Modern mouldings from Gaudi Coving are designed specifically for this kind of precision work—stable, moisture-resistant, and predictable when cutting.
Timber Kitchen Cornice
- Common on cabinet carcasses or joinery
- Grain direction and movement affect accuracy
- Requires carpentry-style cutting techniques
Tools You Need to Cut Kitchen Cornice Accurately
Essential Tools
- Mitre saw (manual or powered)
- Fine-tooth blade
- Tape measure and sharp pencil
Helpful Extras for Kitchens
- Offcuts for test cuts
- Small sanding block (fine grit)
- Spirit level (crucial above cabinets)
Lightweight cornice reduces fatigue and makes these tools easier to control in tight spaces.
Measuring Kitchen Cornice Before You Cut
Accurate cuts start with accurate measuring.
- Measure each run individually (don’t assume symmetry)
- Measure above cabinets or at the ceiling, depending on placement
- Check cabinet faces are level and aligned
- Mark the cornice clearly:
- “Ceiling edge”
- “Wall/cabinet edge”
- Allow 10–15% extra length for waste and test cuts
Always dry-fit before committing to final cuts.
Cutting Kitchen Cornice Flat (Best Method)
For most modern kitchens, cutting cornice flat on a mitre saw delivers the cleanest, most repeatable results.
Why Flat Cutting Works Best
- Cornice lies flat on the saw bed
- Angles are easier to visualise and repeat
- Ideal for lightweight polyurethane profiles
- Faster for multiple cabinet runs
How it works (high level):
- Place the cornice flat, ceiling edge facing the fence
- Set the mitre angle for the corner you’re cutting
- Make a test cut with an offcut
- Adjust if walls aren’t perfectly square
How to Cut Internal Corners in a Kitchen
Internal corners are where two walls meet inside the room—very common above cabinet runs.
Key tips:
- Identify the corner first (internal vs external)
- Cut test pieces before final lengths
- Dry-fit both sides together above the cabinets
- Adjust angles slightly if the corner isn’t a true 90°
Accuracy here prevents visible gaps after fixing.
How to Cut External Corners in a Kitchen
External corners project outward—less common, but very noticeable when done poorly.
Best practice:
- Mark orientation carefully (left/right pieces are easy to reverse)
- Test-fit before cutting full lengths
- Expect minor angle adjustments in older properties
Cutting Cornice for Cabinet Runs vs Ceiling Runs
Although the cutting method is similar, placement changes the focus.
Above Cabinet Runs
- Height consistency is critical
- Align cornice with cabinet faces
- Avoid stepping between units
Ceiling Runs in Kitchens
- Allow for uneven ceilings
- Check for dips before fixing
- Longer runs can hide small adjustments better
Common Kitchen Cornice Cutting Mistakes
- Cutting pieces back-to-front
- Assuming walls are perfectly square
- Skipping test cuts to “save time”
- Rushing short lengths
- Using timber techniques on lightweight mouldings
Most problems come from orientation errors, not tools.
DIY vs Professional Cutting for Kitchen Cornice
DIY Cutting Works Well When:
- Layout is straightforward
- You’re using lightweight, precision mouldings
- You take time to measure and test
Professional Help May Be Better When:
- Multiple external corners are involved
- Cabinets are uneven or bespoke
- The kitchen is high-value or design-critical
Modern materials make DIY far more achievable than traditional plaster ever was.
Why Lightweight Cornice Makes Kitchen Cutting Easier
- Clean cuts with minimal chipping
- Stable dimensions (no warping or movement)
- Easier handling above cabinets
- Better paint finish after installation
These benefits are why many professionals now specify modern polyurethane mouldings for kitchens.
Frequently Asked Questions
Final Tips for Perfect Kitchen Cornice Corners
- Always test-cut first
- Dry-fit above cabinets before fixing
- Label pieces clearly
- Work methodically, not quickly
- Choose consistent, high-quality mouldings
Final Thoughts: Precision Matters Most in Kitchens
Kitchens highlight poor workmanship—but they also reward precision. With careful measuring, the right cutting method, and modern lightweight cornice, achieving perfect corners is well within reach.
High-quality mouldings designed for easy installation make the difference between a frustrating job and a professional finish. That’s why many Irish homeowners and trades choose products from Gaudi Coving—to get predictable cuts, clean joins, and results that elevate the entire kitchen.
The GAUDI 1.50.113 cornice is a good example of the understated, versatile profile that suits kitchen corners well.