Cutting cornice flat using a mitre saw is the most reliable and repeatable method for achieving clean, professional joints—especially with modern lightweight mouldings. It’s the approach preferred by many trade professionals and increasingly adopted by DIY-savvy homeowners, because it removes much of the guesswork involved in traditional “nested” cutting.
This guide explains exactly how to cut cornice flat, what tools you need, how to avoid common mistakes, and why modern precision-made cornice makes the process significantly easier.
Why Cutting Cornice Flat Is the Preferred Method Today
Traditionally, cornice was cut “nested” in a mitre box, held at the same angle it sits on the wall and ceiling. While this works, it’s:
- Harder to visualise
- Less forgiving if walls aren’t square
- More prone to orientation mistakes
Flat cutting means laying the cornice flat on the mitre saw bed, rather than angled upright.
Key advantages of flat cutting
- Easier to understand and repeat
- Faster for multiple cuts
- More accurate with modern, consistent profiles
- Ideal for kitchens and short runs
This method works particularly well with lightweight polyurethane mouldings designed for precision installation.
🔗 Related pillar guide: How to Cut Cornice Accurately: Tools, Angles & Common Errors
What Type of Cornice Can Be Cut Flat?
Lightweight Polyurethane & Polystyrene Cornice (Ideal)
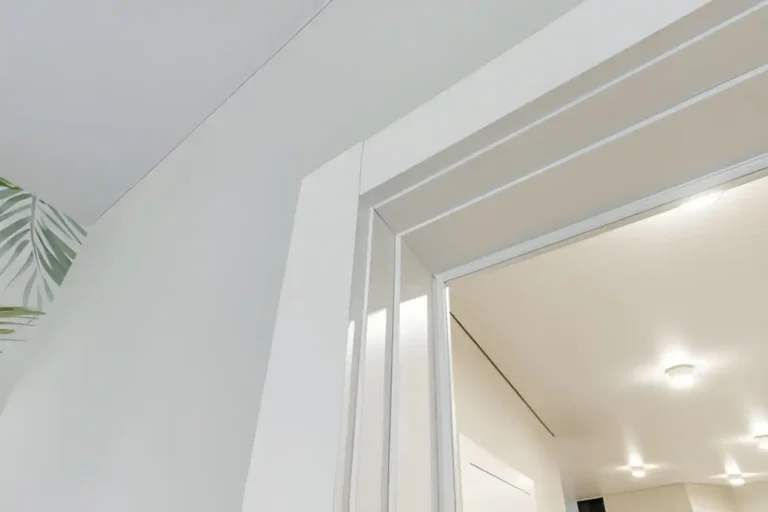
Modern cornice manufactured to tight tolerances is perfect for flat cutting.
Benefits include:
- Consistent profile dimensions
- Clean edges with minimal chipping
- Stable shape that doesn’t flex or crack
This is why many installers choose mouldings from Gaudi Coving, which are engineered specifically for ease of cutting and installation in Irish interiors.
Plaster Cornice (Less Suitable)
Plaster cornice:
- Is heavy and brittle
- Chips easily when cut flat
- Often requires specialist handling
Flat cutting is possible but generally not recommended for DIY users.
Timber Cornice (Different Technique Required)
Timber behaves very differently:
- Grain direction affects the cut
- Expansion and contraction reduce accuracy
- Joinery techniques are needed
Tools You Need to Cut Cornice Flat with a Mitre Saw
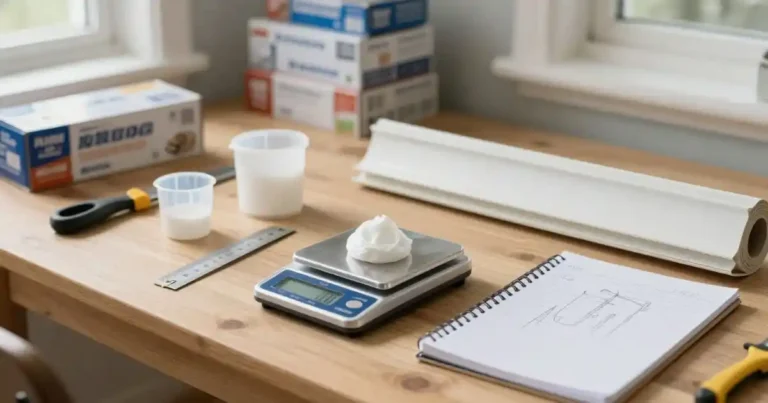
Essential tools
- Mitre saw (manual or powered)
- Fine-tooth blade (for clean edges)
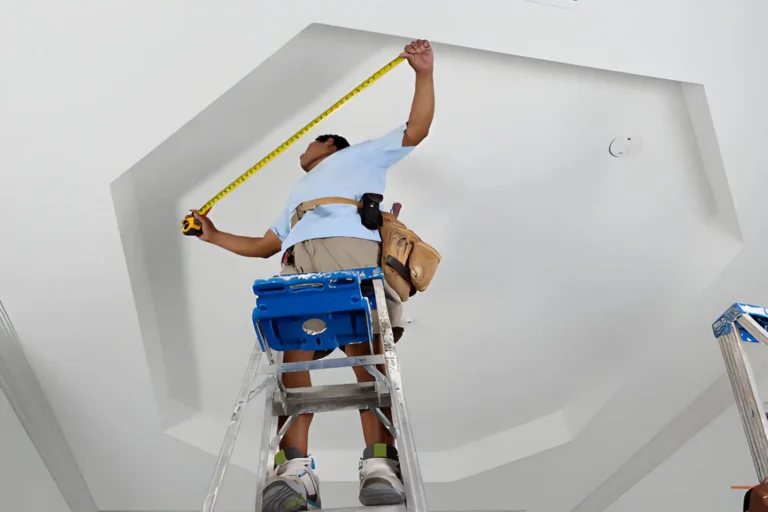
- Tape measure
- Pencil or marker
Helpful extras
- Offcuts for test cuts
- Marker to label orientation
- Fine sanding block (light finishing only)
No specialist tools are required—one of the biggest advantages of flat cutting with lightweight cornice.
Understanding Cornice Orientation Before Cutting
Most cutting mistakes happen because the cornice is the wrong way round.
Before cutting, always identify and mark:
- Ceiling edge
- Wall edge
Then label:
- Left-hand piece
- Right-hand piece
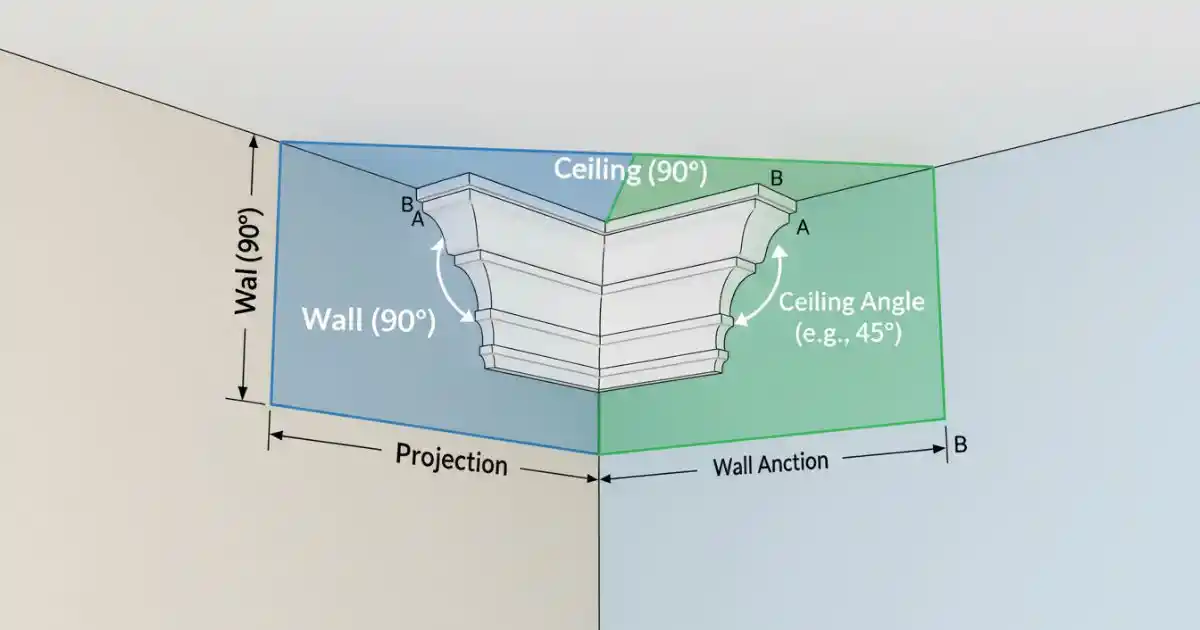
When cutting flat, the ceiling edge typically rests against the mitre saw fence, with the wall edge on the saw bed. Marking this clearly prevents reversed mitres.
Setting Up the Mitre Saw for Flat Cutting
- Place the cornice flat on the saw bed
- Ensure the ceiling edge is tight to the fence
- Set the mitre angle required (usually 45° as a starting point)
- Make a test cut using an offcut
- Adjust slightly if walls are not perfectly square
Never cut final lengths without a successful test fit.
How to Cut Internal Corners Using the Flat Method
An internal corner is where two walls meet inside the room.
Flat-cut logic (simplified)
- One piece is cut as a left-hand internal mitre
- The adjoining piece is cut as a right-hand internal mitre
- Both pieces are dry-fitted together before fixing
Because walls are rarely exactly 90°, small adjustments may be needed. Flat cutting makes these adjustments easier and more controlled.
How to Cut External Corners Using the Flat Method
External corners project outward and are highly visible.
Best practice
- Double-check orientation before cutting
- Cut test pieces first
- Dry-fit on the corner before committing
External corners are where flat cutting really shines, as the mitre angles are easier to visualise on the saw.
Cutting Cornice Flat for Kitchens vs Other Rooms
Flat cutting is particularly effective in kitchens because:
- Runs are shorter
- Joins sit at eye level above cabinets
- Accuracy matters more
The ability to make repeatable, precise cuts makes this method ideal for kitchen cornice and cabinet runs.
Common Mistakes When Cutting Cornice Flat
Avoid these frequent errors:
- Forgetting to mark ceiling vs wall edge
- Cutting left-hand pieces as right-hand (or vice versa)
- Assuming walls are perfectly square
- Skipping test cuts
- Rushing short lengths
Most issues come from orientation mistakes, not poor tools.
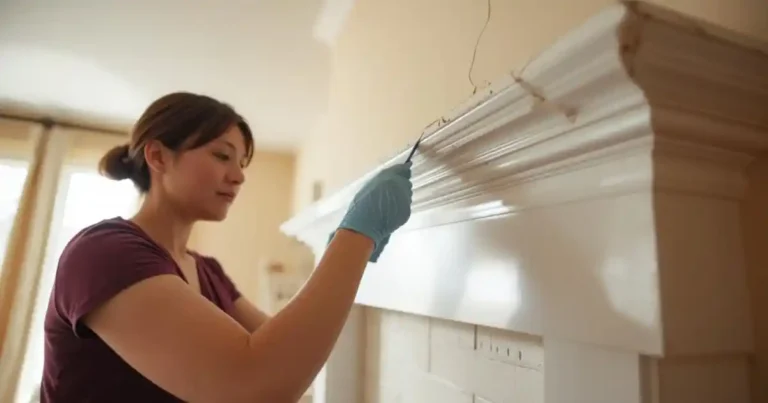
Tips for Cleaner Cuts and Better Results
- Use a sharp, fine-tooth blade
- Support longer lengths fully
- Cut slowly and steadily
- Keep saw settings consistent
- Label every piece before cutting
Clean cuts reduce filling, sanding, and repainting later.
DIY vs Trade Use: Who Benefits Most from Flat Cutting?
DIY users
- Easier learning curve
- Less guesswork
- Forgiving with modern mouldings
Trade professionals
- Faster workflow
- Repeatable accuracy
- Reduced waste across multiple rooms
Flat cutting bridges the gap between DIY and professional results.
Frequently Asked Questions
Final Thoughts: Why Flat Cutting Delivers the Best Results
Cutting cornice flat with a mitre saw removes much of the complexity traditionally associated with cornicing. When combined with modern, European-inspired mouldings designed for precision, it allows both homeowners and professionals to achieve clean, accurate joints with confidence.
Quality materials matter. Consistent profiles, stable dimensions, and clean edges make accurate cutting easier—and that’s where specialist suppliers make a real difference. With well-designed mouldings, flat cutting becomes not just possible, but predictable.