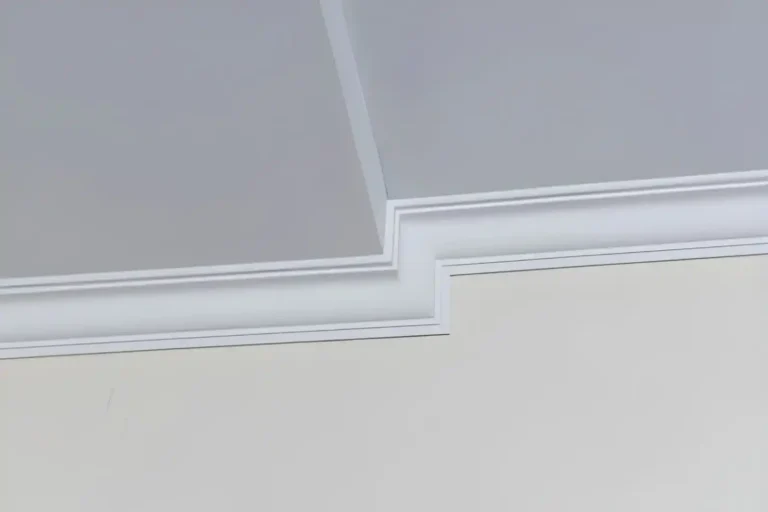
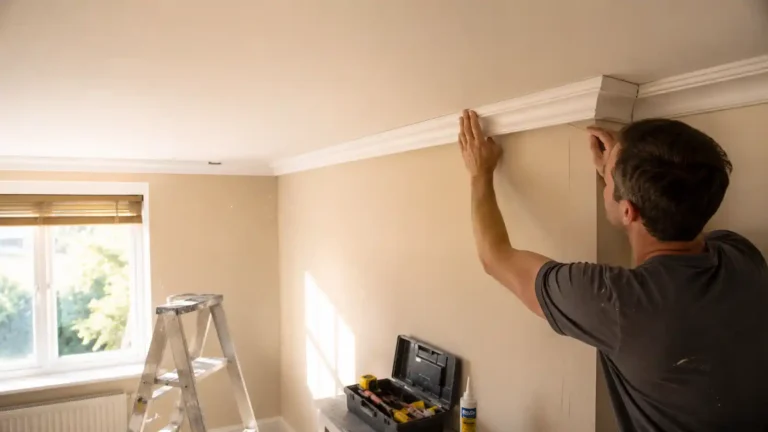
Fitting ceiling cornice is one of those jobs that looks daunting—until you follow a clear, proven method. With modern lightweight mouldings, achieving a clean, professional finish is far more achievable than many people expect.
This guide is your core “how to fit ceiling cornice” resource. It’s practical, linear, and confidence-building, taking you through the process step by step so you know exactly what to do, when to do it, and why each stage matters.
Before starting, check whether plastering should be completed before installing cornice. For the detail work, see how to join cornice cleanly for seamless lines and compare timber and polyurethane cornice cutting methods. When finishing, decide whether the cornice and ceiling should be the same colour.
Who This Step-by-Step Guide Is For
This guide is designed for:
- DIY-savvy homeowners fitting cornice for the first time
- Tradespeople who want a clean, repeatable installation method
- Anyone using modern lightweight polyurethane or polystyrene cornice
- Standard rooms such as living rooms, bedrooms, hallways, and kitchens
It does not cover complex period plasterwork or traditional hand-run cornice.
Tools & Materials You’ll Need Before You Start
Preparing everything before opening adhesive makes a huge difference to the final result.
Essential Tools
- Cornice adhesive (manufacturer-recommended)
- Caulking gun
- Spirit level
- Tape measure and pencil
- Step ladder or working platform
Helpful Extras
- Filling knife
- Damp cloth or sponge (for cleaning excess adhesive)
- Fine sandpaper (used after curing)
- Pre-cut and clearly labelled cornice lengths
Professionals always prepare first—this is one habit worth copying.
Step 1 – Prepare Walls & Ceilings
Strong fixing starts with clean surfaces.
- Remove dust, grease, and loose paint
- Adhesive will fail on dirty or unstable surfaces
- Check for uneven walls or ceilings and note problem areas
- Lightly sand glossy paint if necessary
Good preparation prevents cornice pulling away later.
Step 2 – Mark Guide Lines for Accurate Positioning
This step separates neat installations from uneven ones.
- Measure the projection and drop of your cornice profile
- Use a spirit level to mark consistent guide lines around the room
- These lines ensure the cornice sits level, even if walls aren’t
Professionals always mark first—never rely on “eyeballing”.
Step 3 – Dry-Fit All Cornice Pieces
Dry-fitting is a critical quality-control step.
- Position corners and straight runs without adhesive
- Check mitres meet cleanly
- Confirm alignment at straight joins
- Make adjustments now—not after adhesive is applied
If it doesn’t fit dry, it won’t fit glued.
Step 4 – Apply Adhesive Correctly
Apply adhesive to both contact edges of the cornice:
- Along the wall edge
- Along the ceiling edge
Best Practice
- Use a continuous bead, not dots
- Apply generously—excess can be cleaned
- Avoid thin or broken lines
Step 5 – Fix the Cornice in Place
- Position the cornice along your guide lines
- Press evenly into wall and ceiling
- Check level immediately and adjust if needed
- Clean excess adhesive straight away
- Work one length at a time
Modern adhesives provide quick grab, but accuracy at this stage is essential.
Step 6 – Fitting Cornice Around the Room
Recommended Order
- Start with a corner or the longest straight run
- Work logically around the room
- Maintain alignment using your guide lines
For short infill pieces:
- Measure carefully
- Dry-fit first
- Avoid forcing pieces into place
Step 7 – Joining Straight Lengths Cleanly
Straight joins are just as important as corners.
- Dry-fit both lengths
- Apply adhesive to the joint faces
- Use tight butt joints (scarf joints for longer runs if preferred)
- Press together firmly and clean excess before curing
Step 8 – Allow Adhesive to Cure Fully
Understanding curing time prevents future cracking.
- Initial grab: within minutes
- Handling strength: a few hours
- Full cure: usually 24 hours
Avoid movement before full cure—this is a common cause of cracks.
Step 9 – Fill, Sand & Prepare for Painting
Once adhesive has cured:
- Fill small gaps and joints
- Lightly sand for a smooth finish
- Check joins and corners under good light
- Prepare for paint-ready results
Less filling is needed when fitting is done correctly.
Step 10 – Painting & Finishing
- Cornice should always be painted after fitting
- Painting cornice and ceiling the same colour creates a seamless look
- Separate colours can highlight detail if desired
Use quality paint to maintain crisp profiles.
Common Mistakes When Fitting Ceiling Cornice
Avoid these frequent errors:
- Skipping the dry-fit stage
- Applying too little adhesive
- Not marking guide lines
- Rushing corners and joins
- Painting before adhesive has cured
Most problems come from rushing, not from lack of skill.
DIY vs Professional Fitting – What to Expect
DIY-Friendly Scenarios
- Straightforward rooms
- Lightweight, modern cornice
- Careful, step-by-step approach
When Professional Installation May Be Better
- Large or complex layouts
- Period properties
- Commercial interiors
Modern materials mean DIY results can now rival professional finishes when done properly.
Frequently Asked Questions About Fitting Ceiling Cornice
Final Tips for a Professional Finish
- Take your time
- Dry-fit everything
- Clean as you go
- Let adhesive fully cure
- Trust the process
Final Thoughts: A Professional Finish Is About Method, Not Speed
Fitting cornice isn’t difficult—it’s methodical. Modern lightweight materials have removed much of the traditional difficulty, making professional results achievable for homeowners and trades alike.
When you follow each step in order, the result is clean lines, tight joins, and a finish that looks intentional and long-lasting. That confidence is exactly why so many installers across Ireland choose precision mouldings from Gaudi Coving—designed to install cleanly, bond securely, and elevate interiors through detail.