
How to replace a piece of skirting board? In high-quality Irish interiors, skirting boards are not just protective trims — they are architectural elements that frame a room.
They create visual weight at floor level.
They define shadow lines.
They connect walls, doors and floors into a cohesive finish.
When a section becomes swollen, cracked or poorly repaired, the entire room feels subtly unfinished — even if the rest of the renovation is flawless.
In Irish homes — from Victorian terraces in Dublin to 1930s semis in Cork and contemporary commuter-belt builds — skirting boards often suffer from:
- Moisture swelling (especially near external walls)
- Impact damage during renovations
- Previous DIY patch repairs
- Profile mismatches after extensions
Replacing a piece of skirting board properly isn’t just maintenance. It protects the architectural integrity of the space.
If done poorly, the repair draws attention.
If done correctly, it disappears completely.
When Should You Replace a Piece of Skirting Board?
Signs It’s Beyond Repair
Not all damage requires full replacement. But certain signs mean patching won’t deliver a clean, long-term result.
1. Swelling from Moisture (Common in Irish Climate)
MDF skirting boards are particularly vulnerable. Once moisture penetrates, the fibres expand and never fully return to shape. Sanding or filling will not fix distortion.
2. Cracked MDF or Chipped Plaster Profiles
Fine architectural detail — especially on traditional profiles — loses sharpness once damaged. Filler softens edges and ruins definition.
3. Poor Previous Patch Repairs
Layered filler, uneven sanding, mismatched paint tones — these stand out under natural Irish daylight.
4. Profile Mismatch After Renovations
Extensions often introduce new skirting that doesn’t match the original. Even small differences in projection or curve depth create visual inconsistency.
Repair vs Replace: What’s Worth It?
Filler works when:
- Damage is surface-level
- Profile lines remain intact
- There is no moisture swelling
Replacement is better when:
- Detail has been lost
- Board is warped or swollen
- You want a seamless, high-end finish
For design-conscious renovators, replacement is often the cleaner long-term investment.
Choosing the Right Skirting Board Material (Critical for Irish Homes)
Material choice directly affects durability, detail sharpness and long-term performance — especially in Ireland’s damp climate.
MDF Skirting
- Affordable
- Easy to source
- Smooth finish when painted
- Moisture-sensitive
- Prone to swelling and edge breakdown
Best suited for dry, low-traffic areas.
Plaster
- Traditional aesthetic
- Suitable for period restorations
- Fragile in transport and installation
- Can crack over time
Still used in heritage projects, but rarely ideal for partial replacements.
Polystyrene
- Budget-friendly
- Lightweight
- Lacks crisp architectural detail
- Easily dented
Typically unsuitable for high-end renovations.
High-Density Polyurethane (Premium Option)
For modern skirting installation in Ireland, high-density polyurethane offers significant advantages:
- Moisture resistant
- Crisp, sharp detail
- Lightweight and easy to cut
- Paint-ready finish
- Resistant to cracking
This makes it particularly suitable for:
- Kitchen extensions
- Ground-floor renovations
- Period-inspired modern interiors
- Trade professionals seeking zero call-backs
Why Material Choice Impacts Longevity
Many homeowners focus on profile style but overlook material performance.
In Irish conditions, moisture resistance is critical. Even minor humidity shifts can affect MDF over time. A sharper material with structural stability maintains the architectural finish for decades — not years.
Step-by-Step: How to Replace a Piece of Skirting Board
Precision is what separates a visible repair from an invisible one.
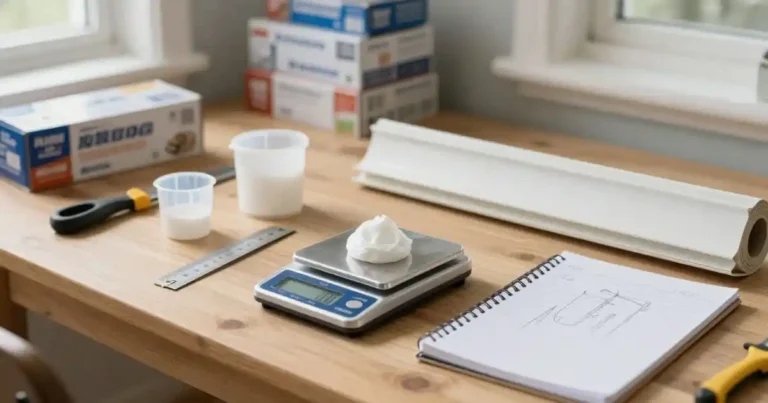
Tools & Materials You’ll Need
- Fine-tooth saw or oscillating multi-tool
- Mitre box or mitre saw
- Adhesive suitable for mouldings
- Filler (fine-grade)
- Decorators caulk
- Sandpaper (120–240 grit)
- Primer
- Matching paint
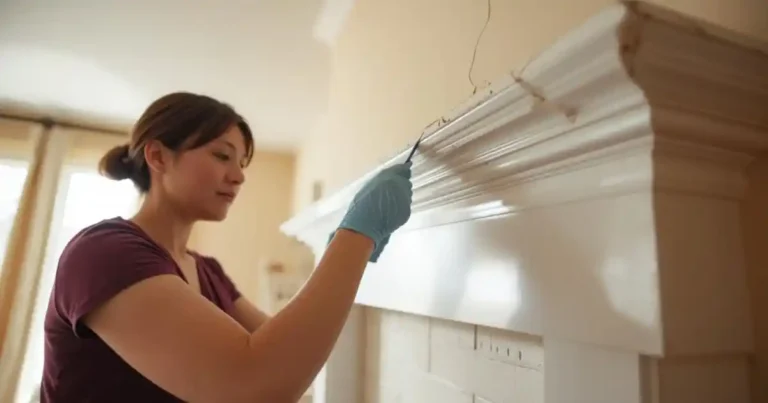
Step 1: Remove the Damaged Section Carefully
- Score paint lines first
Use a sharp blade to prevent tearing plaster. - Cut clean vertical joins at studs
Ideally cut at a natural break point or stud for support. - Protect surrounding plaster
Avoid levering aggressively — cracked plaster above skirting is costly to repair.
Clean removal ensures the replacement piece sits flush without widening the gap.
Step 2: Measure & Match the Profile Exactly
This is where most skirting board repairs in Ireland fail.
Why Profile Consistency Matters
Even small differences in curve depth or shadow line projection become obvious once painted.
How to Identify Your Skirting Style
Measure:
- Overall height
- Projection from wall
- Depth of profile curves
- Top edge detailing
Take a physical offcut to supplier if possible.
Height & Proportion
- Modern builds often use 120–150mm
- Period properties commonly use 170–220mm
- Proportion should relate to ceiling height
Step 3: Cut the Replacement Piece Accurately
Straight Cut vs Mitre Cut
- Straight butt joints are simplest for mid-wall repairs
- Mitres are required at corners
Always:
- Cut slightly long
- Dry-fit first
- Adjust gradually
Account for Wall Irregularities
Irish walls are rarely perfectly straight. Slight scribing may be needed for a tight finish.
Step 4: Fixing the New Skirting Board
Adhesive vs Mechanical Fixing
- Adhesive works well for polyurethane mouldings
- Mechanical fixing may be required for heavier materials
Ensure:
- Tight joint pressure
- Even wall contact
- Immediate removal of excess adhesive
Step 5: Finishing for a Seamless Look
This stage defines the result.
Filling Joins Invisibly
Use fine filler and apply sparingly. Overfilling blunts profile lines.
Sanding Techniques
Sand lightly and follow profile contours. Avoid flattening decorative detail.
Caulking the Top Edge
A thin, neat bead prevents shadow gaps and cracking.
Priming & Painting
Even pre-primed boards should receive:
- Light sanding
- Spot priming on filled areas
- Full coat blending into existing paintwork
Feather the paint to avoid sheen difference.
Achieving an Architectural-Grade Finish
Avoiding the “Developer Basic” Look
- Choose proportionate height
- Match architraves and coving
- Maintain consistency across rooms
Architectural detail should feel intentional — not patched.
Skirting Height Guide (Irish Ceiling Context)
2.4m Ceilings
Recommended: 120–150mm
Clean, modern proportions.
2.7m Ceilings
Recommended: 170–200mm
Adds visual weight and elegance.
Period Homes
Often benefit from 200mm+
Works particularly well with decorative coving.
Proportion is key. Too small feels flat. Too large overwhelms.
Common Mistakes to Avoid
- Mismatched profiles
- Ignoring moisture resistance
- Poor mitre alignment
- Skipping proper priming
- Buying solely on price
The cheapest option often becomes the most expensive visually.
Trade Professional Tips (For Builders & Carpenters)
Reduce Call-Backs
Use moisture-resistant materials in kitchens and extensions.
Maintain Stock Consistency
Source from suppliers with stable profile ranges.
Faster Installs
Lightweight mouldings reduce fatigue and speed up second fix.
Sharp Detail Wins Repeat Business
Clients notice finish quality — even if they can’t articulate why.
Frequently Asked Questions
Conclusion: Details Define the Finish
Replacing a single piece of skirting board is never “just a repair.”
In design-conscious Irish homes, detail defines the finish. The difference between average and architectural lies in:
- Material quality
- Proportion
- Clean installation
- Invisible finishing
For homeowners, builders and designers alike, a properly executed skirting board replacement protects the integrity of the entire room.
Done correctly, no one will ever know it was replaced.
That’s the goal.