
How to get rid of joins in coving? Visible joins in coving can instantly undermine an otherwise beautifully finished room. Whether you’re a homeowner upgrading your interiors or a trade professional working on a high-end project, those small seams and cracks can make coving look cheap, rushed, or poorly installed.
The good news? With the right techniques, tools, and materials, you can achieve a completely seamless, invisible finish—even as a DIYer.
In this guide, we’ll walk you through exactly how to get rid of joins in coving, including professional techniques used by decorators and installers across Ireland. We’ll also show you how to fix existing joins, avoid common mistakes, and choose materials like Gaudi Coving that make achieving a flawless finish much easier.
If you’re new to installation, you may want to start with our pillar guide: how to install coving: complete step-by-step guide.
Why Coving Joins Become Visible in the First Place
Before fixing joins, it’s important to understand why they appear.
Poor Cutting and Misalignment
One of the most common causes is inaccurate cutting. Uneven mitre cuts or slightly incorrect angles can leave small gaps that become very noticeable once painted.
Low-Quality Materials
Cheaper plaster coving can shrink, warp, or crack over time. Modern polyurethane options—like Gaudi Coving—are far more stable and reduce the risk of visible joins.
Incorrect Adhesive Use
Insufficient adhesive at the joints means pieces don’t bond properly. Over time, this leads to cracks or separation.
Movement and Environmental Factors
Irish homes are particularly prone to moisture fluctuations. Expansion and contraction can cause joins to open up if not installed correctly.
Tools & Materials You’ll Need for Seamless Coving Joints
Essential Tools
- Fine-tooth saw or mitre box
- Filling knife or spatula
- Fine-grit sandpaper (180–240 grit)
Best Fillers & Adhesives
- Coving adhesive (for both fixing and filling)
- Fine surface filler for finishing
Pro Tip
Professionals often choose high-density polyurethane coving like those from Gaudi Coving because it doesn’t shrink or crack, making seamless joins far easier.
Step-by-Step: How to Get Rid of Joins in Coving
Step 1 – Ensure Perfect Cuts Before Joining
Dry fit your coving pieces before applying adhesive. This helps identify any gaps early.
Use a mitre box for accuracy. If you’re dealing with tricky ends, check out how to do a coving stop end on a straight wall.
Step 2 – Apply Adhesive Properly
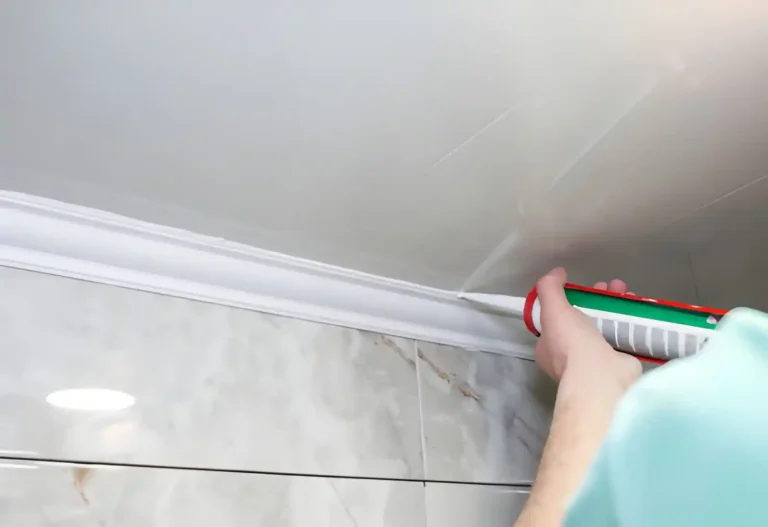
Apply adhesive generously to both the wall/ceiling and the coving edges. Add extra adhesive at the joints to ensure a strong bond.
Press firmly so that adhesive squeezes out slightly—this is a good sign.
Step 3 – Remove Excess Adhesive Immediately
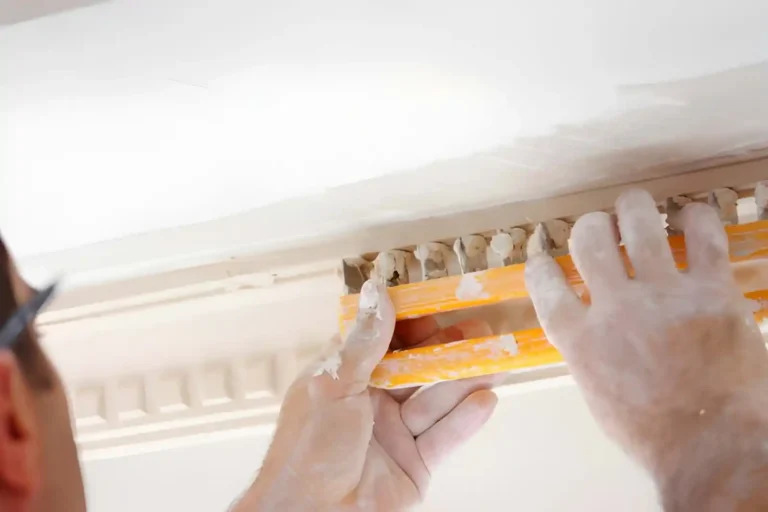
Before the adhesive sets, smooth the joint using a damp sponge or your finger. This step alone can dramatically reduce visible seams.
Step 4 – Fill the Joint Seam
Once dry, apply a fine filler over the joint. Feather the edges outward so it blends seamlessly with the surrounding surface.
Step 5 – Sand for a Seamless Finish
After the filler dries, lightly sand the area using fine-grit sandpaper. The goal is to make the joint completely disappear into the coving profile.
Step 6 – Prime and Paint
Painting is what truly hides joins. Always paint the entire length of coving—not just the joint—to avoid patchy finishes.
Advanced Techniques for Invisible Coving Joins (Pro Tips)
Backfilling for Stronger Joints
Apply adhesive behind the joint before pushing pieces together. This reinforces the connection and reduces cracking.
Double Filling Method
- First fill: structural (fills gaps)
- Second fill: cosmetic (perfect finish)
Lighting Considerations
Natural light and LED lighting can highlight imperfections.
How to Fix Existing Visible Joins in Coving
Step 1 – Assess the Damage
Determine whether the issue is a hairline crack or a larger gap.
Step 2 – Remove Loose Material
Scrape away any cracked filler or debris.
Step 3 – Refill and Blend
Apply a flexible filler and smooth carefully.
Step 4 – Repaint Entire Section
Never spot-paint—always repaint the full section for a consistent finish.
How to Patch Damaged Coving Seamlessly
If your coving has chipped or cracked:
- Use filler to rebuild the damaged area
- Match the profile carefully
- Sand and repaint for a seamless look
If the issue is structural, see how to fix coving that has come away from the wall.
Common Mistakes That Make Coving Joins Worse
Using the Wrong Filler
Rigid fillers crack; overly soft fillers dent easily.
Skipping Sanding
Even small ridges become highly visible after painting.
Painting Too Early
Filler shrinkage can cause joins to reappear.
Not Matching Profiles Properly
Especially important in renovation projects where existing coving must be matched.
Best Coving Types for Seamless Joins
Polyurethane Coving
- Lightweight
- Stable (no shrinkage)
- Easy to cut and install
Plaster Coving
- Traditional aesthetic
- Harder to achieve perfect joins
Why Premium Brands Matter
Consistent profiles and material quality make a huge difference. Brands like Gaudi Coving are designed for precision and durability.
When to Install Coving for Best Join Results
Timing matters more than most people realise.
Installing coving before painting allows you to properly sand and blend joins. To understand the full timing strategy, read should you fit coving before or after plastering?
Special Scenarios: Challenging Coving Joins
Bay Windows & Curved Walls
These require flexible coving materials and more advanced techniques. See how to fit coving on a curved wall or bay window.
Ceiling Height Changes
Transitions must be carefully aligned to avoid visible seams.
Trade vs DIY: Who Can Achieve Invisible Joins?
DIY Homeowners
With patience and the right materials, most homeowners can achieve excellent results—especially on straight walls.
Trade Professionals
Professionals bring speed, precision, and consistency—ideal for large or complex projects.
Cost vs Finish Quality: Is It Worth Doing Properly?
Cutting corners on coving installation often leads to visible joins, cracks, and costly repairs later.
Investing in quality materials and proper techniques:
- Improves durability
- Enhances visual appeal
- Increases perceived property value
FAQs – How to Get Rid of Joins in Coving
Final Thoughts: Achieving a Designer-Level Finish
Invisible coving joins are what separate an average finish from a truly professional one. Whether you’re renovating a period home in Dublin or completing a modern build, seamless coving adds a level of refinement that transforms a space.
By following the steps in this guide—and choosing high-quality materials like Gaudi Coving—you can achieve a flawless, long-lasting result.
Take your time, focus on the details, and your coving will look like it was installed by a professional.