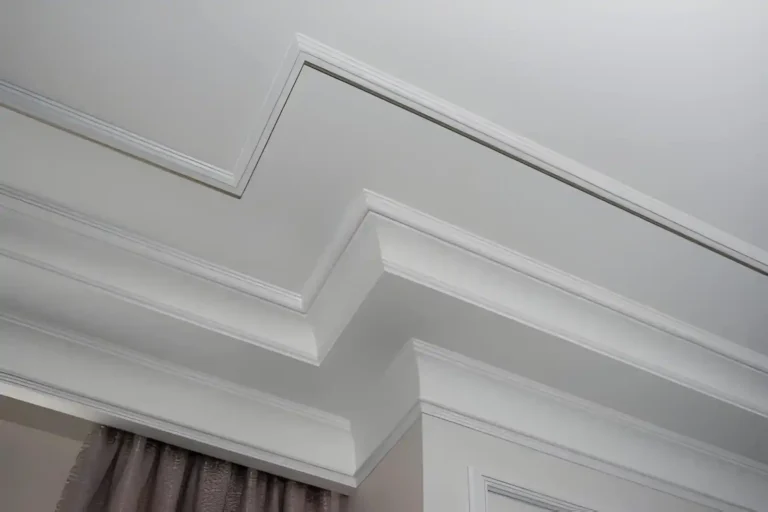
When to install coving before or after plastering? Coving is one of those finishing touches that can completely transform a room—adding depth, character, and that “designer” look many homeowners are aiming for. But one question consistently causes confusion during renovations: should you install coving before or after plastering?
Get this wrong, and you risk visible gaps, cracking, or a finish that feels amateur rather than premium.
This is especially important for Irish homeowners upgrading period properties or modern builds, and for trade professionals managing tight timelines. With modern materials like those from Gaudi Coving (lightweight, moisture-resistant polyurethane), installation methods have evolved significantly.
In this guide, we’ll break down exactly when to install coving, why it matters, and how to get a flawless result—whether you’re a DIY renovator or a seasoned contractor.
The Short Answer: Coving Before or After Plastering?
Let’s get straight to it:
👉 In most cases, you should install coving after plastering.
Quick Comparison
Before plastering (traditional method):
- Used for plaster coving
- Plaster is blended into the coving
- Requires skilled labour
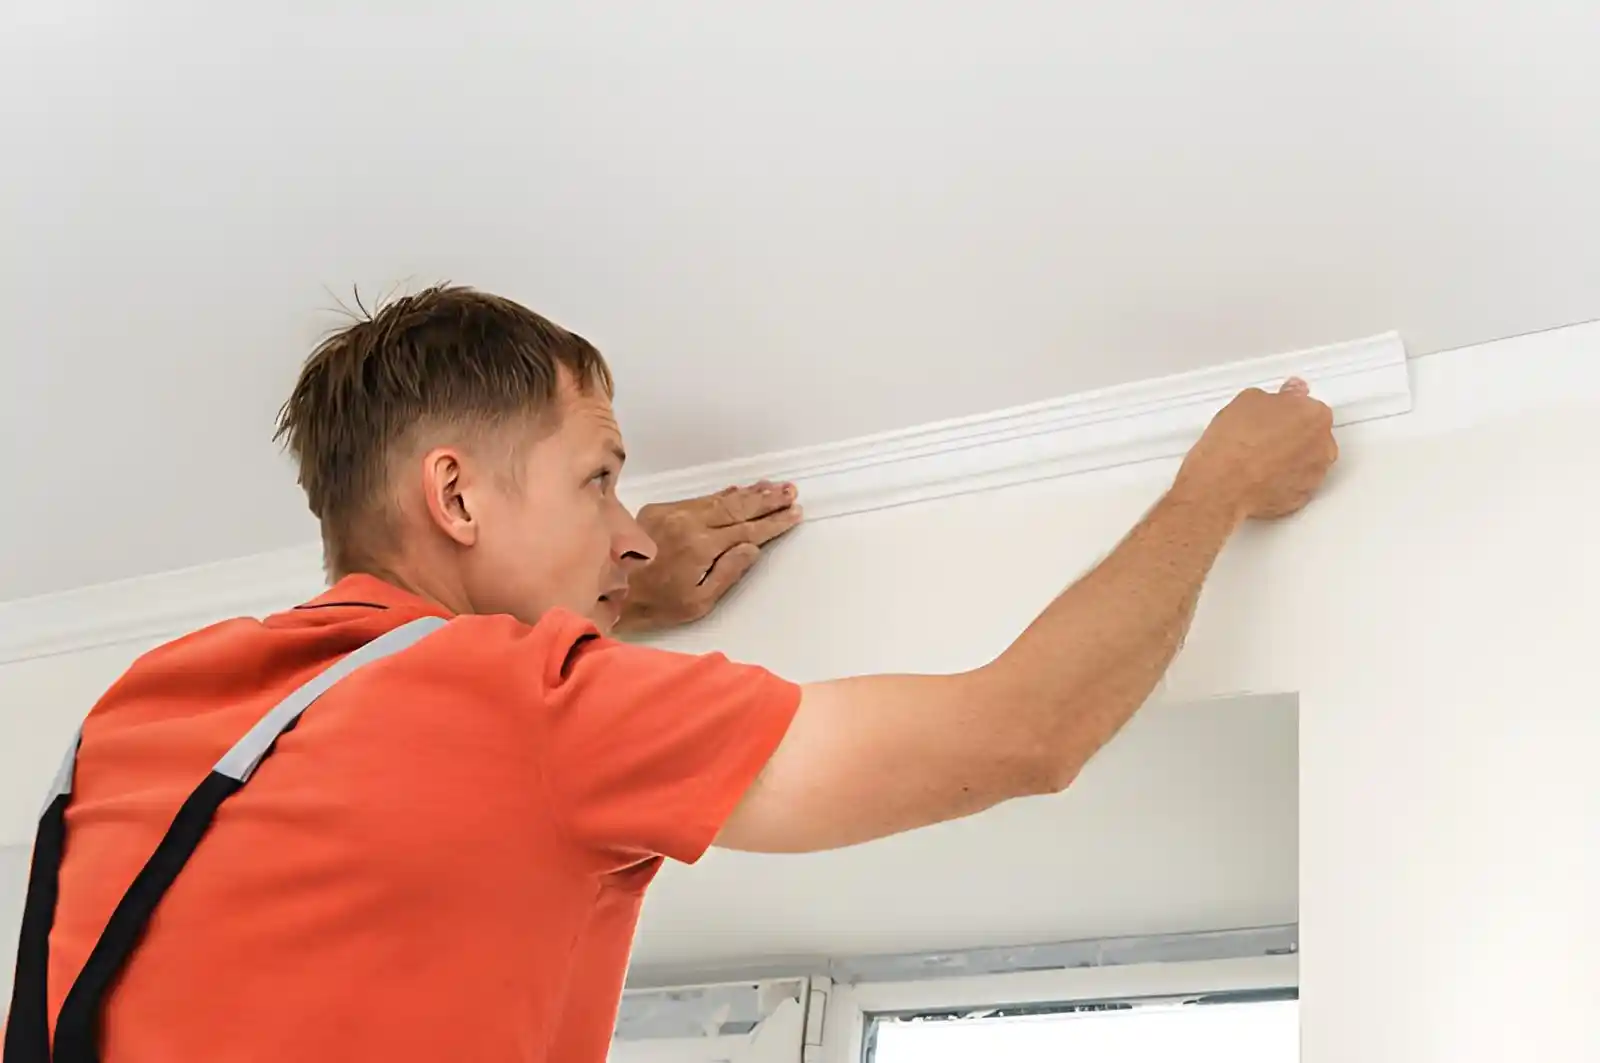
After plastering (modern best practice):
- Works with polyurethane and polystyrene coving
- Cleaner, faster, and more reliable
- Preferred by both homeowners and professionals
For most renovation projects today, installing coving after plastering delivers the best results.
Installing Coving After Plastering (Recommended Approach)
Why This Is the Preferred Method Today
Modern coving installation relies on smooth, even surfaces—and that’s exactly what plaster provides.
When walls and ceilings are fully plastered and dried:
- Adhesive bonds more effectively
- Alignment is easier and more precise
- Joints are cleaner and easier to conceal
- The risk of cracking is significantly reduced
This is particularly important with lightweight materials like the materials from Gaudi Coving, which are designed for straightforward installation and long-term durability.
Benefits for Homeowners
For residential renovators—especially those aiming for a high-end finish without excessive cost—this method ticks every box:
- Easier DIY installation: No need for advanced plastering skills
- Cleaner aesthetic: Smooth lines and sharp transitions
- Less risk of mistakes: Ideal for first-time installers
- Better visual impact: Perfect for Instagram- or Pinterest-inspired interiors
If your goal is a polished, “finished” look, installing after plastering is the safest route.
Benefits for Trade Professionals
For builders, designers, and fit-out teams, efficiency and consistency matter.
Installing coving after plastering offers:
- Faster installation times
- Predictable working surfaces
- Reduced callbacks due to cracks or movement
- Easier coordination with other trades
In short, it reduces labour costs while improving results—something every contractor values.
When Would You Install Coving Before Plastering?
Traditional Plaster Coving Method
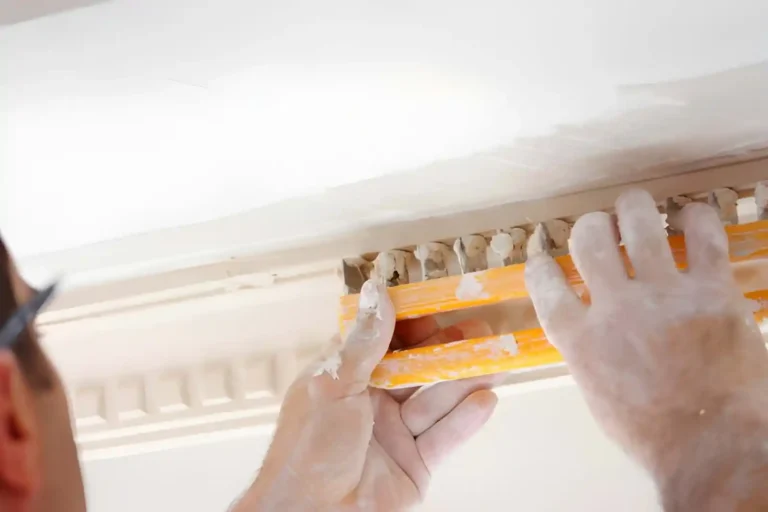
Before modern materials became popular, coving was typically made from plaster and installed before the walls were fully finished.
The process involved:
- Fixing the coving in place
- Blending plaster into the edges
- Creating a seamless, built-in appearance
This method is still found in many older Irish homes.
When It Still Makes Sense
There are specific situations where installing coving before plastering is still appropriate:
- Restoring period properties
- Matching original plaster cornices
- High-end bespoke plasterwork
- Heritage renovations requiring authenticity
Downsides of This Approach
However, this method comes with clear disadvantages:
- Labour-intensive
- Requires skilled plasterers
- Higher installation costs
- Greater risk of inconsistencies
For most modern renovations, it’s simply not practical.
Step-by-Step: Correct Order of Work for Best Results
Ideal Renovation Sequence
To achieve a flawless finish, follow this order:
- Structural work
- First fix (electrics and plumbing)
- Plastering
- Drying time
- Install coving
- Fill joints and gaps
- Prime and paint
Following this sequence ensures your coving integrates perfectly into the room without unnecessary rework.
Where LED Coving Fits In
LED coving is increasingly popular in modern Irish homes, especially in new builds and extensions.
It should be installed:
- After plastering
- Before final painting
👉 Learn more in how to install coving lighting
Should You Install Coving Before Painting?
Best Practice
Always install coving before the final coat of paint.
Why It Matters
Installing before painting allows you to:
- Hide adhesive lines and joints
- Achieve a seamless transition between wall and ceiling
- Avoid repainting after installation
Pro Tip
A smart approach is:
- Apply a base primer coat
- Install coving
- Fill and sand joints
- Apply final paint finish
This delivers a clean, professional result.
Common Mistakes to Avoid
Installing on Uneven Plaster
If plaster isn’t fully smooth or dry:
- Adhesion weakens
- Gaps may appear
- Finish looks uneven
Poor Joint Finishing
Visible seams can ruin an otherwise perfect installation.
👉 See how to get rid of joins in coving for a flawless finish
Incorrect End Finishes
Stopping coving cleanly on a straight wall can be tricky.
👉 Read how to do a coving stop end on a straight wall
Special Scenarios to Consider
New Builds vs Renovations
- New builds: Always install after plastering
- Renovations: Depends on wall condition and existing finishes
Bathrooms & Kitchens (Moisture Concerns)
Moisture is a major concern in Irish homes.
Modern coving like those from Gaudi Coving offers:
- Moisture resistance
- No warping or swelling
- Long-term durability
Curved Walls & Bay Windows
These areas require extra care and flexible materials.
👉 See how to fit coving on a curved wall or bay window
What Happens If You Install Coving at the Wrong Time?
Common Issues
Installing coving too early or too late can lead to:
- Cracking over time
- Gaps forming between surfaces
- Poor adhesion
- Uneven or misaligned lines
How to Fix It
If problems arise, you may need to re-secure or repair sections.
👉 Learn how to fix coving that has come away from the wall
Choosing the Right Coving Material (Important for Timing)
Modern Materials (Recommended)
Today’s best option is lightweight polyurethane, such as Gaudi Coving products.
Benefits include:
- Easy to install
- Moisture-resistant
- Pre-primed and paint-ready
- Durable and stable
Traditional Plaster
While still used in heritage projects, plaster coving:
- Is heavier
- Requires skilled installation
- Must often be installed before plastering
Why Material Choice Affects Installation Order
Different materials behave differently:
- Weight impacts fixing method
- Flexibility affects alignment
- Adhesion varies depending on surface
Choosing the right material simplifies the entire process.
Expert Tips for a Perfect Finish
For Homeowners
- Use pre-primed coving
- Always dry-fit before applying adhesive
- Work in smaller sections
- Take time with corners and joints
For Trade Professionals
- Use high-grab adhesive for faster fixing
- Check wall angles before cutting
- Standardise your installation process
- Keep consistent spacing and alignment
FAQs – When to Install Coving: Before or After Plastering?
Conclusion: The Best Time to Install Coving
If you take one thing away from this guide, it’s this:
👉 Install coving after plastering, but before final painting.
This approach ensures:
- A cleaner, more professional finish
- Easier installation
- Long-lasting durability
Modern solutions like Gaudi Coving make it easier than ever to achieve high-end results—whether you’re upgrading a single room or renovating an entire home.
Ready to Upgrade Your Interior Finish?
If you’re aiming for a premium look without unnecessary complexity, modern coving solutions offer:
- Moisture resistance (ideal for Irish homes)
- Easy installation for both DIY and trade
- Reliable, long-lasting performance
Start with one room—or transform your entire home with a consistent, designer-quality finish.