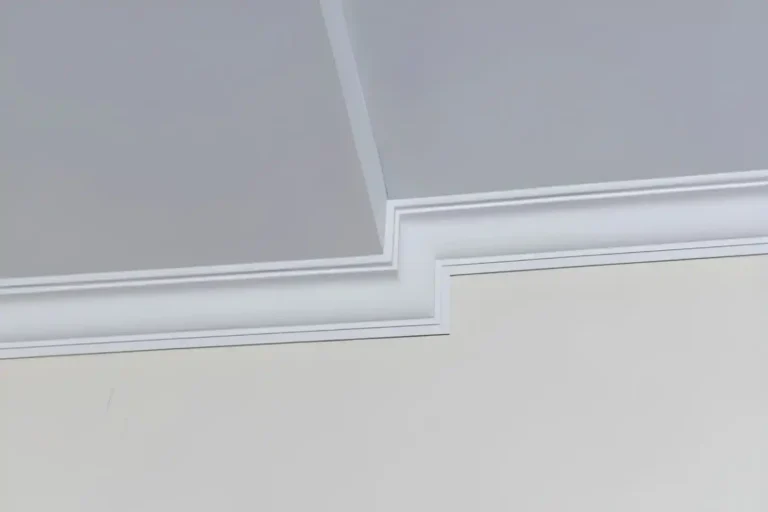

Wall panelling has become one of the most requested upgrades in Irish home renovations — from 1930s semis in Dublin to Victorian terraces in Cork and contemporary new builds in Wicklow and Meath.
And it’s easy to see why.
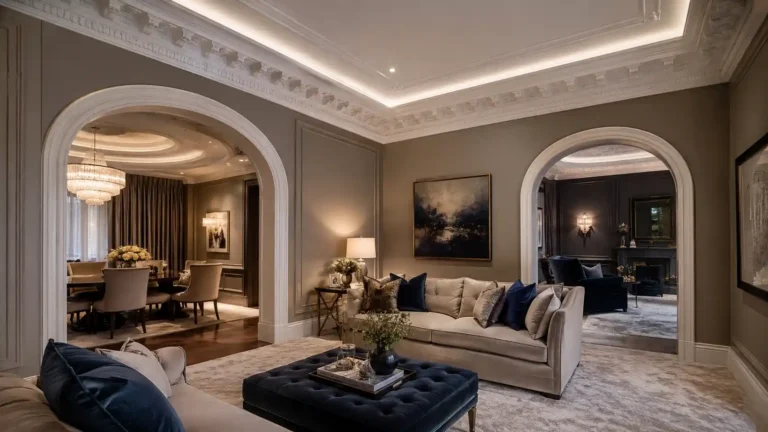
Done properly, wall panelling instantly transforms a flat, plain room into something architectural. It adds depth, shadow lines, and a sense of finish that paint alone simply can’t achieve.
But here’s the reality: most do it yourself DIY wall panels look slightly… off.
The spacing feels awkward. The proportions aren’t right. The material swells or cracks over time. Instead of looking designer-led, it looks homemade.
This guide shows you exactly how to do wall panelling properly — so it looks architectural, not DIY.
Professional finish — even for experienced DIY.
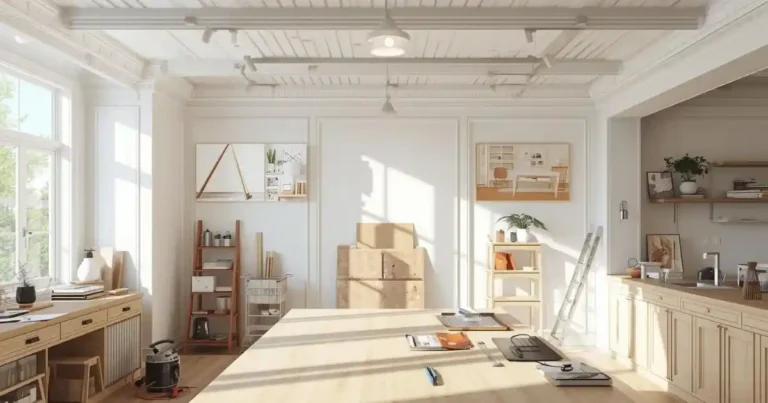
Step 1 – Plan Your Layout Before You Touch a Saw
If you’re researching how to do wall panelling or how to do wood paneling on walls, the biggest mistake you can make is starting with cutting timber.
Design comes first. Always.
Measure Your Wall Correctly
Before anything else, measure:
- Full wall width
- Full wall height
- Skirting board height
- Cornice or ceiling detail
- Locations of sockets, switches and radiators
Don’t assume walls are perfectly square — especially in period Irish homes. Measure at multiple points.
If you’re panelling a living room in a 1930s semi or a Victorian terrace, slight variations are normal. Planning for them prevents uneven gaps later.
Decide Your Panel Style
Your home style should guide the panel design.
Full-height panel moulding
Ideal for Victorian or high-ceilinged rooms. Creates drama and elegance.
Half-height (dado style)
Perfect for 2.4m ceilings common in new builds and extensions. Classic and balanced.
Picture frame moulding
Elegant and subtle. Works beautifully in formal living rooms.
Modern square grid
Minimal and clean. Best suited to contemporary builds.
Choose a style that complements your ceiling height and existing architectural features — not just what’s trending on Instagram.
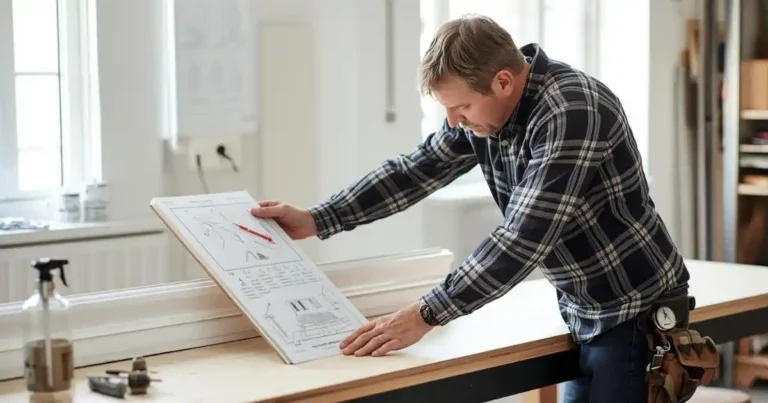
Sketch It First (The Step Most People Skip)
Eyeballing ruins symmetry.
Instead:
- Mark the centre line of your wall.
- Divide panels evenly from the centre outward.
- Keep outer margins consistent.
- Adjust spacing slightly to achieve visual balance.
Equal spacing matters more than “standard sizes.”
Expert Insight: Designers Start With Proportion, Not Timber
Interior designers don’t begin with materials — they begin with proportions. They look at ceiling height, room width, and architectural rhythm first.
If proportions are right, even simple profiles look expensive.
If proportions are wrong, even premium materials look awkward.
Step 2 – Panel Spacing Rules (The Proportion Guide)
This is where most DIY panelling goes wrong.
The Golden Rule of Spacing
- Outer margins should match or slightly exceed internal spacing.
- Keep spacing consistent across the wall.
- Avoid overly skinny panels — they cheapen the look.
A common mistake when researching how to do panelling on walls is copying a layout without adjusting it to your own wall width.
Every wall is different.
Ideal Panel Width Guide (Irish Homes)
While there’s no single “correct” size, here’s a practical guideline:
1930s Semi Living Room (2.4m ceiling)
- 3–5 panels across
- Generous spacing
- Avoid tight grids
Victorian Terrace (2.7m–3m ceilings)
- Taller panels
- Wider spacing
- Consider full-height for authenticity
New Build with 2.4m Ceilings
- Half-height panelling (900–1100mm)
- Clean, balanced symmetry
Why Most DIY Panelling Looks “Off”
- Panels are too small for the wall.
- Gaps are inconsistent.
- Panels don’t align with windows or fireplaces.
- The profile thickness is too thin or too bulky.
Design Insight: Details make the house feel complete — but only if proportion is correct.
Ceiling Height vs Panel Height Chart (Irish Standard Guide)
Choosing panel height is one of the biggest concerns for Irish homeowners.
| Ceiling Height | Ideal Panel Height | Style Recommendation |
|---|---|---|
| 2.4m (8ft) | 900–1100mm half wall | Classic dado style |
| 2.7m | 1100–1300mm | Transitional |
| 3m+ Victorian | Full height panels | Period elegance |
Important Notes:
- Taller ceilings allow more negative space.
- Panels that are too tall in a low room make the space feel cramped.
- Lower panels in high ceilings can look disconnected.
If you’ve ever wondered what profile size suits your ceiling height — this is where proportion solves the problem.
Step 3 – How to Cut Wall Panelling Cleanly
Knowing how to cut wall paneling properly makes the difference between sharp joints and messy corners.
Tools You Actually Need
- Mitre saw
- Strong adhesive
- Pin nailer
- Spirit level
- Fine filler and sanding block
How to Cut Internal & External Corners
- Use 45° mitre cuts for clean joints.
- For internal corners, coping can give a tighter finish.
- Always dry fit before applying adhesive.
Rushing this stage is where most visible flaws appear.
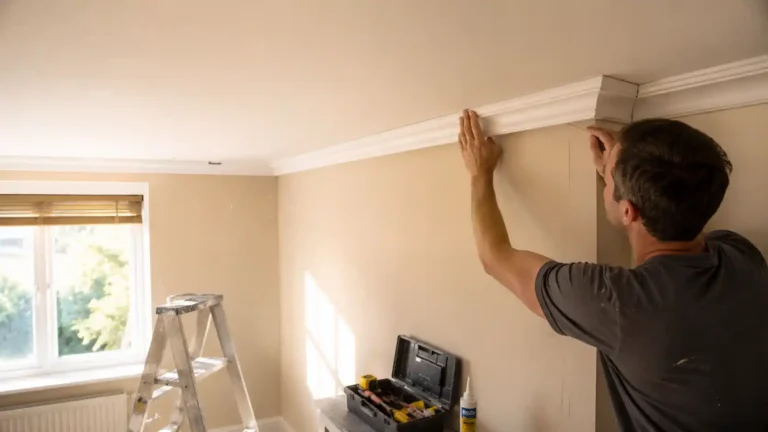
Fixing Panels to the Wall
- Apply adhesive first.
- Pin in place for temporary hold.
- Check alignment with a level.
- Fill gaps.
- Sand lightly before painting.
Precision here ensures crisp shadow lines once painted.
Paint-Ready vs Raw MDF – What Most Irish DIYers Get Wrong
Material choice is just as important as layout.
If you’re researching how to do wood paneling on walls, you’ll likely see MDF used frequently. But not all materials perform equally in Irish homes.
Raw MDF Problems
- Absorbs moisture (Ireland’s humidity is a real factor).
- Can swell near radiators or external walls.
- Requires sealing edges carefully.
- May warp over time.
Cheap MDF may save money upfront — but it often costs more long term.
Cheap Polystyrene Issues
- Soft detail
- Dents easily
- Lacks crisp shadow lines
- Looks budget once painted
High-Density Polyurethane Advantage
- Moisture resistant
- Sharp, refined detail
- Lightweight and easier to install
- Pre-primed / paint-ready
- Won’t crack like plaster
If you’re investing in a kitchen extension or full renovation, the material matters as much as the layout.
A premium finish isn’t just about appearance — it’s about durability.
Step 4 – Installation Mistakes to Avoid
Even experienced DIYers can slip up.
Avoid:
- Not checking walls are level.
- Skipping primer on MDF edges.
- Overcomplicating the panel design.
- Ignoring ceiling height proportions.
- Rushing the paint finish.
Most DIY regret happens at painting stage.
The final coat defines the result.
Is DIY Wall Panelling Worth It?
For many Irish homeowners, yes — absolutely.
DIY Works Well When:
- It’s a single feature wall.
- You’re confident with tools.
- You have time to plan properly.
- You use premium, paint-ready materials.
Consider Hiring Trade When:
- Panelling an entire house.
- Restoring a period property.
- Working around staircases.
- Completing a large open-plan extension.
There’s no shame in choosing professional installation for architectural precision.
How Much Does It Cost to Do Wall Panelling Yourself in Ireland?
Typical DIY cost components:
- MDF per metre
- Adhesive
- Paint
- Tools (if not owned)
- Premium mouldings
While MDF may appear cheaper initially, moisture-resistant, paint-ready mouldings often save time and prevent long-term issues.
Cheap materials cost more if they warp, swell or crack.
Value always outperforms price in the long run.
FAQs
Final Thoughts – How to Do Wall Panelling
If you want wall panelling that looks like it belongs in the house — not added as an afterthought — remember:
- Start with proportion.
- Choose quality materials.
- Consider moisture resistance in Irish conditions.
- Use paint-ready products to save time.
- Focus on detail and symmetry.
Wall panelling isn’t just decorative. It’s architectural.
Professional finish — even for experienced DIY.
Moisture-resistant and paint-ready.
Trusted by designers & trade professionals across Ireland.