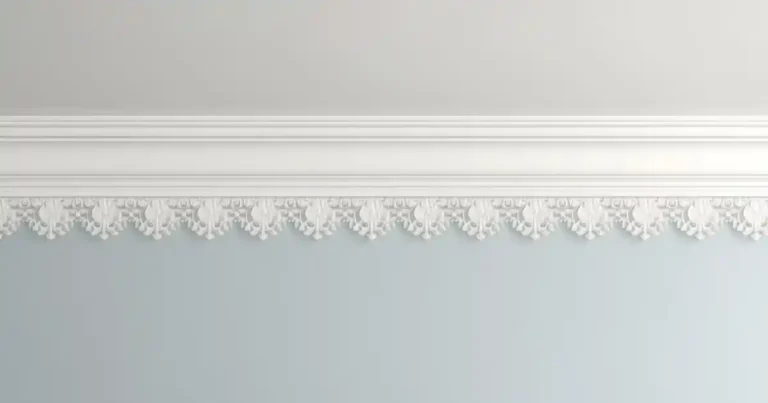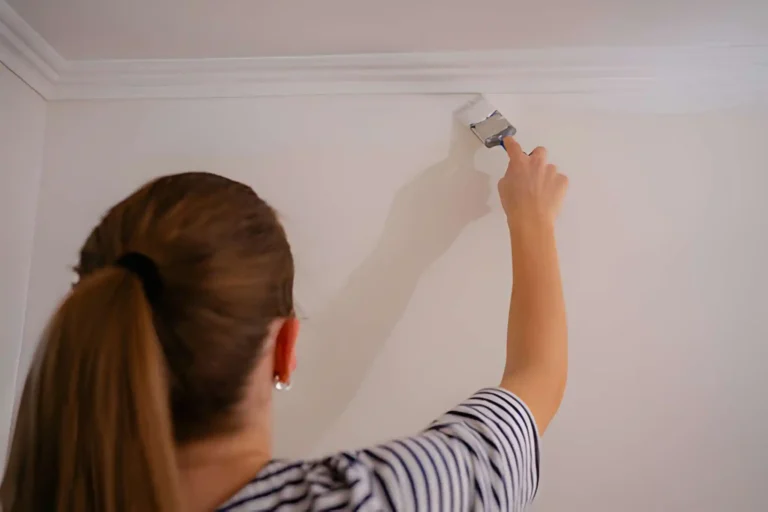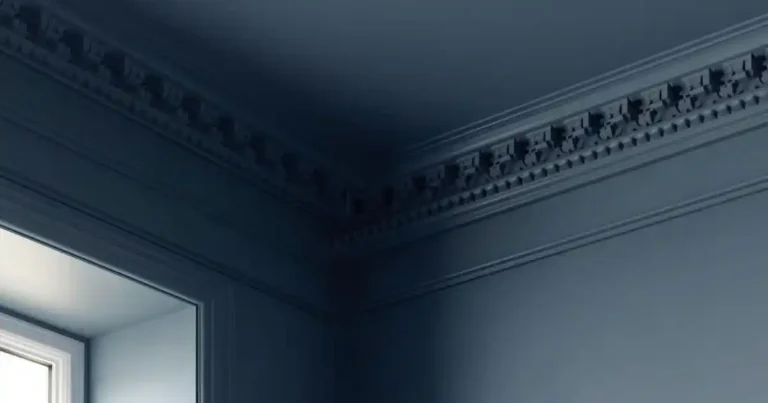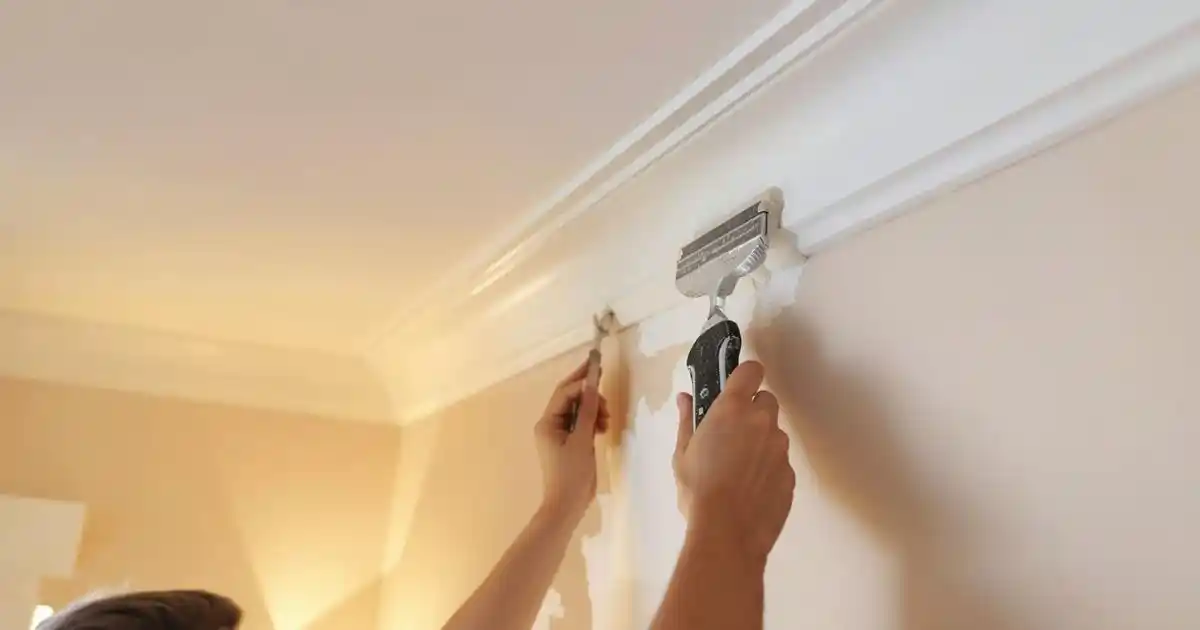
Painting cornice is the final step that reveals the quality of everything that came before it. Even perfectly cut and fitted cornice can look flat or messy if it’s painted poorly—while careful painting brings out sharp detail, clean lines, and architectural flow.
This guide is the primary authority page for painting, finishing, and colour decisions. It’s designed for homeowners and professionals who want to know:
- how to paint cornice without losing detail
- what colour cornice should be
- how professionals achieve that crisp, seamless finish
Why Painting Cornice Correctly Matters
Painting isn’t just decorative—it’s diagnostic.
Good painting:
- Enhances profile depth and shadow lines
- Blends joins and corners seamlessly
- Makes cornice feel intentional and architectural
Poor painting can:
- Fill in fine decorative detail
- Highlight joins, gaps, or uneven sanding
- Make premium cornice look flat and cheap
The reassurance is this: modern cornice is designed to be painted cleanly and easily, provided the right method is used.
What Type of Cornice Are You Painting?
Before choosing paint or tools, it’s important to understand the material.
Lightweight Polyurethane & Polystyrene Cornice
Modern cornice made from polyurethane or polystyrene offers major advantages when painting:
- Ultra-white, paint-ready surface
- Sharp, consistent profiles that hold detail
- Designed to work with modern water-based paints
- Minimal absorption—paint stays where you put it
These are the characteristics of mouldings supplied by Gaudi Coving, which are engineered specifically for clean finishing in Irish interiors.
Traditional Plaster Cornice (Brief Contrast)
- More porous and absorbent
- Often requires sealing or mist coats
- Less forgiving of heavy paint application
- Easier to lose fine detail
This guide focuses primarily on modern lightweight cornice, which now accounts for most new installations.
When Should Cornice Be Painted?
Cornice should always be painted after installation, never before.
Only paint once:
- Adhesive has fully cured
- Joints and gaps are filled
- Sanding is complete
Why painting too early causes problems
- Adhesive movement can crack paint
- Shadow lines appear at joins
- Hairline gaps reopen
Patience here saves repainting later.
Preparing Cornice for Painting
Preparation is what gives professionals their edge.
Before painting:
- Inspect all joins and corners under good light
- Lightly sand filled areas only (avoid sanding profile detail)
- Remove all dust with a dry cloth or vacuum
- Mask walls or ceilings if colours will differ
If preparation is rushed, paint will expose every flaw.
What Paint Is Best for Cornice?
Water-Based vs Oil-Based Paints
Modern water-based paints are strongly recommended:
- Faster drying
- Minimal yellowing
- Easier to control on detailed profiles
- Compatible with polyurethane cornice
Oil-based paints are rarely necessary and often too heavy for fine detail.
Recommended Sheen Levels
- Matt – most popular; softens transitions and hides imperfections
- Soft sheen / eggshell – adds subtle definition without glare
- Gloss – rarely recommended; highlights every flaw
For most interiors, matt or soft sheen delivers the best result.
How to Paint Cornice for a Crisp Finish (Overview)
At a high level, professional cornice painting follows these principles:
- Use a quality brush, not a heavy roller
- Apply thin, even coats, never thick ones
- Work with the profile, not across it
- Avoid paint build-up in grooves and edges
Painting Cornice in Kitchens & Bathrooms
Moisture-prone areas need extra consideration.
Best Practice
- Use moisture-resistant paint suitable for kitchens/bathrooms
- Avoid thick paint layers that trap moisture
- Allow extra drying time between coats
When paired with moisture-resistant cornice, this approach prevents:
- Peeling
- Yellowing
- Long-term deterioration
Colour Decisions: What Should Cornice Be Painted?
This is as much a design decision as a technical one.
White Cornice (Most Common Choice)
- Creates clean, timeless transitions
- Works in both modern and classic interiors
- Visually lifts ceiling height
- Safest choice for most rooms
Matching Cornice to the Ceiling
- Seamless, contemporary look
- Reduces visual breaks
- Ideal for modern and minimalist spaces
This approach is increasingly popular in new builds and renovations.
Contrasting Cornice Colours
- Can highlight architectural detail
- Works best in period-style or feature rooms
- Risks:
- Highlights uneven joins
- Draws attention to flaws
Painting Cornice and Ceiling Together vs Separately
Painting Together
Pros
- Seamless finish
- Faster overall
- Forgiving of small imperfections
Cons
- Less contrast or definition
Painting Separately
Pros
- Highlights cornice detail
- Allows colour contrast
Cons
- Requires careful cutting-in or masking
- Mistakes are more visible
Professionals choose based on room size, lighting, and profile detail.
How Many Coats Does Cornice Need?
Typically:
- 2 thin coats for most water-based paints
Why thin coats matter:
- Preserve profile detail
- Prevent sagging or pooling
- Dry evenly
Signs you’ve applied too much paint
- Rounded edges
- Filled-in grooves
- Drips along the profile
Common Cornice Painting Mistakes (And How to Avoid Them)
- Overloading the brush
- Using gloss or high-sheen paints unnecessarily
- Painting before adhesive fully cures
- Skipping light sanding at joins
- Rushing the final coat
Most issues come from too much paint, not too little skill.
DIY vs Professional Cornice Painting
DIY-Friendly Scenarios
- Modern lightweight cornice
- Neutral or white colour schemes
- Standard ceiling heights
- Careful preparation
When Professional Painting Helps
- High ceilings
- Ornate or deep profiles
- Strong colour contrast
- Design-critical spaces
Modern materials make DIY painting achievable—but method still matters.
Frequently Asked Questions About Painting Cornice
Final Tips for a Crisp, Professional Finish
- Use quality paint and brushes
- Apply thin, even coats
- Work methodically
- Let each coat dry fully
- Inspect under both natural and artificial light
Final Thoughts: Painting Is What Makes Cornice Shine
Cornice truly comes alive once it’s painted properly. Good painting highlights profile, proportion, and flow, while poor painting can undo even the best installation.
Modern mouldings are designed to make this process easier—clean surfaces, sharp edges, and compatibility with today’s paints all support a professional result. When the correct paint and method are used, the finish looks intentional, refined, and timeless.
That’s why so many homeowners, designers, and trades across Ireland choose Gaudi Coving—for paint-ready cornice that holds detail, finishes crisply, and elevates interiors at the final stage.