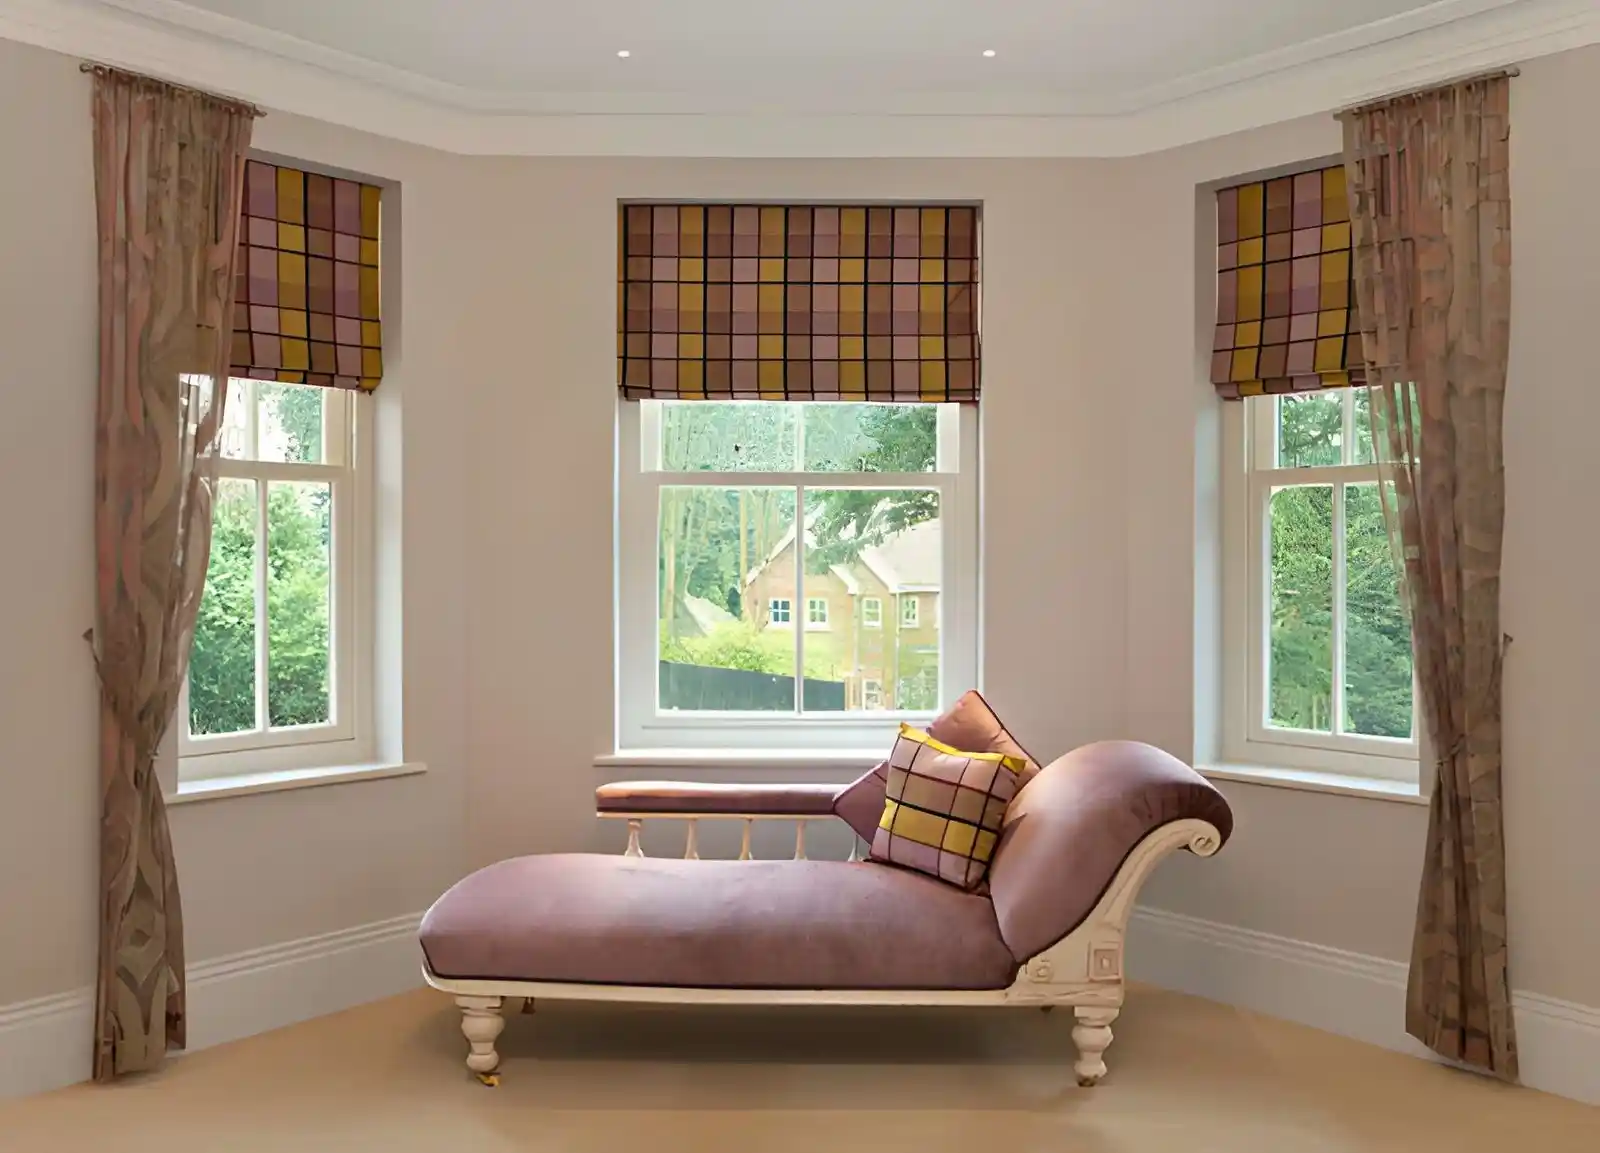
How to fit coving on a curved wall or bay window? Curved walls and bay windows are some of the most striking architectural features you can have in a home—but they’re also among the hardest to finish properly.
Many homeowners and even experienced tradespeople struggle with how to neatly install coving in these spaces without visible gaps, cracks, or uneven lines.
Coving is what transforms these features from “interesting” to truly polished. It softens transitions between walls and ceilings, adds depth, and delivers that refined, designer-level finish that’s increasingly popular in Irish home renovations.
But questions naturally come up:
- Can you bend coving?
- How do you cut coving for a bay window?
- Will it crack or warp over time?
The good news is—yes, you can successfully install coving on curved walls and bay windows. With the right materials, tools, and technique, it’s entirely achievable whether you’re a homeowner tackling a DIY project or a trade professional working on a high-end fit-out.
This guide walks you through everything step by step, including expert tips and why premium options like Gaudi Coving make the process significantly easier.
Can You Fit Coving on a Curved Wall or Bay Window?
Yes — But It Depends on the Material
Not all coving is designed to handle curves. In fact, choosing the wrong material is the most common reason installations fail.
Traditional plaster coving is rigid and brittle, making it extremely difficult to adapt to curved surfaces. While it offers a classic look, it’s not practical for bay windows or rounded walls.
At the other end of the spectrum, cheaper polystyrene coving can bend slightly, but often lacks durability and can dent or warp over time—especially in high-traffic or moisture-prone areas.
The best solution is polyurethane or flexible coving, which is specifically designed to adapt to curves without cracking. These materials combine strength with flexibility, allowing for smoother installation and a cleaner finish.
If you’re also considering coving in moisture-heavy areas, you may want to explore material suitability further in “can you put coving in a bathroom”.
Types of Coving Suitable for Curved Walls
1. Flexible Coving (Best Option)
Flexible coving is purpose-built for curved applications. Made from advanced polymers, it bends smoothly along arcs without losing its shape or detail.
This makes it ideal for:
- Bay windows
- Rounded feature walls
- Period home restorations
It also delivers a premium finish, which is why it’s widely used in high-end renovations and by interior designers seeking that refined European aesthetic.
2. Lightweight Polyurethane Coving
Polyurethane coving offers a balance between flexibility and rigidity. While not as bendable as dedicated flexible coving, it can handle gentle curves effectively.
Its advantages include:
- Excellent durability
- Moisture resistance
- Sharp, high-definition detailing
This makes it a popular choice for both homeowners and trade professionals who need reliability and ease of installation.
3. Polystyrene Coving (Budget Option)
Polystyrene coving can flex slightly, making it usable for very mild curves. However, it comes with trade-offs:
- Less durability
- Softer detailing
- Higher risk of damage during installation
It’s best suited for quick DIY upgrades rather than premium finishes.
For more context on material performance in functional spaces, see “can you use coving in a kitchen”.
Tools & Materials You’ll Need
Before starting, make sure you have the right tools and materials—this is critical for achieving a clean, professional result.
Essential Tools
- Mitre box or mitre saw
- Fine-tooth saw
- Measuring tape
- Pencil for marking
- Flexible ruler or template tool
Materials
- Flexible or polyurethane coving
- High-grab adhesive
- Filler or decorator’s caulk
- Sandpaper
Pro Tip for Trade Professionals
Consistency matters—especially across larger projects. Reliable suppliers like Gaudi Coving ensure:
- Matching profiles across batches
- Consistent dimensions
- Nationwide availability
This reduces installation issues and helps maintain project timelines.
How to Measure a Curved Wall or Bay Window
Step-by-Step Measuring Process
Accurate measurement is the foundation of a successful installation.
- Use a flexible tape or even a piece of string
- Follow the exact curve of the wall or bay window
- Mark transition points where angles change
- Add a 10–15% buffer to your measurements
Common Mistakes to Avoid
- Measuring in straight lines instead of following the curve
- Forgetting corner joints
- Underestimating material requirements
Taking time here prevents costly errors later.
How to Cut Coving for a Bay Window
Understanding Bay Window Angles
Bay windows typically come in:
- 3-sided configurations (usually 135° angles)
- 5-sided designs with more complex geometry
Each joint requires precise mitre cuts to ensure seamless joins.
Cutting Technique
- Use a mitre box to guide accurate cuts
- Adjust for non-standard angles
- Always dry-fit pieces before applying adhesive
- Label each section to avoid confusion during installation
Pro Insight
Experienced installers often pre-cut all sections and test the full layout before fixing anything in place. This ensures alignment and reduces on-the-spot adjustments.
How to Fit Coving on a Curved Wall (Step-by-Step)
Step 1 – Surface Preparation
Ensure the surface is clean, dry, and smooth. Remove dust, grease, or loose paint to improve adhesion.
Step 2 – Mark Guidelines
Draw level guide lines along both the wall and ceiling. This ensures your coving sits evenly throughout the curve.
Step 3 – Apply Adhesive
Use a high-grab adhesive and apply it along both edges of the coving.
Step 4 – Position and Bend
Carefully press the coving into place. If using flexible coving, gently shape it along the curve without forcing it.
Step 5 – Secure and Support
Hold the coving in position briefly. For longer sections, temporary pins or supports may help keep alignment while the adhesive sets.
Step 6 – Fill Joints
Use filler or caulk to smooth out joints and eliminate visible gaps.
Step 7 – Sand and Paint
Once dry, lightly sand the surface and apply paint for a flawless finish.
Can You Bend Coving Without Cracking It?
Yes — If You Use the Right Product
Flexible coving is specifically designed to bend without cracking. Polyurethane options also offer some flexibility, making them suitable for gentle curves.
What NOT to Do
- Don’t force rigid plaster coving
- Don’t over-bend low-quality materials
Expert Tip
Allow coving to acclimatise to room temperature before installation. Slight warmth improves flexibility and reduces the risk of cracking.
Common Problems and How to Avoid Them
Cracking During Installation
Cause: Incorrect material
Solution: Use flexible or polyurethane coving
Visible Gaps Between Sections
Cause: Poor cutting accuracy
Solution: Precise mitre cuts and proper filling
Uneven Alignment
Cause: Skipping guideline markings
Solution: Always mark before installation
Adhesion Failure
Cause: Dusty surfaces or weak adhesive
Solution: Clean surfaces and use high-quality adhesive
Design Tips for Bay Windows & Curved Walls
Match Coving Style to Your Interior
- Period homes: ornate profiles from Gaudi coving
- Modern homes: clean, minimal lines
Enhance Natural Light
Coving can frame bay windows and subtly reflect light, making spaces feel brighter and more open.
Combine with Other Features
For a full-home perspective, explore “Where to use coving in your home: room-by-room guide”.
Why Professionals Choose Premium Coving
For Homeowners
- Easier installation
- Long-lasting durability
- Premium finish that elevates interiors
For Trade Professionals
- Reliable quality across projects
- Faster installation = lower labour costs
- Consistent supply across Ireland
Why Gaudi Coving Stands Out
- High-definition detailing
- Flexible options available
- Moisture-resistant materials
- Paint-ready finish
These qualities make it ideal for both renovation projects and new builds aiming for a high-end result.
How to Fit Coving on a Curved Wall or Bay Window – FAQs
Conclusion
Curved walls and bay windows are standout features—but without the right finishing touches, they can feel incomplete. Coving is what ties everything together, adding depth, elegance, and a polished architectural look.
The key to success lies in three things: choosing the right material, measuring accurately, and installing with care. Flexible and polyurethane coving make the process far more manageable, reducing the risk of cracks, gaps, or uneven finishes.
For homeowners investing in their space—or trade professionals delivering high-end results—premium options like Gaudi Coving offer the ideal combination of ease, durability, and visual impact.
Done right, coving doesn’t just finish a curved wall—it transforms it into a true design feature.