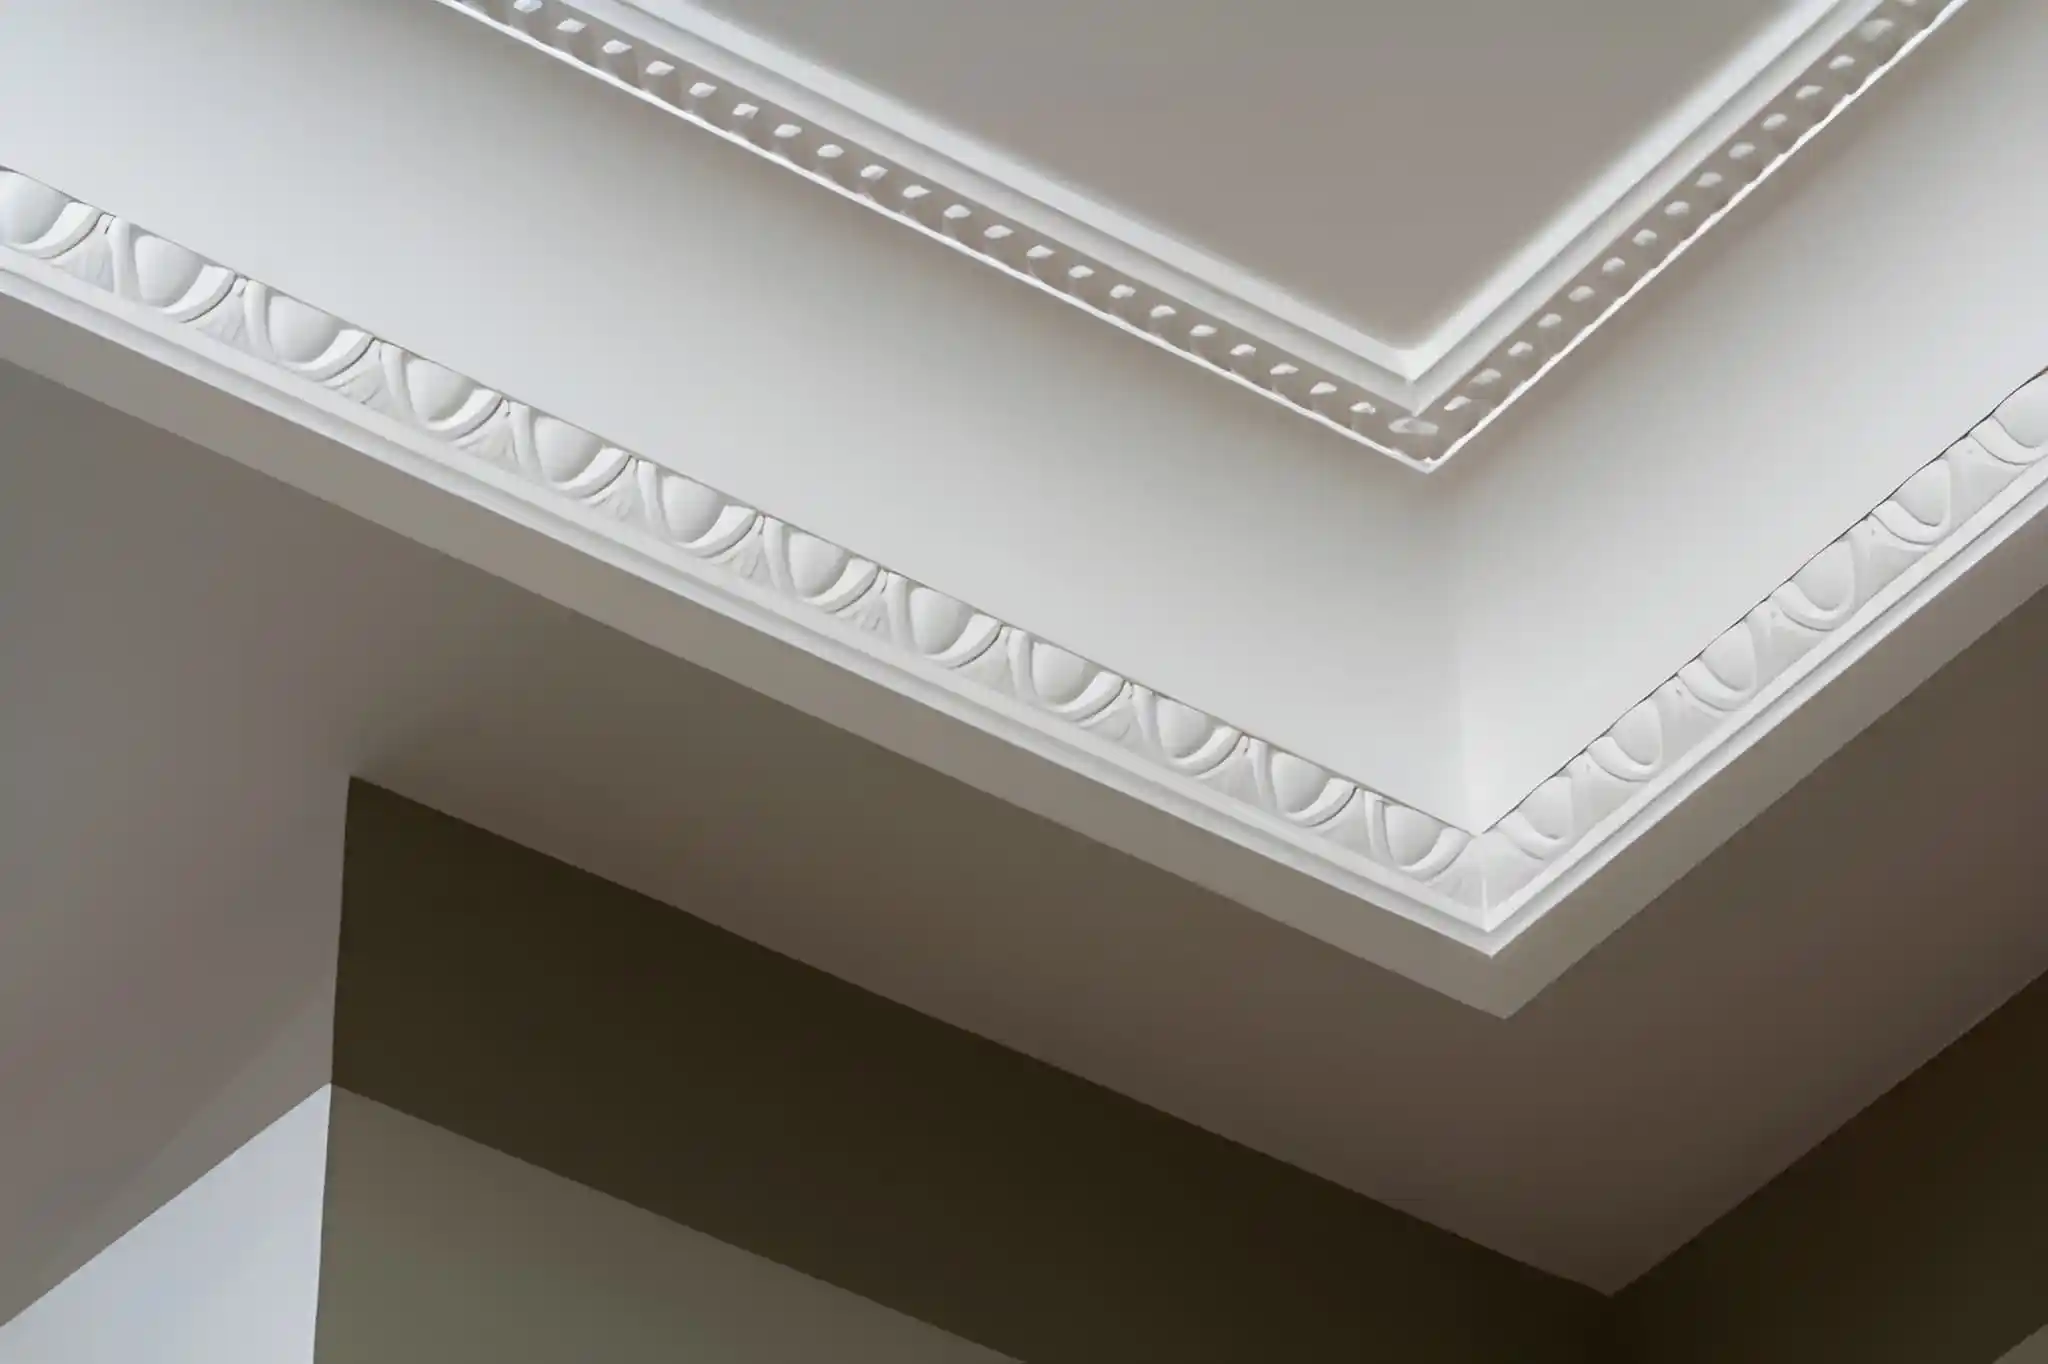
Installing coving is one of the most effective ways to give a room a clean, professional finish—but the quality of the result depends almost entirely on measuring, planning, and fixing it correctly.
The good news is that modern lightweight coving has removed many of the difficulties traditionally associated with plaster, making accurate installation far more achievable for both DIYers and professionals.
This guide explains how to measure coving, how to fix coving securely, how to join coving neatly, and how to put up coving on uneven walls, with practical advice tailored to real Irish homes.
Why Measuring & Planning Coving Properly Matters
Most coving problems—gaps, uneven joints, visible seams—are caused before installation even begins. Incorrect measurements or poor planning lead to rushed cuts and unnecessary joins.
Taking time to measure and plan properly:
- Reduces waste
- Makes installation faster
- Results in cleaner joints and sharper lines
- Removes much of the stress from fitting
Lightweight coving is especially forgiving, but good preparation is still essential for a professional finish.
How to Measure Coving Correctly
Measuring Wall Lengths Accurately
Measure each wall individually, even if the room looks symmetrical. Older properties in particular often have slight variations.
- Use a tape measure along the wall at ceiling height
- Measure alcoves, chimney breasts, bay windows, and returns separately
- Write measurements down clearly to avoid confusion later
Calculating How Much Coving You Need
Add all wall lengths together to get your total run.
Then add:
- 5–10% extra for waste, cuts, and errors
This allowance is especially helpful for first-time installers and ensures you don’t run short mid-installation.
Counting Corners Correctly
Take note of:
- Internal corners (most common)
- External corners (chimney breasts, bay windows)
Even rooms that look square often aren’t, so plan for adjustment rather than assuming perfect angles.
Planning Your Coving Installation
Choosing the Right Coving Profile
Profile size should always relate to ceiling height:
- Lower ceilings: Slim, minimal profiles
- Standard ceilings: Medium profiles
- Higher ceilings: Deeper profiles for balance
Subtle coving works best in most modern Irish interiors, adding definition without overwhelming the space. For a more decorative finish, many homeowners pair coving with a ceiling rose to create a cohesive period-inspired look and add extra character to the room.
Dry-Fitting Before Fixing
Before applying adhesive:
- Hold lengths in place to check alignment
- Test corners and joins
- Mark reference lines lightly if needed
When planning a complete wall design scheme, it’s also worth considering decorative features such as dado rails, which can help define wall proportions and complement newly installed coving.
Tools & Materials Checklist
You’ll typically need:
- Adhesive suitable for lightweight coving
- Mitre tool or fine-tooth saw
- Filling knife and decorator’s filler
- Sandpaper
- Pencil and tape measure
One of the advantages of modern coving is that specialist plastering tools aren’t required.
How to Fix Coving Securely
Preparing Walls & Ceilings
Ensure surfaces are:
- Clean
- Dry
- Free from loose paint or dust
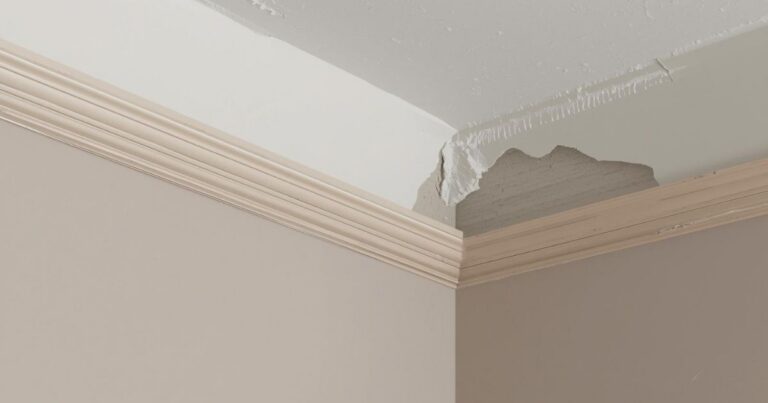
Minor imperfections are normal and can be corrected during installation.
Applying Adhesive Correctly
Apply adhesive along:
- The top edge (ceiling contact)
- The bottom edge (wall contact)
Don’t skimp—adequate adhesive helps compensate for slight surface irregularities and ensures strong bonding.
Positioning & Supporting the Coving
- Press the coving firmly into place
- Adjust gently before the adhesive sets
- Use temporary pins, tape, or supports if needed
Lightweight coving holds more easily than plaster and puts less strain on walls and ceilings.
How to Join Coving for a Seamless Finish
Straight Joins vs Corner Joins
Ideally, joins should:
- Fall in less noticeable areas
- Be avoided directly above focal points where possible
Straight joins are sometimes unavoidable in longer rooms—precision cutting makes all the difference.
Achieving Invisible Joints
To create clean joins:
- Cut accurately
- Apply adhesive to both faces
- Fill the joint once set
- Sand lightly when dry
Modern precision-manufactured coving makes tight joins far easier to achieve.
How to Put Up Coving on Uneven Walls
Identifying Uneven Surfaces
Uneven walls and ceilings are common, especially in:
- Older homes
- Renovation projects
- Properties with settlement over time
Perfectly straight surfaces are rare.
Techniques for Handling Uneven Walls
Lightweight coving allows you to:
- Use extra adhesive to fill shallow gaps
- Gently flex the coving to follow the surface
- Fill remaining gaps neatly once installed
This flexibility is a major advantage over rigid plaster mouldings.
Adjusting Coving vs Adjusting Walls
In most cases:
- Adjust the coving rather than the wall
- Use filler for small inconsistencies
- Accept that perfection comes from balance, not force
Common Coving Installation Mistakes (And How to Avoid Them)
- Rushing measurements
- Ignoring dry-fitting
- Using too little adhesive
- Forcing coving into badly cut corners
- Overcomplicating the process
Taking a steady, methodical approach produces far better results.
Is Coving Installation DIY-Friendly?
For many homeowners, the answer is yes—particularly when using modern lightweight products from Gaudi Coving, which are designed for:
- Easier handling
- Cleaner cutting
- More forgiving installation
Larger or more complex rooms may benefit from professional installation, but many projects are well within DIY reach.
Frequently Asked Questions
Final Thoughts: Getting a Professional Finish Without the Stress
Coving installation doesn’t need to be complicated. With careful measuring, thoughtful planning, and modern lightweight materials, it’s entirely possible to achieve a crisp, professional result—even in less-than-perfect rooms.
The key is preparation. Measure accurately, plan your layout, take your time fixing, and let the coving do what it’s designed to do: finish the room beautifully. For a fully finished interior, consider matching your coving with complementary skirting boards to create a balanced and professional look throughout the space.
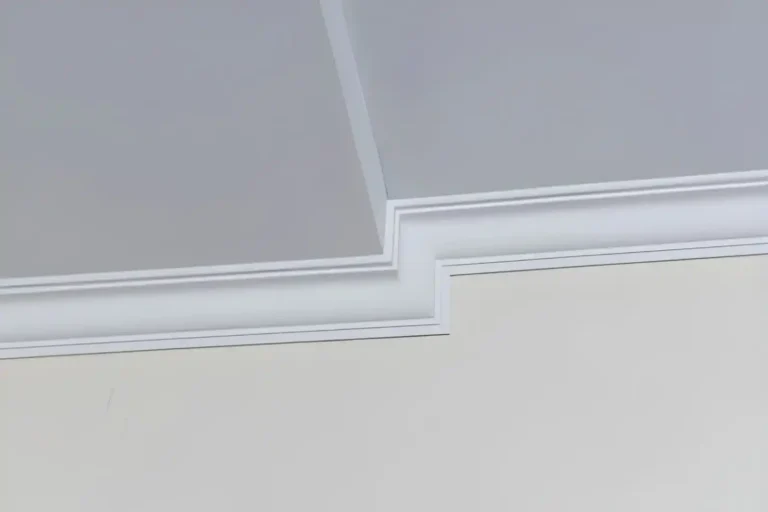
The GAUDI 1.50.288 cornice is a good example of the versatile profile these measuring and planning steps apply to.