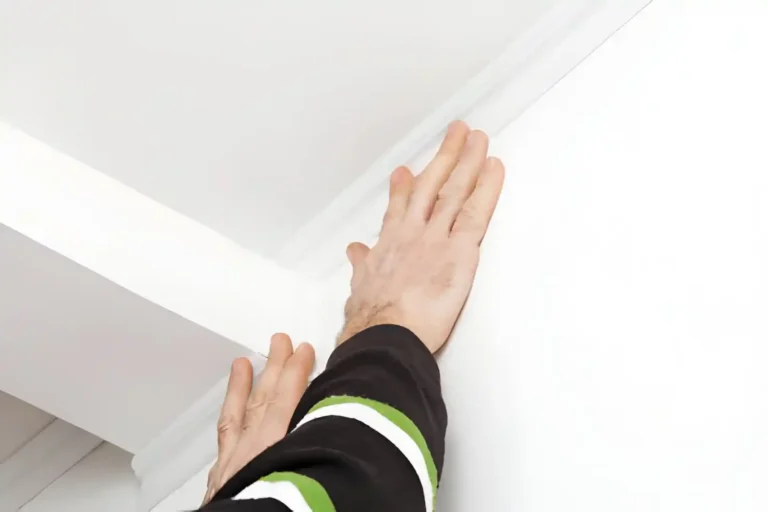
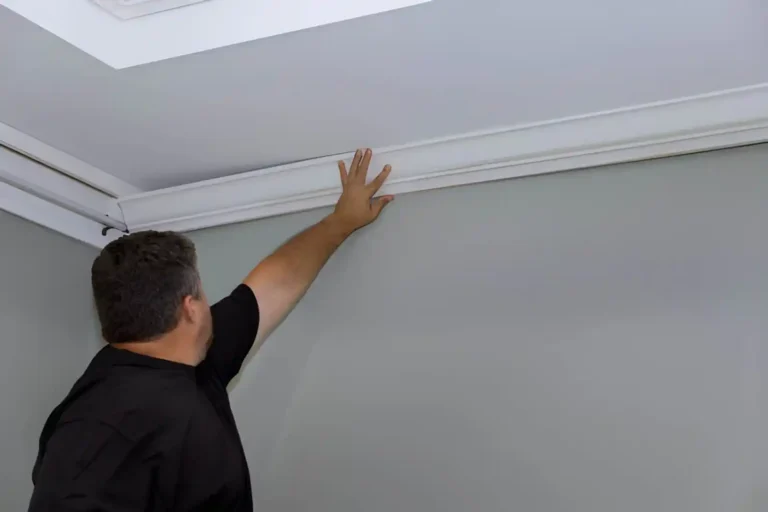
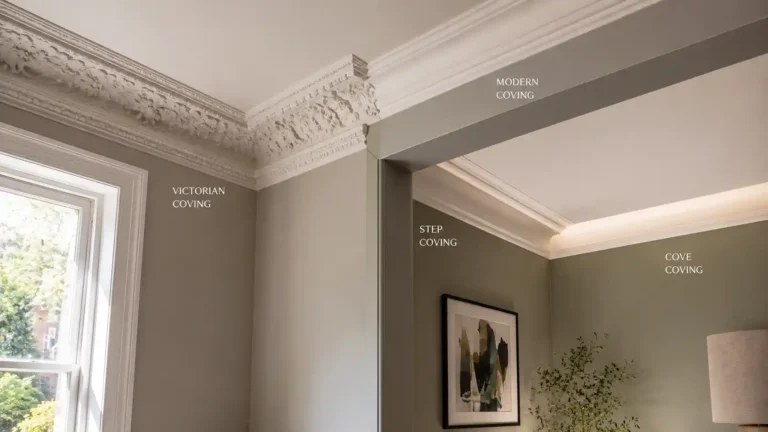
How to do a coving stop end on a straight wall? Creating a clean, professional finish with coving isn’t just about fitting it correctly along corners—it’s also about how you end it. If you’ve ever installed coving only to be left with an awkward exposed edge, you’ll know exactly why mastering a coving stop end matters.
In this guide, we’ll show you exactly how to do a coving stop end on a straight wall, whether you’re a DIY homeowner upgrading a living space or a trade professional aiming for a flawless finish.
A coving stop end is used when the moulding doesn’t run the full length of a wall—such as at a doorway, chimney breast, or feature wall. Done properly, it transforms what could look unfinished into a deliberate architectural detail.
Modern materials like those from Gaudi Coving make this process much easier. They’re lightweight, moisture-resistant (ideal for Irish homes), and simple to cut and shape—perfect whether you’re renovating a period property in Dublin or upgrading a new build in Kildare.
👉 For the full installation process, see: How to install coving
What Is a Coving Stop End?
When You Need a Stop End
A coving stop end is required whenever your coving doesn’t wrap continuously around the room. Common situations include:
- Where coving meets a door frame
- At the edge of a feature wall
- Around chimney breasts
- Partial wall installations
In many modern renovations, especially open-plan layouts, coving is often used selectively—making stop ends essential.
Why It’s Important
A poorly finished end can instantly make a room look unfinished. A well-executed stop end:
- Eliminates rough, exposed edges
- Creates a clean, intentional design detail
- Elevates the overall look of the room
For homeowners investing in high-end finishes—or designers working on premium interiors—this detail is non-negotiable.
Tools and Materials You’ll Need
Essential Tools
To achieve a clean stop end, you’ll need:
- Fine-tooth saw or mitre saw
- Mitre box for accuracy
- Sandpaper (medium and fine grit)
- Adhesive and filler
- Caulking gun
Recommended Materials
Your choice of material plays a huge role in the final finish. We recommend:
- Pre-primed polyurethane coving (like Gaudi Coving)
- High-grab adhesive
- Decorators caulk
For both DIYers and trade professionals, the key priorities are ease of installation, durability, and paint-ready finishes—all major drivers for Irish buyers.
Step-by-Step: How to Do a Coving Stop End on a Straight Wall
Step 1 – Measure and Mark the End Point
Start by marking exactly where your coving will stop.
- Use a pencil and level to ensure accuracy
- Double-check measurements before cutting
Precision here prevents alignment issues later.
Step 2 – Cut the Coving End Cleanly
For a standard stop end:
- Make a straight cut, not an angled one
- Use a mitre box to ensure a clean edge
A rough cut will be very visible once installed—this is one of the most common mistakes.
Step 3 – Shape the Stop End Profile
Now decide how you want the end to look:
- Flat finish: Simple, modern, and clean
- Shaped finish: Curve or contour the end to match the profile
If you’re aiming for a seamless look, shaping is worth the extra effort.
👉 Want perfect joints too? See: How to get rid of joins in coving (invisible finish)
Step 4 – Sand for a Smooth Finish
Use sandpaper to refine the cut edge:
- Remove any jagged edges
- Blend the shape into the profile
This step is crucial for a professional finish.
Step 5 – Fix Coving in Place
Apply adhesive evenly along the back of the coving:
- Press firmly into position
- Hold briefly to secure
- Remove excess adhesive immediately
Step 6 – Fill and Finish the End
Finally, refine the stop end:
- Apply filler to soften edges
- Smooth with a finger or tool
- Sand lightly once dry
The goal is a seamless transition into the wall.
3 Professional Methods for Finishing a Coving Stop End
Method 1 – Simple Flat End
Best suited for:
- Modern interiors
- Minimalist homes
This is the easiest method and works well with sharp, clean coving profiles.
Method 2 – Rounded Decorative End
Ideal for:
- Period homes
- Traditional interiors
This method involves shaping the coving end to follow its profile, creating a softer, more decorative finish.
Method 3 – Return End (Mini Mitre Return)
This is a more advanced technique:
- A small return piece is cut and attached
- Creates the illusion that coving continues
👉 For more complex installations, see: How to fit coving on a curved wall or bay window
Common Mistakes to Avoid
Rough Cuts
Uneven edges are immediately noticeable and difficult to fix later.
Poor Alignment
Even slight misalignment can ruin the overall finish.
Skipping Sanding
This is one of the biggest DIY giveaways.
Using Low-Quality Materials
Cheap coving can crack, warp, or shrink—especially in moisture-prone areas like kitchens or bathrooms.
How to Match Stop Ends with Different Coving Styles
Modern Profiles
- Clean, sharp stop ends
- Minimal detailing
Traditional / Ornate Profiles
- Require shaping or return ends
- More attention to detail
LED Coving Considerations
When using lighting:
- Ensure a clean termination point
- Avoid light leaks at the end
👉 Learn more: How to install LED coving lighting
Best Coving Materials for Clean Stop Ends
Polyurethane Coving
- Lightweight
- Easy to cut and shape
- Moisture-resistant
This is the best all-round option for most Irish homes.
Polystyrene Coving
- Budget-friendly
- Easier to damage
Plaster Coving
- Traditional look
- Heavier and harder to install
For trade professionals, materials like those from Gaudi Coving are often preferred because they reduce installation time and minimise errors—helping maintain project timelines.
When to Install Stop Ends During Your Project
Timing matters for the best finish:
- Install after plastering
- Complete before painting
👉 Not sure about timing? Read: Should you fit coving before or after plastering?
How to Fix a Poorly Finished Stop End
Even experienced installers make mistakes. Here’s how to fix them:
Re-sanding
Smooth out imperfections
Re-filling
Use filler to correct uneven areas
Re-cutting
If the cut is too rough, it’s often best to redo it
👉 If your coving is failing entirely, see: How to fix coving that has come away from the wall
Pro Tips from Trade Professionals
- Always dry-fit before applying adhesive
- Use sharp, high-quality tools
- Work in good lighting
- Buy extra lengths for practice cuts
For professionals, these steps reduce callbacks, improve finish quality, and save labour time.
Design Tips for Irish Homes
Period Homes
- Use decorative or shaped stop ends
- Match existing mouldings
New Builds
- Opt for simple, clean finishes
Renovations
- Blend new coving with existing features
Today’s homeowners want a designer look without excessive cost—and details like coving stop ends play a huge role in achieving that.
FAQs
Conclusion
A well-finished coving stop end might seem like a small detail—but it has a big impact. It turns a basic installation into something that looks intentional, refined, and professionally done.
Whether you’re a homeowner upgrading a single room or a trade professional delivering a high-end finish, mastering this technique is essential.
With the right tools, proper preparation, and high-quality materials like those Gaudi Coving, achieving a flawless result is entirely within reach.