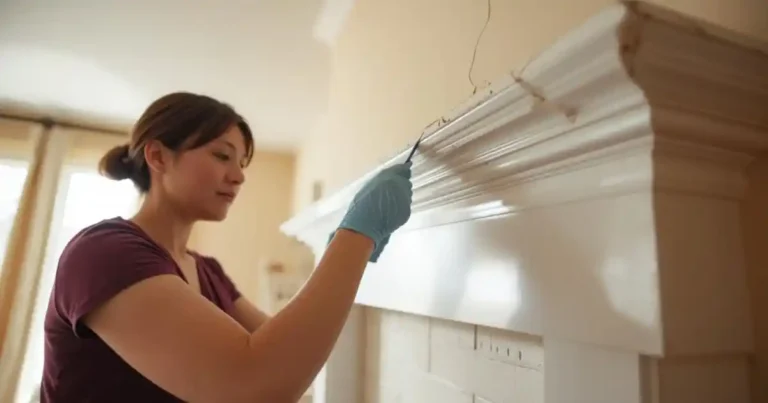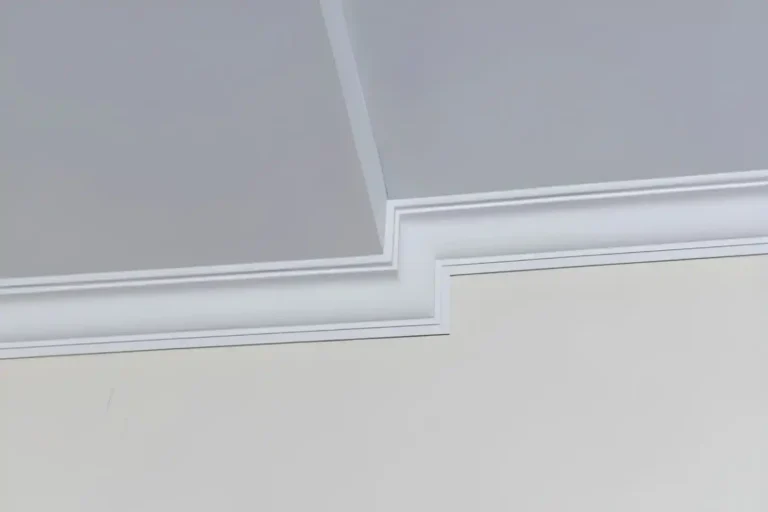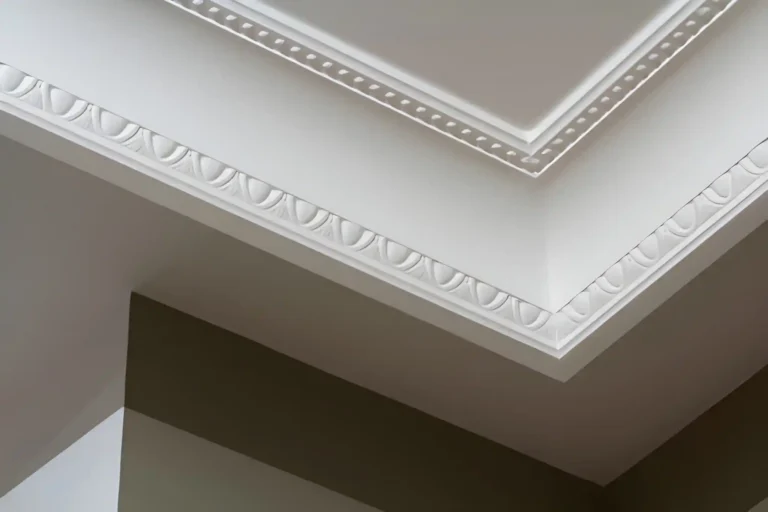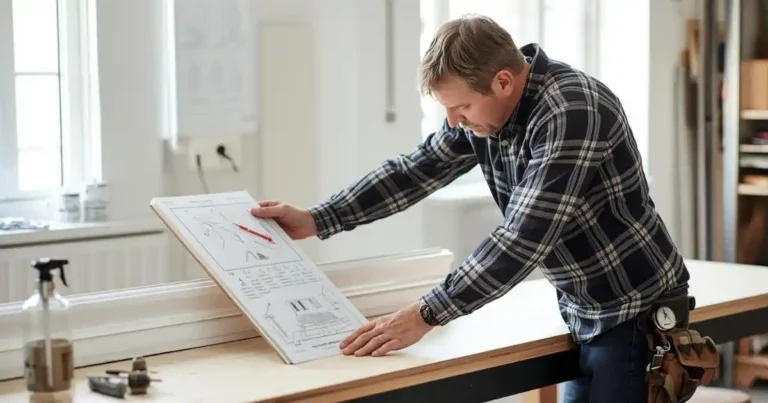

Fitting architrave properly is one of those finishing details that separates a rushed renovation from a professionally finished interior. Whether you’re upgrading tired MDF trim in a 1990s build, restoring a 1930s semi, or completing a new extension, knowing how to fit architrave around a door correctly ensures a clean, sharp result that lasts.
In this step-by-step guide, you’ll learn:
- How to measure and cut architrave correctly
- How to mitre architrave corners
- How to cut architrave angles accurately
- How to fix architrave using adhesive or nails
- The difference between mitre joints and butt joints
- Why polyurethane architrave cuts cleaner than MDF
Let’s walk through it properly.
Tools & Materials You’ll Need
Before starting, make sure you have everything ready. Good preparation prevents rushed cuts and messy joints.
Essential Tools
- Mitre saw (preferred) or mitre box
- Fine-tooth saw blade
- Measuring tape
- Sharp pencil
- Spirit level
- Caulking gun
- Sandpaper (120–180 grit)
- Adhesive (high-grab construction adhesive)
- Pins or brad nails (optional)
- Hammer or nail gun (if using pins)
Materials
- Architrave lengths (allow extra for waste)
- High-strength adhesive
- Decorator’s caulk
- Filler (if using MDF)
If using paint-ready polyurethane mouldings, you can skip heavy sanding and priming — a major time saver.
Step 1 – Measure the Door Frame Correctly
Accurate measuring is the foundation of a clean install.
Standard Internal Door Sizes in Ireland
Most internal doors are:
- 1981mm high
- 762mm wide (most common width)
However, always measure your actual door frame. Don’t assume.
How to Measure for Architrave
- Measure the full height of the door frame (floor to top of frame).
- Decide how far from the frame edge you want your architrave to sit (typically 5–10mm reveal).
- Mark a consistent reveal line using a pencil and level.
The reveal is crucial. It ensures the architrave sits evenly and looks professionally aligned.
Step 2 – How to Cut Architrave Properly
Now we move to one of the most searched questions: how to cut architrave.
You’ll need three pieces per side of a standard door:
- Left vertical
- Right vertical
- Top horizontal
Cutting the Vertical Pieces
- Measure from floor to the top reveal line.
- Mark the measurement clearly.
- Leave extra length at the top for the 45° mitre cut.
- Make a clean straight cut at the bottom.
Always cut slightly longer first — you can trim down if needed.
How to Cut Architrave Angles (45° Mitre)
This is where precision matters.
To cut architrave angles:
- Set your mitre saw to 45°.
- Position the decorative face upwards and tight against the fence.
- Ensure the profile edge remains aligned.
- Cut slowly to avoid splintering.
Always do a test cut on scrap material first.
Why Polyurethane Cuts Cleaner Than MDF
Material choice significantly affects your results.
MDF issues:
- Can splinter on mitres
- Creates fluffy edges
- Requires sanding and sealing
- Susceptible to moisture swelling
High-density polyurethane advantages:
- Clean, crisp cuts
- No fraying or fibre tear-out
- Sharper profile detail
- No moisture swelling
For both DIY installers and trade professionals, this means:
- Faster installation
- Cleaner joints
- Less sanding
- Better finish
This is particularly important in Irish homes where humidity can affect timber-based products over time.
Step 3 – How to Mitre Architrave Corners
If you’re wondering how to mitre architrave correctly, here’s the straightforward method.
Cutting the Two Side Pieces
Each vertical piece should have:
- A straight cut at the bottom
- A 45° inward angle at the top
Make sure both sides are mirrored correctly. One should slope left, the other right.
Cutting the Top Piece
The horizontal piece requires:
- 45° cut on the left end
- 45° cut on the right end
These must match the angles of the vertical pieces.
Dry Fit Before Fixing
Before applying adhesive:
- Hold all three pieces in place
- Check corner alignment
- Ensure mitres close tightly
- Adjust if necessary
Dry fitting prevents messy corrections later.
Mitre Joint vs Butt Joint – Which Is Better?
When fitting architrave around a door, you have two joint options.
🔹 Mitre Joint (45° Angled Join)
Pros:
- Traditional finish
- Seamless corner appearance
- Professional look
- Best for decorative profiles
Cons:
- Requires precision cutting
Mitre joints are strongly recommended for visible living spaces.
🔹 Butt Joint (Straight Join)
In a butt joint:
- The top piece sits directly on top of the vertical pieces
- No angled cuts required
Pros:
- Easier for beginners
- Faster install
Cons:
- Less refined look
- Joint line more visible
Butt joints may be acceptable in utility rooms, but for main living areas, mitre joints create a far superior finish.
Step 4 – How to Fix Architrave to the Wall
Once your pieces are cut and dry fitted, it’s time to fix them.
This answers another common search: how to fix architrave.
Option 1: Adhesive Only (Modern Method)
Lightweight mouldings allow adhesive-only installation.
- Apply zig-zag bead of adhesive along back of architrave.
- Press firmly against wall following reveal line.
- Hold briefly to ensure grip.
- Check alignment with spirit level.
This method is ideal for:
- Polyurethane mouldings
- Smooth plasterboard walls
- Minimising wall damage
Option 2: Adhesive + Nails or Pins
Some installers prefer extra mechanical fixing.
- Apply adhesive.
- Secure with brad nails or pins.
- Fill nail holes before painting.
This method is useful when:
- Walls are uneven
- Masonry is present
- Extra holding power is needed
Adhesive vs Nails – What’s Best?
The right method depends on material and wall condition.
Adhesive Only
✔ Cleaner finish
✔ No nail filling
✔ Faster installation
✔ Ideal for lightweight mouldings
Adhesive + Nails
✔ Extra support
✔ Useful on older masonry walls
✔ Preferred by some trades
Because polyurethane mouldings are significantly lighter than MDF, adhesive-only installation is far more practical.
This reduces:
- Labour time
- Wall damage
- Call-backs for cracks
Common Installation Mistakes to Avoid
Even experienced DIYers make these errors.
1️⃣ Cutting the Wrong Angle Direction
Always double-check which side of the mitre saw you’re cutting.
2️⃣ Not Marking a Reveal Line
Uneven reveals immediately look amateur.
3️⃣ Skipping Dry Fit
Never glue before testing.
4️⃣ Using a Blunt Blade
Leads to splintered edges.
5️⃣ Choosing Poor Material
MDF can swell in damp areas and crack at joints over time.
Taking your time with measuring and cutting makes a visible difference.
How Long Does It Take to Fit Architrave?
For an experienced installer:
- 30–60 minutes per door
For DIY:
- 1–2 hours per door
A full house with 10 doors could take:
- 1–2 days depending on complexity
Lightweight mouldings significantly reduce fatigue and cutting time, especially for trade professionals working across multiple rooms.
Why Material Choice Matters in Irish Homes
Ireland’s climate presents unique challenges:
- Humidity fluctuations
- Damp conditions
- Temperature variation
These factors impact material stability.
MDF
- Can swell at edges
- Prone to damage during installation
- Requires sealing before painting
Plaster
- Heavy
- Fragile
- Prone to cracking
High-Density Polyurethane
- Moisture-resistant
- Stable in temperature changes
- Lightweight
- Resistant to cracking
- Paint-ready
For both renovation and new builds, choosing a durable material reduces long-term maintenance and improves finish quality.
It delivers the architectural look without the cracking risk.
FAQs
Ready to Upgrade Your Door Finish?
The difference between a standard finish and a refined interior often comes down to trim quality.
Choosing the right architrave ensures:
- Clean mitre joints
- Faster installation
- Moisture resistance
- Long-lasting durability
- Sharp European detail
If you’re fitting architrave as part of a renovation or new build, investing in high-quality, paint-ready mouldings ensures the job looks professional — and stays that way.
Shop Paint-Ready Architrave Profiles
- Designed for Irish homes
- Moisture-resistant
- Crisp architectural detail
- Lightweight for faster install
- Trusted by trade professionals and designers
- Nationwide delivery
Because when it comes to finishing a home properly — the details matter.