What tools do you need to cut coving? “Coving is only as good as the cut.”
It’s a simple truth—but one that many homeowners and even some professionals learn the hard way. Uneven joints, visible gaps, or cracked edges can quickly ruin the clean, designer finish you’re aiming for.
For many Irish homeowners renovating period properties or upgrading modern interiors, coving is the finishing touch that elevates a room. But the installation process can feel intimidating—especially when it comes to cutting precise angles.
The good news? With the right tools and a clear method, achieving professional-quality results is entirely possible—even for DIY beginners.
Modern materials like Gaudi Coving make the process even easier. Designed to be lightweight, moisture-resistant, and simple to cut, they remove much of the frustration traditionally associated with coving installation.
What Tools Do You Need to Cut Coving?
Essential Tools (Core Kit)
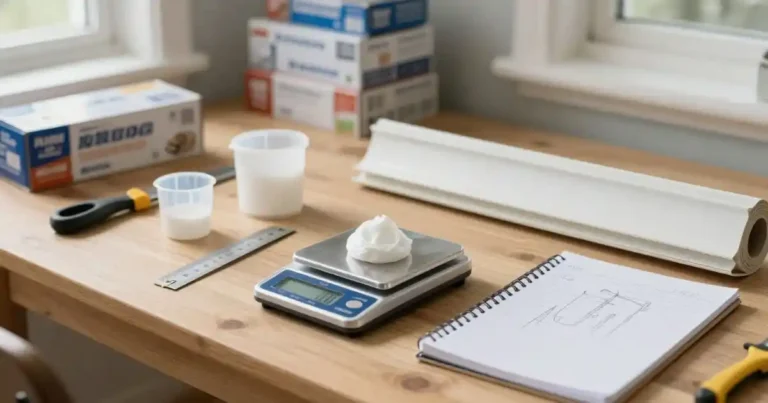
If you’re just getting started, you don’t need a workshop full of equipment. A simple, well-chosen toolkit will get you most of the way:
- A mitre box for guiding accurate angles
- A fine-tooth saw (such as a tenon or panel saw)
- A measuring tape and pencil for marking cuts
- Fine-grit sandpaper for smoothing edges
- Adhesive and a caulking gun for installation
This setup is ideal for homeowners who want a clean finish without overcomplicating the process.
Optional Tools for Better Results
While not essential, these tools can significantly improve speed and precision:
- A chop saw or mitre saw for fast, repeatable cuts
- A coping saw for detailed joints
- A digital angle finder for irregular corners
- Coving templates for consistent accuracy
These tools are especially valuable for trade professionals working across multiple rooms or properties.
To avoid common fitting issues, it’s worth reviewing how to cut coving corners before starting.
Can You Cut Coving with a Stanley Knife?
This is one of the most common questions among DIY renovators—and the answer is: sometimes.
When a Stanley Knife Works
A Stanley knife can be effective when working with lightweight materials like polystyrene coving. It’s also useful for:
- Small adjustments
- Trimming edges
- Budget-friendly DIY projects
For beginners, it can feel like a more approachable option than using a saw.
When It Doesn’t Work
However, a Stanley knife quickly reaches its limits when dealing with:
- Polyurethane coving
- Plaster mouldings
- Thick or decorative profiles
- Long, straight cuts requiring precision
In these cases, a saw provides far better control and a cleaner finish.
Stanley Knife vs Saw
While a knife may seem easier, it often sacrifices accuracy. A fine-tooth saw delivers:
- Sharper edges
- Better alignment at corners
- Less risk of damaging the material
If you’re unsure about angles, refer to how to calculate coving angles without a mitre box for a clearer understanding.
Which Saw Is Best for Cutting Coving?
Manual Saws (Best for DIYers)
Manual saws remain the go-to option for many homeowners. A tenon or panel saw offers:
- Affordability
- Greater control
- Minimal setup
The trade-off is that cuts take longer and require steady technique—but for most DIY projects, they’re more than sufficient.
Electric Saws (Best for Trade Professionals)
For professionals or larger renovation projects, electric tools are a game changer.
Mitre saws and chop saws provide:
- Fast, consistent cuts
- Precision across multiple pieces
- Reduced labour time
For tradespeople managing tight deadlines, this level of efficiency can significantly improve project timelines and profitability.
Choosing Based on Material
The type of coving you choose directly impacts the tools you’ll need:
- Polystyrene → Knife or fine saw
- Polyurethane (like Gaudi Coving) → Fine saw or mitre saw
- Plaster → Power tools recommended
Modern polyurethane coving strikes the ideal balance—lightweight enough for easy handling, yet durable enough for a premium finish.
Do You Need a Mitre Box for Coving?
What a Mitre Box Does
A mitre box is one of the simplest yet most effective tools in coving installation. It helps guide your saw to the correct angle—typically 45 degrees—ensuring consistent cuts.
This is particularly useful for beginners who may struggle with freehand cutting.
When You Can Skip It
There are situations where a mitre box isn’t necessary:
- When using a mitre saw
- When working with pre-made templates
- When you have experience cutting angles manually
If you want to master angle calculations without relying on tools, see how to calculate coving angles without a mitre box.
Understanding Coving Angles (Without the Confusion)
Why Coving Angles Are Different
Unlike standard cuts, coving sits between the wall and ceiling. This creates a “spring angle” that can confuse first-time installers.
Instead of cutting flat, you’re effectively cutting in two planes at once.
Common Angles You’ll Use
Most rooms follow predictable geometry:
- Internal corners (inside corners)
- External corners (outside corners)
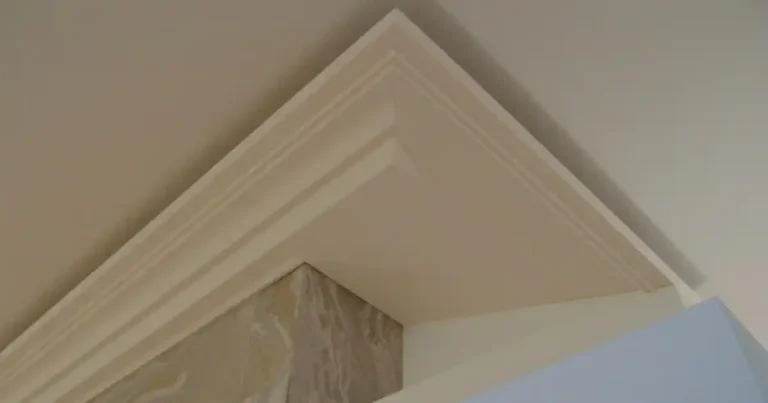
- Standard 90° walls requiring 45° cuts
However, not all walls are perfectly square—which is where accurate measurement becomes crucial.
Tool Setup: How to Prepare Before Cutting Coving
Measuring Correctly
Before making any cuts, take time to:
- Measure each wall precisely
- Identify internal and external corners
- Mark the direction of each cut
Preparation is where most successful installations are won.
Positioning the Coving Properly
One of the most common mistakes is placing the coving incorrectly in the mitre box.
Remember: coving is typically cut “upside down and backwards” to match its installed position.
Getting this wrong leads to mismatched joints—one of the biggest frustrations for DIYers.
Step-by-Step: How to Cut Coving with Different Tools
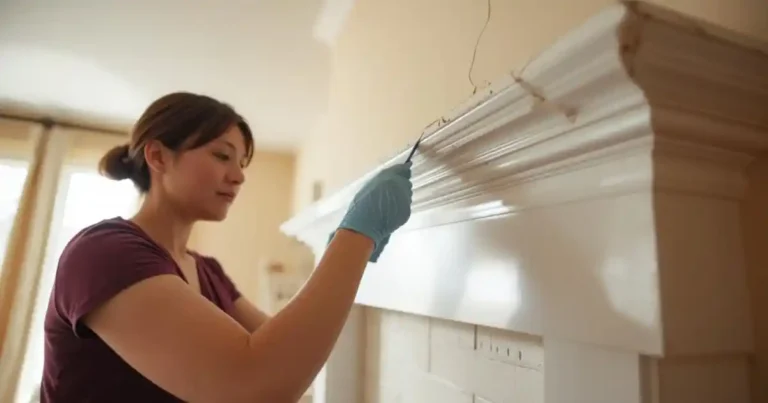
Using a Mitre Box and Hand Saw
- Place the coving securely in the mitre box
- Select the correct angle slot
- Cut slowly with even pressure
This method offers excellent control and is ideal for beginners.
Using a Chop Saw (Trade Method)
- Set the angle precisely
- Secure the coving firmly
- Make a smooth, controlled cut
This is the fastest and most accurate approach for professionals.
Using a Stanley Knife (Lightweight Only)
- Score the surface repeatedly
- Snap along the cut line
- Smooth edges with sandpaper
While convenient, this method is best reserved for simple materials and minor adjustments.
Common Mistakes When Cutting Coving (And How to Avoid Them)
Top DIY Mistakes
- Cutting in the wrong direction
- Misreading angles
- Rushing through cuts
These issues often lead to gaps and uneven joins.
Trade-Level Issues
Even experienced installers can run into problems such as:
- Using low-quality materials that warp or crack
- Inconsistent angles across rooms
- Poor planning leading to wasted materials
Choosing reliable products helps avoid these issues from the start.
Why Material Choice Affects Your Tools
Comparing Coving Materials
Different materials behave very differently when cutting:
- Plaster → heavy, brittle, requires precision tools
- MDF → durable but less common for ceilings
- Polystyrene → lightweight but less durable
- Polyurethane → strong, lightweight, easy to cut
Why Modern Installers Prefer Polyurethane
Polyurethane coving, such as Gaudi Coving, has become the preferred choice for both homeowners and professionals.
It offers:
- Lightweight handling
- Resistance to cracking and warping
- Easy cutting with standard tools
- Moisture resistance—ideal for kitchens and bathrooms
For Irish homes where humidity can be a concern, this is a major advantage.
Tools Checklist for Different Users
DIY Homeowner Toolkit
For residential renovators aiming for a polished finish:
- Mitre box
- Hand saw
- Adhesive
- Sandpaper
With the right approach, you can achieve a designer-level result without specialist equipment.
Professional Toolkit
Trade professionals benefit from investing in efficiency:
- Mitre saw
- Digital angle finder
- Bulk adhesive
- Precision tools
The result is faster installation, consistent quality, and reduced labour costs.
Pro Tips for Perfect Coving Cuts
Accuracy Tips
- Always test cuts on spare pieces
- Clearly label each section before cutting
- Double-check angles before committing
Finish Tips
- Sand edges lightly for a seamless join
- Use caulk to fill minor gaps
- Paint after installation for a flawless look
Real-World Use Cases
Homeowner Scenario
A Dublin-based homeowner renovating a living room wants a refined, “Instagram-worthy” finish. Using a basic toolkit and Gaudi Coving, they achieve clean lines and seamless corners without hiring a specialist.
Trade Professional Scenario
An interior contractor working across multiple rooms uses a mitre saw and polyurethane coving to deliver fast, consistent results—meeting deadlines while maintaining high-end quality.
FAQs – What Tools Do You Need to Cut Coving? Complete Guide
Conclusion: The Right Tools Make Coving Easy
Cutting coving doesn’t have to be complicated. With the right tools, proper preparation, and a clear understanding of angles, both homeowners and professionals can achieve exceptional results.
For DIYers, simple tools are often enough to create a polished, high-end look. For trade professionals, investing in precision equipment ensures speed and consistency across projects.
Ultimately, success comes down to two factors: choosing the right material and applying the correct technique.
Modern solutions like Gaudi Coving make the process easier than ever—combining durability, ease of installation, and a premium finish that enhances any space.
Whichever tools you settle on, a clean-lined profile like the GAUDI 1.50.145 cornice is a straightforward one to practise cuts on.