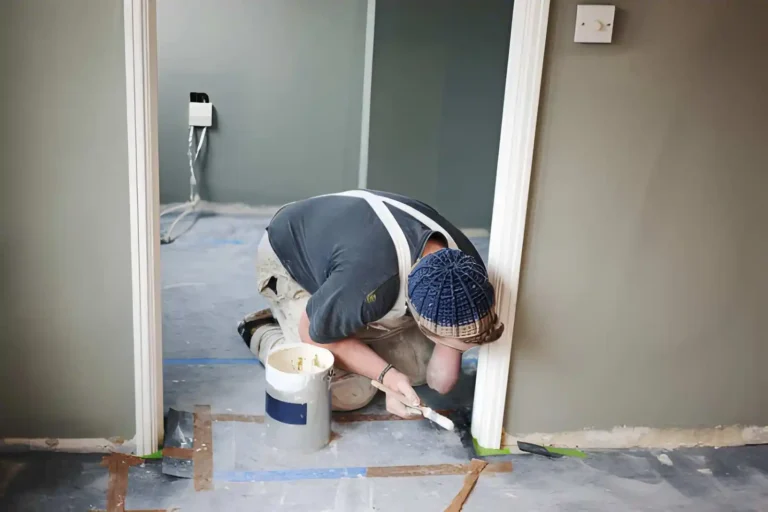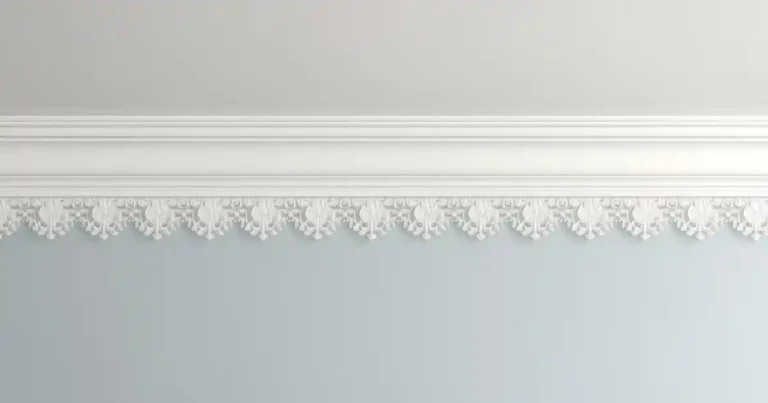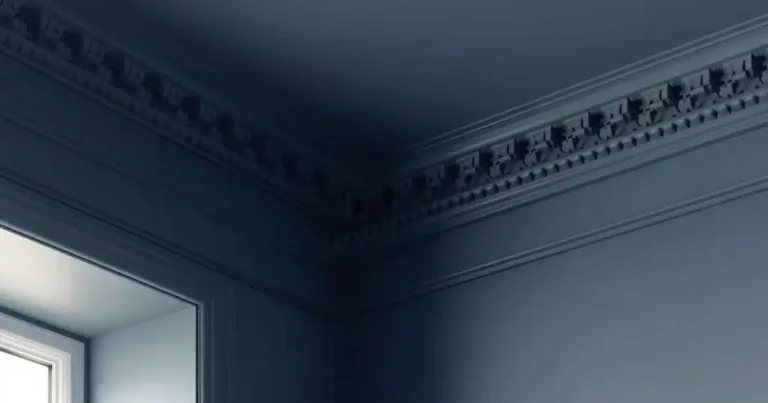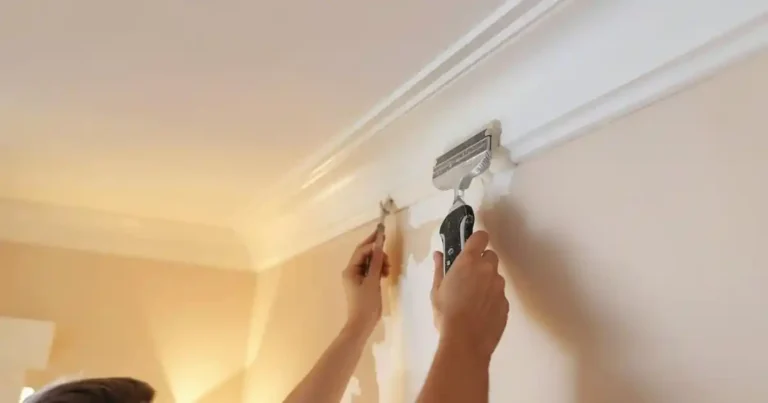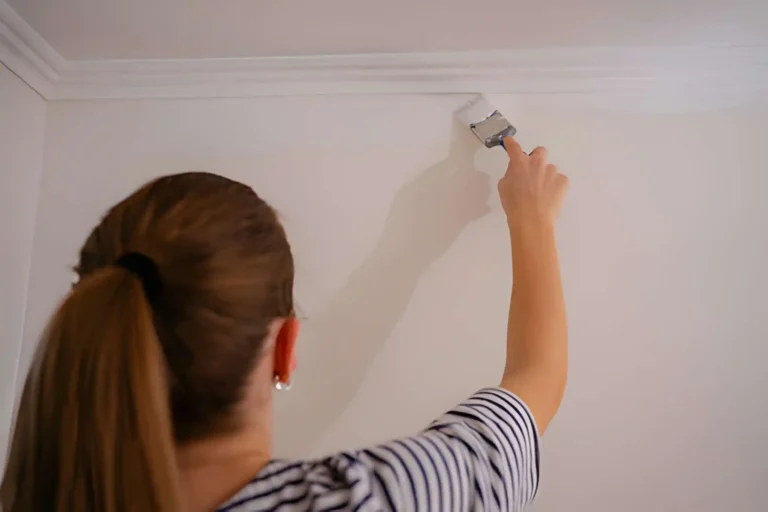

How to paint architrave for a professional finish? Architrave frames your doors and windows — and when painted properly, it elevates the entire room. Poorly finished trim can make even a high-end renovation feel rushed or incomplete.
Whether you’re upgrading a period home in Dublin, finishing a new build in Kildare, or completing a modern extension in Cork, knowing how to paint architrave properly is what separates an average job from a truly professional finish.
This guide walks through:
- Proper preparation
- Sanding techniques
- Priming correctly
- Applying the perfect top coat
- Why modern paint-ready polyurethane architrave saves significant time compared to MDF or raw timber
Perfect for:
- Irish home renovators upgrading their interiors
- Trade professionals who want zero call-backs
- Designers specifying architectural mouldings
Why Architrave Finish Matters More Than You Think
Architrave is not just trim — it’s architectural framing.
A well-painted architrave:
- Creates clean shadow lines
- Defines door and window openings
- Enhances ceiling height perception
- Adds “architectural sharpness” to a space
- Separates a developer-basic finish from a design-conscious home
When done correctly, it complements coving, skirting, and wall panelling to deliver a complete architectural look.
Tools & Materials You’ll Need
Before you paint architrave, having the right tools makes a dramatic difference to your finish quality.
Essential Tools
- Fine grit sandpaper (180–240 grit)
- Sanding block
- High-quality angled brush (2”)
- Mini foam roller (for ultra-smooth finish)
- Clean microfiber cloth
- Masking tape
Cheap brushes create drag lines and bristle marks — investing in a quality brush instantly improves your final result.
Paint & Prep Materials
- High-adhesion primer (if required)
- Water-based satinwood or eggshell paint
- Paintable caulk
- Sugar soap (if repainting existing trim)
Step 1 – Prepare the Surface Properly
Preparation is where most professional finishes are won or lost.
If Installing New Polyurethane Architrave
- Fill nail holes with fine filler
- Lightly sand mitre joints
- Remove dust with a microfiber cloth
- Prime only if manufacturer recommends (many modern products are pre-primed)
The cleaner your prep, the sharper your finished lines.
Why Paint-Ready Polyurethane Saves Time
Modern high-density polyurethane architrave offers major advantages:
- Comes factory-primed
- Smooth, non-porous surface
- No MDF fibre raising
- No heavy sealing required
- No plaster dust
- Lightweight and easy to handle
Compare this to traditional materials:
MDF
- Absorbs moisture
- Edges swell
- Requires heavy priming
- Can show fibre texture
Raw Timber
- Grain bleed-through
- Requires sealing
- Can warp
Plaster
- Heavy
- Fragile
- Requires sealing
- High crack risk
For Irish homes, where humidity fluctuates seasonally, moisture resistance matters. Polyurethane does not absorb moisture — meaning fewer cracks and no swelling over time.
Step 2 – Sanding for a Smooth Finish
Sanding architrave correctly is what creates that “factory-finished” look.
Light Sanding Between Coats
Use 220–240 grit sandpaper and focus on:
- Mitre joints
- Filler areas
- Any visible brush marks
Light sanding removes imperfections and creates proper adhesion for the next coat.
Pro Tip for Trade Professionals:
Always sand filler areas flush before priming to avoid shadow lines showing under top coats.
Even pre-primed architrave benefits from a light scuff sanding before painting.
Step 3 – Priming Architrave Correctly
Priming depends entirely on the material you’re working with.
When You Need Primer
- Bare MDF
- Raw timber
- Stained surfaces
- Repainting dark colours lighter
Primer seals porous materials and prevents uneven absorption.
When Primer Isn’t Necessary
- Pre-primed polyurethane architrave
- Previously painted surfaces in good condition
Skipping unnecessary primer on factory-primed polyurethane saves both time and labour — especially valuable on large renovation projects.
In the Irish climate, moisture movement is a key factor. Polyurethane’s closed-cell structure prevents moisture absorption, dramatically reducing cracking and long-term movement issues.
Step 4 – Applying the Top Coat
This is where the transformation happens.
Best Paint Types for Architrave
- Water-based satinwood – Most popular, durable, subtle sheen
- Eggshell – Modern matte aesthetic
- Gloss – Traditional period homes
Water-based paints are preferred for modern interiors due to faster drying times and low odour.
Application Method
To get a professional finish when painting architrave:
- Cut in carefully with a 2” angled brush
- Roll lightly with a mini foam roller
- Lay off gently in one direction
- Allow proper drying time
- Light sand between coats
- Apply a second thin coat
Two thin coats are always better than one thick coat. Thick paint leads to drips, sagging, and uneven sheen.
Common Mistakes to Avoid
Even experienced DIYers make these errors:
- Skipping sanding
- Overloading the brush
- Not caulking gaps between wall and trim
- Using low-quality brushes
- Painting without proper drying time
- Ignoring moisture issues (especially in Irish homes)
Moisture movement is often the hidden cause behind cracking or joint separation.
Architrave Paint Finish Comparison
MDF vs Plaster vs High-Density Polyurethane
| Feature | MDF | Plaster | High-Density Polyurethane |
|---|---|---|---|
| Moisture Resistance | Poor | Moderate | Excellent |
| Weight | Medium | Heavy | Lightweight |
| Cracking Risk | Edge swelling | High | Very low |
| Paint Prep Time | High | High | Low |
| Finish Sharpness | Moderate | Good | Very sharp |
Most Irish homeowners don’t realise the material choice directly impacts how easy architrave is to paint — and how long that finish will last.
Choosing a stable, paint-ready material reduces prep time and dramatically improves final results.
Professional Finish Checklist
Before you call it complete, confirm:
✔ Surfaces sanded
✔ Dust removed
✔ Nail holes filled
✔ Caulked joints
✔ Two thin coats applied
✔ Light sand between coats
If you can tick all six, you’re achieving professional-level results.
FAQs
Final Thoughts – The Secret to a Clean Architectural Finish
Painting architrave properly is less about the paint — and more about preparation.
If you want:
- Clean shadow lines
- No cracking
- No swelling
- Minimal prep time
- Long-term durability
Then choosing paint-ready polyurethane architrave makes the finishing stage dramatically easier.
The material you install determines how professional your final result looks.