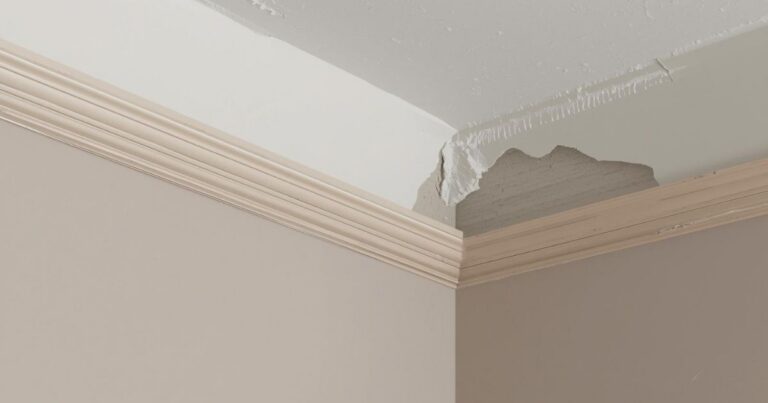
Cracked, chipped, or loose cornice is a common discovery during renovation—and it immediately raises the big question: can this be repaired, or is replacement the smarter option? The answer depends on what kind of damage you have, what the cornice is made from, and how much movement is going on behind the scenes.
This guide helps you diagnose the problem, carry out sensible repairs where appropriate, and recognise the point where replacement delivers a better, longer-lasting result.
When Cornice Repair Is the Right Solution
Repair is often the right call when damage is minor and localised. Typical situations where repair makes sense include:
- Fine hairline cracks with no movement
- Small chips or nicks caused by impact
- Cosmetic defects revealed during repainting
Not every problem requires full replacement. Many cornice issues are superficial and respond well to careful filling and finishing.
That said, it’s important to manage expectations. Repairs can improve appearance and stability, but they won’t stop underlying movement. If the structure continues to shift, cracks can return.
👉 For the bigger decision framework, see: Cornice Repair & Restoration: What You Need to Know
First Step – Identify the Type of Damage
Accurate diagnosis comes before any filler or sanding.
Hairline Cracks
- Often caused by settlement or seasonal movement
- Usually cosmetic if the cornice is firmly fixed
- Likely to return if cracks widen over time or reappear after repainting
Cosmetic vs structural: if the crack opens when pressed or runs the full length of a wall, further investigation is needed.
Chips, Breaks & Impact Damage
- Common near corners, ladders, or furniture
- Edge damage is easier to repair than missing profile detail
- Small chips are usually repairable; lost detail is harder to recreate convincingly
Loose or Moving Cornice
Movement changes everything.
- Filler alone won’t hold moving cornice
- Old fixings may have failed
- Repairs here can be temporary or unsafe
If the cornice moves when pressed, treat it as a fixing problem—not a cosmetic one.
Missing Sections
Missing pieces are the toughest challenge.
- Original profiles may be handmade or discontinued
- Matching old plaster exactly is rarely possible
- Partial repairs often draw attention rather than blend in
What Type of Cornice Are You Repairing?
Material matters more than most people realise.
Lightweight Polyurethane & Polystyrene Cornice
Modern lightweight cornice is:
- Easier to repair cleanly
- Compatible with flexible fillers and adhesives
- Predictable once repaired and painted
These properties also make replacement straightforward if repair isn’t viable—one reason many renovators choose modern profiles from Gaudi Coving when updating older interiors.
Traditional Plaster Cornice
Plaster brings challenges:
- Heavy and brittle
- Repairs often remain faintly visible
- Higher chance of cracks returning if movement continues
Plaster can be repaired, but expectations must be realistic.
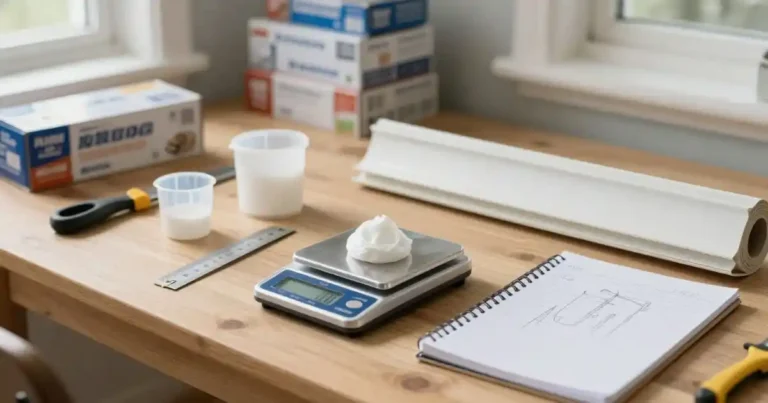
Tools & Materials Needed for Cornice Repair
Essential Materials
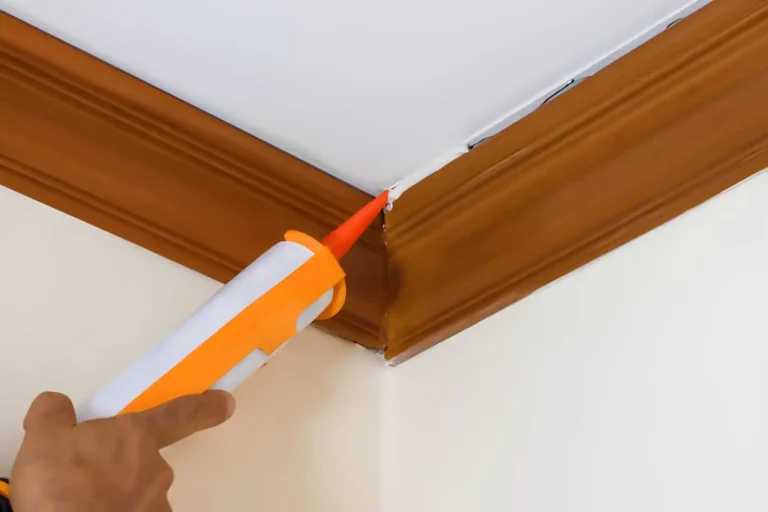
- Flexible filler (not rigid wall filler)
- Fine sandpaper (180–240 grit)
- Repair adhesive (for stabilising loose sections)
- Filling knives (small and flexible)
Optional but Helpful
- Small sculpting tools for shaping detail
- Primer for repaired areas
- Fine paint brushes for touch-ups
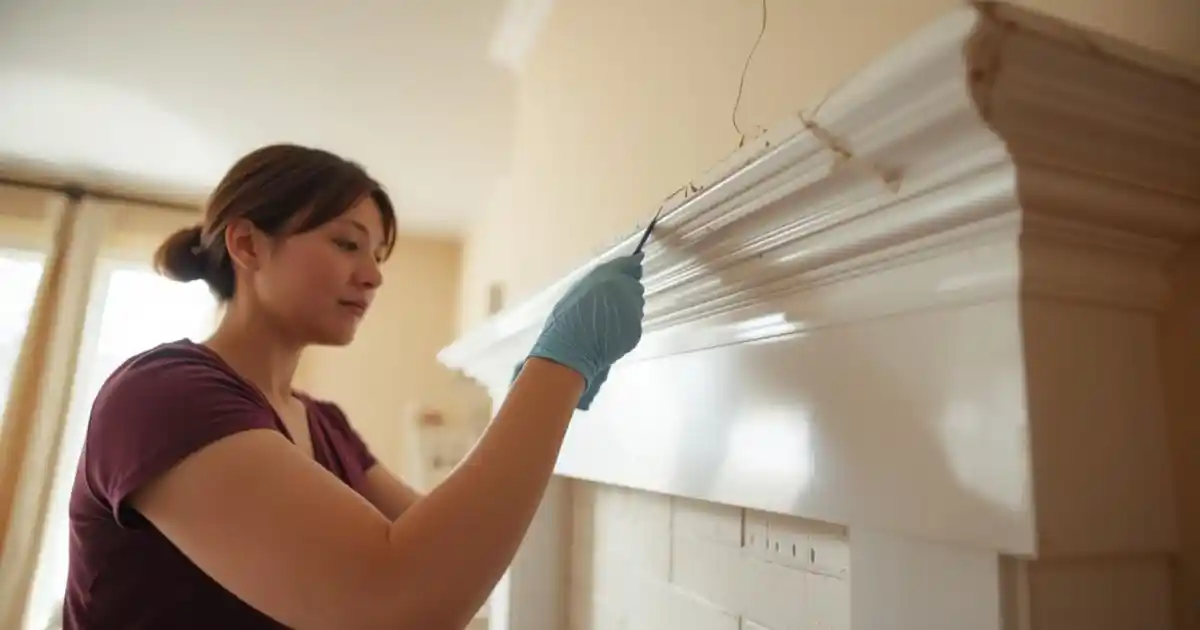
How to Repair Hairline Cracks in Cornice
- Clean the crack
Remove dust and loose paint. Slightly open the crack with a knife so filler can bond. - Apply flexible filler
Press filler into the crack—not over it. Flexibility allows for minor movement. - Smooth carefully
Level the surface without flattening surrounding detail. - Allow to dry fully
Rushing this stage causes shrinkage and re-cracking. - Light sanding only
Feather the repair gently. Over-sanding exposes it later.
Avoid overfilling. Excess filler creates visible flat spots once painted.
How to Repair Small Chips & Broken Edges
- Stabilise first: remove loose fragments and secure weak areas
- Rebuild gradually: add filler in thin layers
- Shape to the profile: match the existing line as closely as possible
- Sand lightly: refine edges without rounding them
Patience matters more than speed here.
Repairing Loose or Sagging Cornice
Loose cornice needs re-fixing, not cosmetic treatment.
- Filler alone will fail
- Re-secure using suitable adhesive
- Support until fully cured
If the cornice is heavy, cracked along its length, or repeatedly pulling away, replacement is often the safer option.
Why Some Cornice Repairs Fail Long-Term
Many repairs fail not because of poor workmanship, but because:
- Underlying movement isn’t addressed
- Rigid fillers crack again
- Surfaces weren’t properly prepared
- Thick paint hides early warning signs
Honest assessment prevents repeat repairs.
Can Repaired Cornice Be Made Invisible?
“Invisible” is relative.
- Repairs may disappear under diffuse lighting
- Side lighting or spotlights often reveal them
- Matt paints hide more than gloss or sheen
A well-executed repair should be unnoticeable at normal viewing distance, not necessarily under inspection.
Repair vs Replace: Knowing When to Stop Repairing
Consider replacement when you see:
- Repeated cracking after repairs
- Large missing sections
- Multiple visible patches
- Repair costs approaching replacement cost
At this point, replacement often delivers a cleaner finish and lower long-term maintenance.
DIY vs Professional Cornice Repair
DIY-Friendly Repairs
- Hairline cracks
- Small chips
- Cosmetic fixes before repainting
These are achievable with care and the right materials.
When Professional Repair Is Advisable
- Structural movement
- Period plaster cornice
- Large or highly detailed profiles
Specialist skills reduce the risk of irreversible damage.
Frequently Asked Questions About Cornice Repair
Final Tips for Successful Cornice Repair
- Diagnose before repairing
- Use flexible materials
- Repair lightly, not aggressively
- Accept when replacement is smarter
- Paint carefully to blend repairs
Final Thoughts: Repair What’s Sensible, Replace What’s Failing
Cornice repair works best when damage is limited and the structure is stable. Older plaster often fails beyond surface fixes, and repeated patching can leave a room looking tired.
Modern alternatives reduce future issues and deliver consistent results—but the best outcome always starts with honest assessment. Repair where it makes sense; replace where it doesn’t. That balance saves time, money, and frustration—and delivers a finish you can live with confidently.