Decorative cornice adds depth, character, and architectural refinement—but it also brings a common fear at the finishing stage:
“How do I paint decorative cornice without filling in the detail?”
The answer is restraint and method. Ornate profiles reward a light hand. With the right paint, tools, and technique, you can preserve crisp lines and shadow detail while achieving a clean, professional finish. This guide goes deeper than general painting advice and focuses specifically on detail preservation.
Why Decorative Cornice Loses Detail When Painted
Loss of detail almost always comes down to technique, not the cornice itself. The most common causes are:
- Too much paint applied in one go
- Wrong tools, especially thick rollers or coarse brushes
- Incorrect paint type that’s too heavy or self-levelling
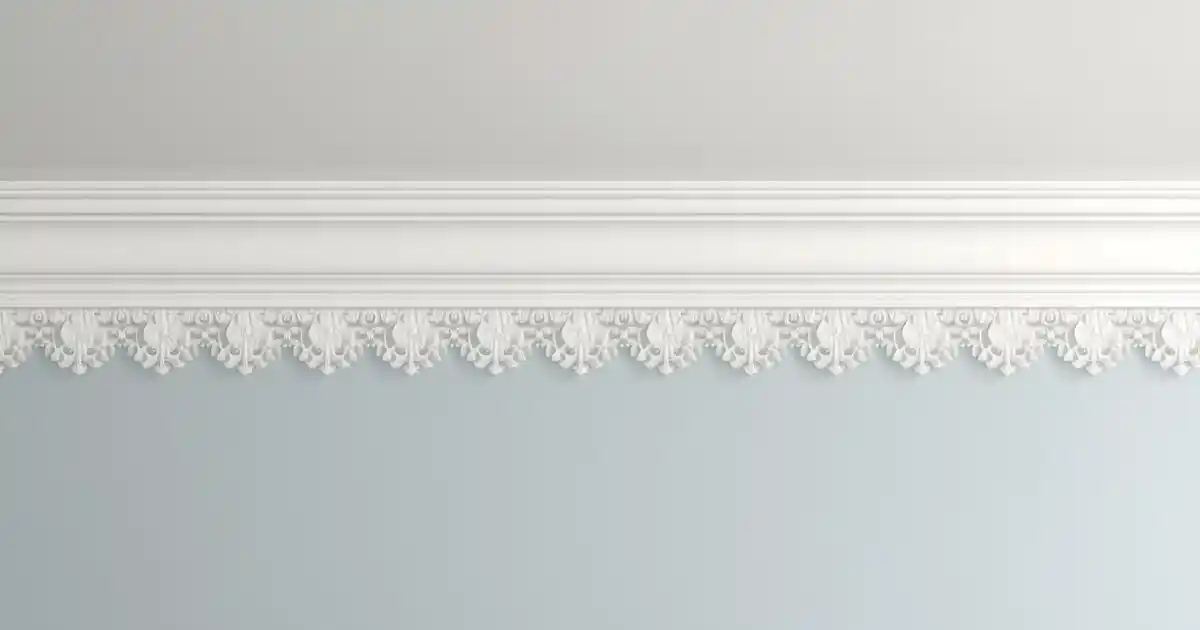
Decorative profiles are less forgiving than plain coving because grooves, beads, and relief patterns are designed to cast shadow. Fill those recesses with paint and the profile flattens instantly.
Reassurance: detail loss is completely avoidable. Modern decorative cornice is designed to hold definition—if you use the right method.
What Type of Decorative Cornice Are You Painting?
Before choosing paint and tools, identify the material.
Lightweight Polyurethane & Polystyrene Decorative Cornice
Modern decorative cornice offers clear advantages for painting:
- Sharp, crisp profiles straight out of the box
- Non-absorbent, paint-ready surfaces
- Designed to hold fine detail with minimal paint build-up
- Ideal for careful DIY painting as well as professional work
These properties are central to the paint-ready mouldings supplied by Gaudi Coving, where profiles are engineered for clean finishing with modern paints.
Traditional Plaster Decorative Cornice (Brief Contrast)
- More porous and absorbent
- Paint soaks in quickly
- Detail clogs easily if overloaded
- Requires even more restraint and sealing
This guide focuses on modern lightweight decorative cornice, which now dominates new installations.
When Decorative Cornice Should Be Painted
Always paint after installation, never before.
Only begin painting once:
- Adhesive has fully cured
- Joints are filled neatly
- Filled areas are lightly sanded
Why painting too early causes problems
- Adhesive movement cracks paint lines
- Joints reopen and collect paint
- Extra coats are needed—risking detail loss
Waiting ensures the paint enhances the profile instead of fighting it.
Preparing Decorative Cornice Before Painting
Preparation is more critical with ornate profiles than with plain ones.
- Inspect detail under good natural and artificial light
- Sand only where absolutely necessary—never across detail
- Remove dust gently with a soft brush or cloth
- Mask adjacent walls or ceilings carefully if colours differ
Avoid aggressive sanding. Rounded edges are impossible to restore.
Choosing the Right Paint for Decorative Cornice
Best Paint Types
- Water-based paints are preferred
- Lighter-bodied paints flow more predictably
- Avoid thick, self-levelling finishes that pool in recesses
Heavier paints make it harder to control where paint settles.
Best Sheen Levels for Detail
- Matt – safest and most forgiving
- Soft sheen / eggshell – acceptable with care
- Gloss – rarely suitable; exaggerates build-up and flaws
Lower sheen preserves shadow lines and hides minor imperfections.
Choosing the Right Tools for Decorative Cornice
This is where detail is often won or lost.
Why Brush Choice Matters More Than Paint
Even good paint will clog detail if applied with the wrong brush.
Best brush types:
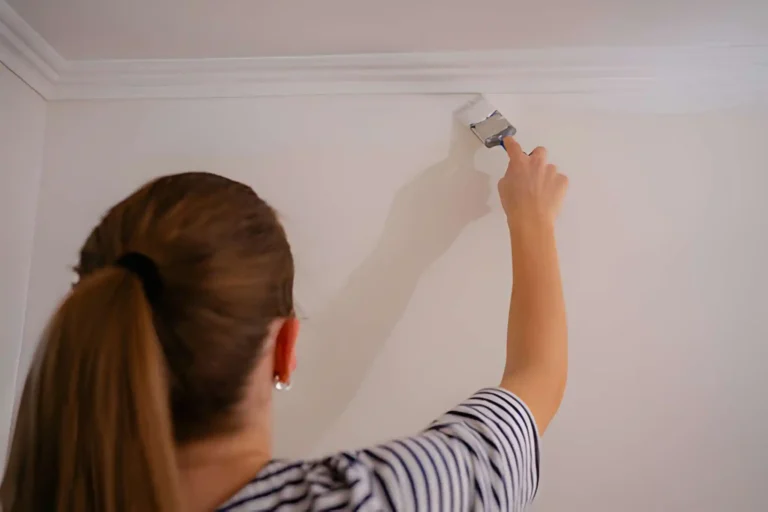
- Fine synthetic brushes
- Angled sash brushes for control near edges
Avoid:
- Thick rollers
- Wide, stiff brushes that force paint into grooves
Brush Size vs Profile Depth
- Shallow detail: smaller brush for control
- Deeper ornamentation: medium brush, lightly loaded
The goal is precision, not speed.
How to Paint Decorative Cornice Without Losing Detail (Method)
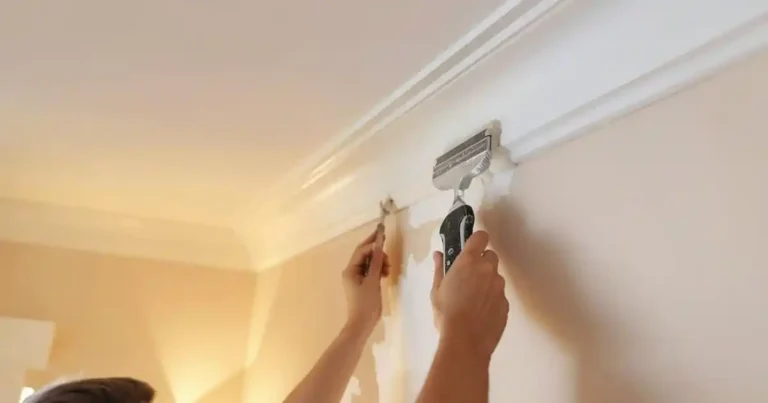
Use Thin Coats Only
Thin coats preserve sharp edges and relief.
- Load the brush lightly
- Wipe excess paint before touching the cornice
- You should see texture through the first coat
Too much paint looks like:
- Rounded edges
- Filled grooves
- Sagging or pooling in recesses
Work With the Profile, Not Against It
- Follow the direction of the moulded detail
- Brush along grooves, not across them
- Avoid cross-brushing that pushes paint into recesses
Let the profile guide your brush movement.
Build Coverage Gradually
- Apply multiple light coats, not one heavy coat
- Allow proper drying time between coats
- Stop once coverage is even—don’t chase perfection
Overworking is the fastest way to lose detail.
Where Decorative Cornice Most Often Loses Detail
Watch these areas closely:
- Inside grooves and shadow lines
- Leaf, bead, or stepped details
- Around joints and corners
Tip: inspect after each coat. Early correction is easy; late correction is not.
Fixing Paint Build-Up Without Damaging Detail
When Paint Is Still Wet
- Feather lightly with a clean, dry brush
- Lift excess paint out of recesses
Once Paint Is Dry
- Very light sanding only on raised areas
- Spot repaint with a barely loaded brush
Never:
- Scrape detail
- Sand aggressively
- Dig paint out of grooves
Damage here is permanent.
Painting Decorative Cornice in Kitchens & Bathrooms
Moisture-prone rooms demand extra care.
- Use moisture-resistant, water-based paint
- Apply thinner coats than usual
- Allow extra drying time
Thin coats reduce the risk of future peeling while keeping detail sharp.
Decorative Cornice Colour Choices & Detail Visibility
Colour has a big impact on how detail reads.
- Lighter colours show detail best
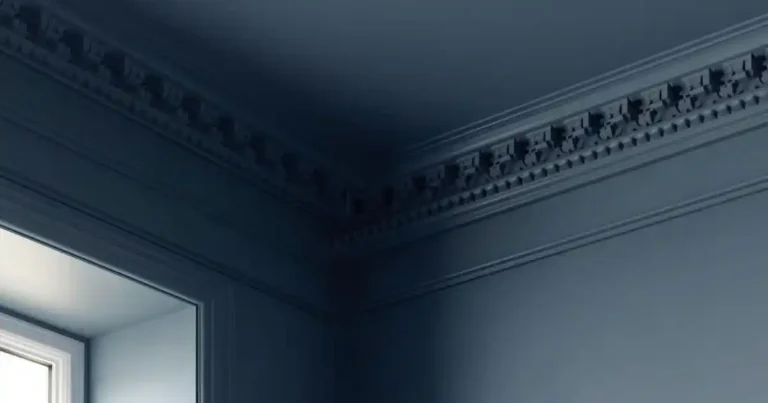
- Dark or high-contrast colours exaggerate flaws
- Contrast can work in period-style spaces—but demands perfect execution
Common Mistakes When Painting Decorative Cornice
- Overloading the brush
- Choosing gloss or heavy-bodied paint
- Rushing coats
- Trying to fix detail loss with filler
- Ignoring drying times
If detail starts disappearing, stop. More paint won’t fix it.
DIY vs Professional Painting for Decorative Cornice
DIY-Friendly Decorative Cornice
- Modern lightweight profiles
- Shallow to medium detail
- Neutral colour schemes
- Methodical, patient approach
When Professional Painting Helps
- Deeply ornate profiles
- High ceilings
- Period-style feature rooms
- Bold or contrasting colours
Knowing when to slow down—or call help—is part of a professional mindset.
Frequently Asked Questions About Painting Decorative Cornice
Final Tips for Keeping Decorative Detail Sharp
- Use quality brushes
- Apply minimal paint
- Let each coat dry fully
- Inspect detail as you go
- Stop before it looks “perfect”—overworking ruins detail
Final Thoughts: Detail Is Preserved by Restraint
Decorative cornice rewards a light hand. Modern mouldings are designed to hold fine detail, but they rely on careful finishing to shine. The goal is enhancement, not coverage.
Thin coats, patience, and the right tools deliver a crisp, professional finish—one that highlights proportion, depth, and craftsmanship rather than hiding it. That’s exactly why painters and homeowners across Ireland choose paint-ready decorative profiles from Gaudi Coving: precision-made mouldings that finish beautifully when treated with restraint.