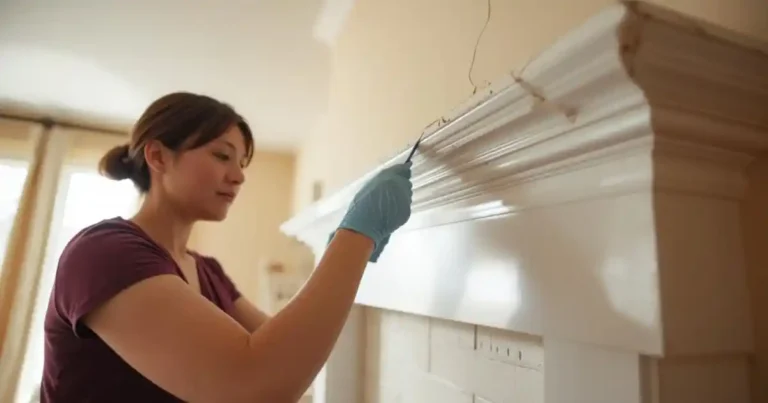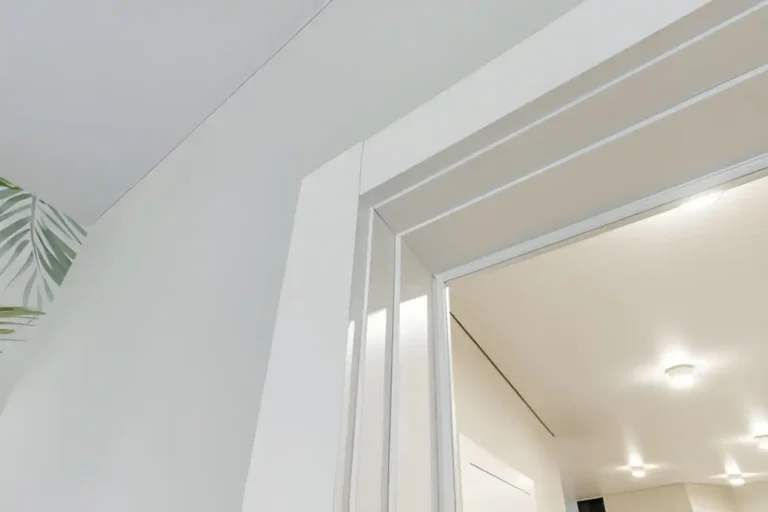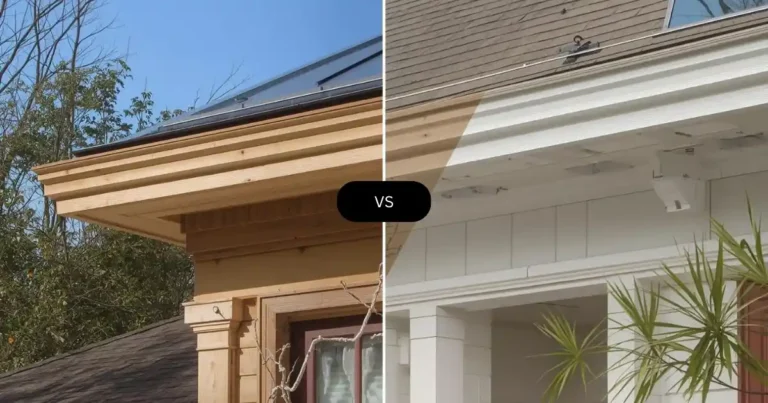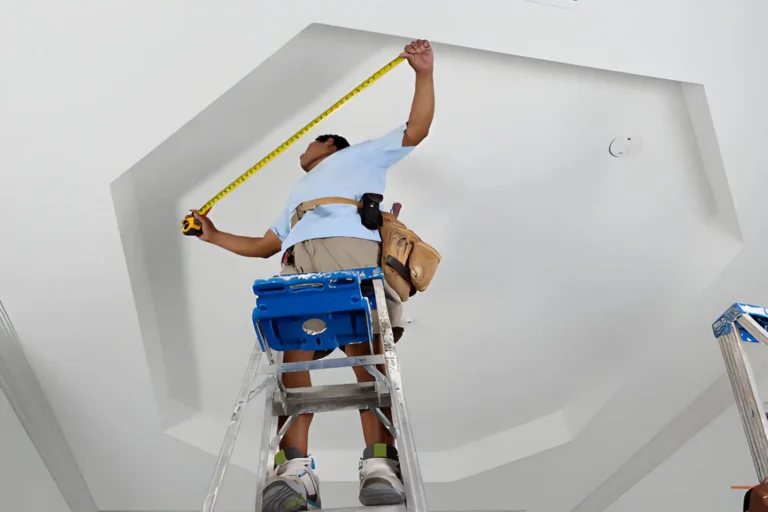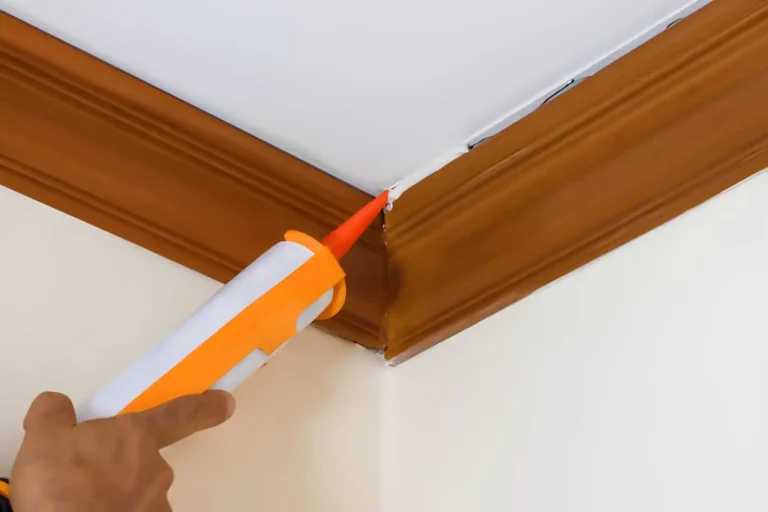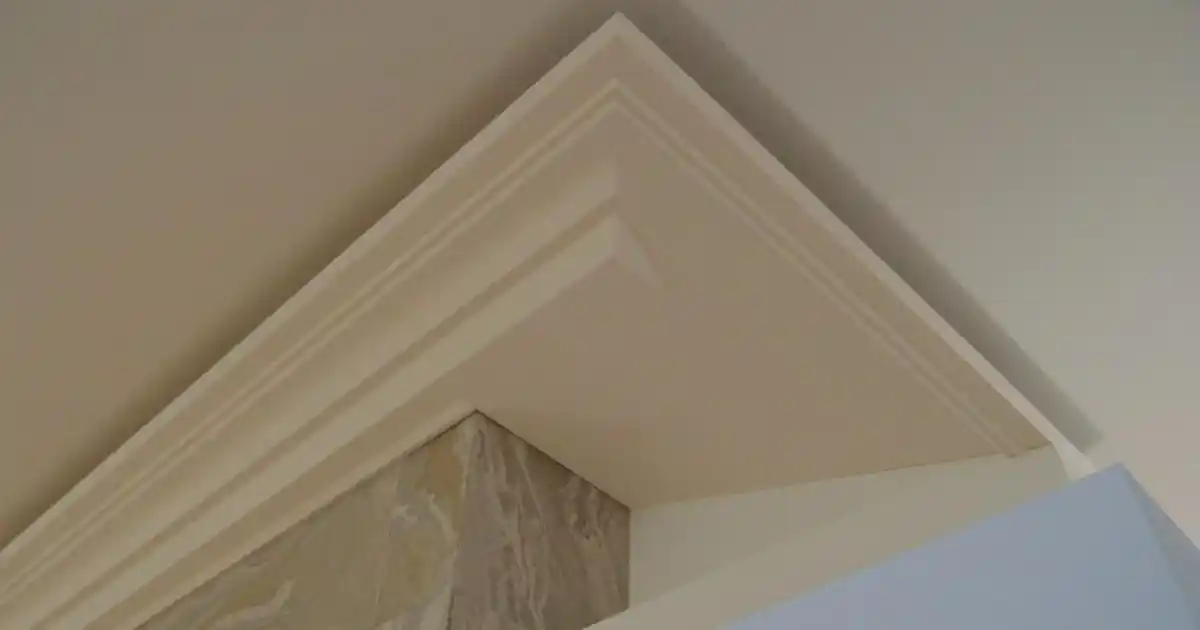
Getting mitre angles right is the hardest—and most visible—part of installing cornice. Straight runs forgive small errors; corners don’t. Whether you’re fitting cornice in a living room, hallway, or kitchen, accurate internal and external mitres are what separate a professional finish from gaps that need filling.
This guide explains how to cut mitre angles on cornice, step by step, with clear logic you can repeat confidently. It’s written for DIY-savvy homeowners and trade professionals, and focuses on modern, lightweight mouldings designed for accuracy.
Why Mitre Angles Are the Hardest Part of Cutting Cornice
Most installation issues happen at corners because:
- Orientation is easy to reverse (left/right confusion)
- Walls are rarely a perfect 90°
- External corners expose even tiny gaps
- Short runs—especially in kitchens—magnify errors
Understanding the why behind each cut makes the how much easier.
🔗 Related pillar guide: How to Cut Cornice Accurately: Tools, Angles & Common Errors
Understanding Cornice Corners (Before You Cut)
What Is an Internal Corner?
An internal corner is where two walls meet inside the room.
These are the most common corners in homes.
What Is an External Corner?
An external corner is where walls project outwards.
They’re less common but more visible—and less forgiving.
Tip: Identify every internal and external corner in the room before you cut anything.
What Type of Cornice Are You Cutting?
Lightweight Polyurethane Cornice (Recommended)
- Consistent profiles = predictable mitres
- Clean cuts with standard tools
- Easy to adjust when walls aren’t square
This consistency is why many installers prefer mouldings from Gaudi Coving, which are engineered for precision, moisture resistance, and easy installation in Irish interiors.
Plaster Cornice
- Heavy and brittle
- Little tolerance for error
- Small mistakes often mean re-casting or professional repair
Timber Cornice
- Grain direction affects the cut
- Movement can open joints over time
- Joinery-style techniques required
Tools Needed to Cut Mitre Angles Accurately
Essential Tools
- Mitre saw (manual or powered)
- Fine-tooth blade
- Measuring tape
- Pencil or marker
Helpful Accuracy Tools
- Offcuts for test cuts
- Adjustable mitre saw
- Fine sanding block (for micro-adjustments only)
Cornice Orientation: The #1 Cause of Angle Mistakes
Before you cut, mark the cornice clearly:
- Ceiling edge
- Wall edge
Then label:
- Left-hand piece
- Right-hand piece
When cutting flat, the ceiling edge typically sits against the mitre saw fence. Mixing up orientation is the most common reason mitres don’t meet.
Cutting Internal Corner Mitre Angles
Internal corners require two complementary cuts—one left, one right.
Internal Corners (Flat-Cutting Logic)
- Place the cornice flat on the saw bed
- Keep the ceiling edge against the fence
- Set the mitre angle (45° is a starting point)
- Cut a test piece
- Dry-fit both sides together at the corner
- Adjust slightly if the wall isn’t square
Flat cutting makes internal mitres easier to visualise and fine-tune.
Cutting External Corner Mitre Angles
External corners are more exposed—accuracy here matters most.
External Corners (Flat-Cutting Logic)
- Orientation is reversed compared to internal corners
- Left/right confusion is common—double-check before cutting
- Always test-fit on the actual corner before cutting final lengths
Best practice
- Cut test pieces first
- Sneak up on the angle if the wall isn’t square
- Dry-fit, then commit
What to Do When Walls Aren’t 90 Degrees
Most walls—especially in older Irish homes—aren’t perfectly square.
How to handle this
- Start with 45°, then adjust in small increments
- Use offcuts to “dial in” the angle
- Aim for a tight front edge; small rear gaps can be filled
- If gaps are visible from the floor, re-cut
Modern lightweight cornice is forgiving enough to allow fine adjustments without chipping.
Mitre Angles for Kitchens vs Other Rooms
Kitchens are less forgiving because:
- Runs are shorter
- Joins sit at eye level above cabinets
- Lighting highlights imperfections
Take extra time on test cuts and dry-fits.
Common Mitre Angle Mistakes (And How to Avoid Them)
- Cutting the correct angle the wrong way
- Mixing up internal and external corners
- Forgetting to mark orientation
- Assuming walls are square
- Rushing final cuts without testing
Rule of thumb: If it doesn’t fit dry, it won’t fit glued.
DIY vs Trade: Who Can Cut Mitre Angles Successfully?
DIY-Friendly Scenarios
- Straightforward rooms
- Lightweight, precision-made cornice
- Flat cutting with a mitre saw
- Willingness to test-cut and dry-fit
When Trade Experience Helps
- Multiple external corners
- Period properties with uneven walls
- Large-scale or commercial projects
Modern materials have made accurate mitres achievable for confident DIYers.
Why Lightweight Cornice Makes Mitre Angles Easier
- Consistent dimensions along every length
- Clean cuts with minimal chipping
- Easy to sand micro-adjustments
- Predictable joins after painting
These qualities dramatically reduce frustration at corners.
Frequently Asked Questions
Final Tips for Perfect Internal & External Corners
- Always test-cut first
- Dry-fit every corner
- Label pieces clearly
- Take your time at corners
- Let the material work with you
Final Thoughts: Corners Define the Finish
Corners are where the quality of a cornice installation truly shows. With the right understanding of mitre angles, careful orientation, and modern lightweight mouldings, clean internal and external joints are absolutely achievable.
Precision-made profiles, designed for flat cutting and easy adjustment, remove much of the guesswork. That’s why many homeowners and professionals across Ireland choose mouldings from Gaudi Coving—to get predictable cuts, tight corners, and finishes that look intentional.
Precise, minimal-geometry profiles like the GAUDI 1.50.165 cornice make mitre angles easier to get right, since there’s less relief detail to align.