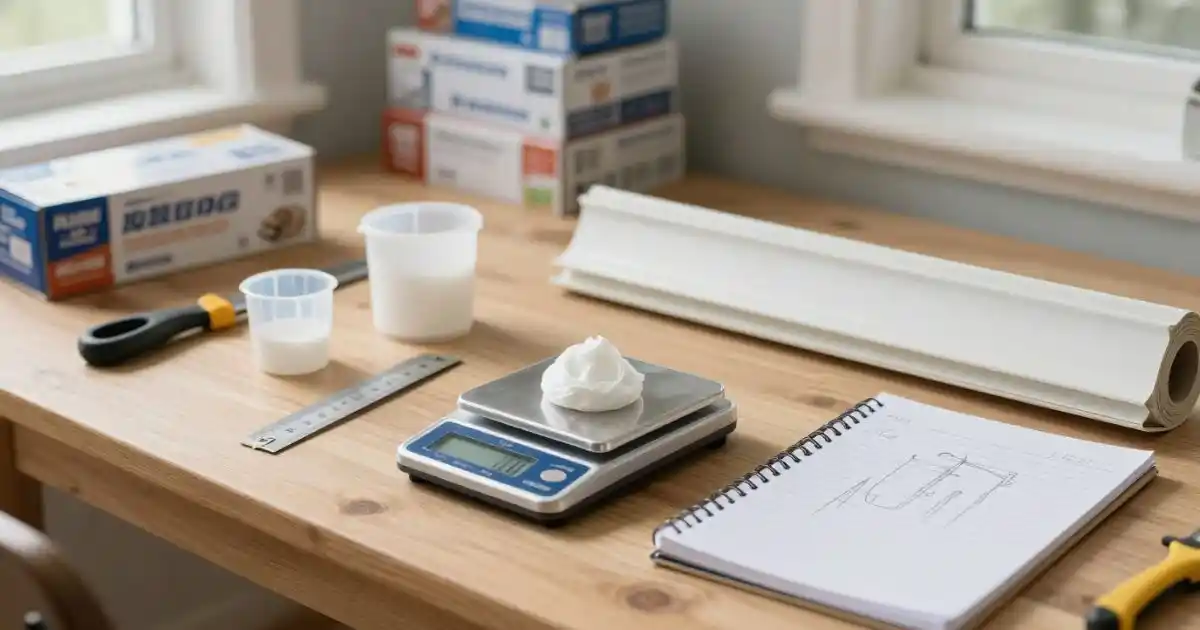
To determine how much coving adhesive you need, start by measuring your wall lengths in metres for the total coving run. Consider the surface type; smooth walls require less than textured ones. For plaster coving, you’ll need thicker adhesive, while lighter adhesive suits polystyrene.
Factor in room size and temperature – chilly spaces might demand more. Always check the adhesive’s coverage rate on the label. Understanding these factors will lead you to more insights on flawless coving fit.
Key Takeaways
- Measure wall lengths in metres to determine the total coving run.
- Check the adhesive coverage rate on product labels for accurate measurement.
- Consider surface type; textured surfaces need more adhesive than smooth ones.
- Larger or thicker coving requires more adhesive for secure attachment.
- Include additional adhesive for corners in your calculations.
Understanding the Basics of Coving Adhesive
Coving adhesive is the unsung hero behind perfectly fitted ceiling cornices and skirting boards. When you’re diving into a home improvement project, understanding the basics of coving adhesive is crucial.
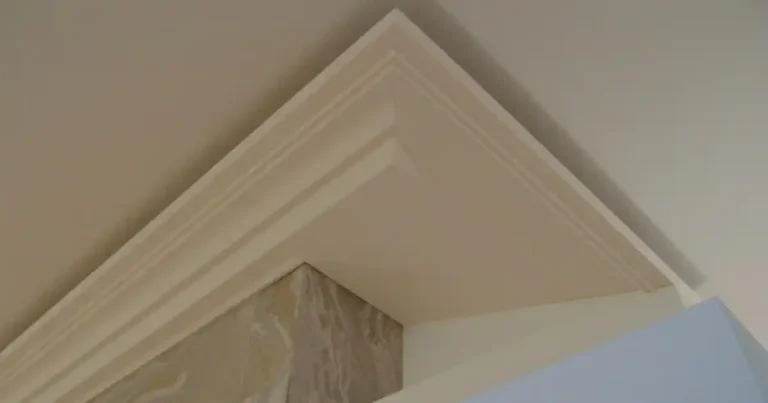
With various coving types available, from plaster to polystyrene, each demands specific adhesive properties to guarantee a snug fit. You’ll find that plaster coving requires a strong, thick adhesive, while lightweight polystyrene needs something less robust, allowing for easy adjustments.
Here in the UK, it’s common to measure adhesive amounts in kilograms, making sure you’ve got just the right amount on hand.
Factors That Affect Adhesive Quantity
Once you’ve grasped the basics of coving adhesive, it’s time to reflect on the factors that influence how much you’ll actually need.
This is particularly important when installing LED coving, as larger and more decorative profiles often require careful adhesive application to ensure a secure and long-lasting fit.
When starting on a DIY project, it’s vital to evaluate the adhesive types and surface materials you’re working with. The quantity hinges on several elements:
- Surface Type: Smooth walls may require less adhesive than textured surfaces like brick or plaster.
- Room Temperature: Cold conditions can affect adhesive performance, possibly requiring more to achieve a solid bond.
- Coving Size: Larger or thicker coving demands more adhesive for secure attachment.
- Adhesive Type: Different adhesives have varying coverage capacities, so always check the manufacturer’s recommendations.
Choosing the Right Type of Coving
When considering the right type of coving for your project, it’s essential to weigh both aesthetic appeal and practical functionality.
You’ve got a variety of options, each with its unique charm and purpose. Traditional plaster coving adds a classic touch to period homes, while polystyrene offers an affordable, lightweight alternative.
For a bit more durability, polyurethane coving is a solid choice, resisting knocks and scrapes, perfect for busy households.
MDF coving brings a contemporary feel, allowing easy painting to match your décor.
In the UK, where dampness can be an issue, selecting water-resistant coving materials can be particularly wise.
Choosing the right type makes your space feel cohesive and welcoming, reinforcing that sense of belonging you cherish.
Measuring Your Coving Surface Area
To figure out how much coving adhesive you’ll need, start by measuring your wall lengths in metres to get the total run of your coving.
Next, check the width of your chosen coving to guarantee you cover the entire area.
Don’t forget to account for corners, as they might require a bit more adhesive for a snug fit.
Calculating Wall Length
Before you can determine how much coving adhesive you’ll need, it’s crucial to measure the wall length accurately. Having precise wall measurements guarantees that you don’t run short of adhesive or waste materials.
Grab your trusty tape measure and get started. Here’s how you can make it efficient and precise:
- Measure each wall: Begin at one corner and measure to the next. Record each length in metres.
- Include alcoves and doorways: Don’t forget those nooks; they add to your total length.
- Add it up: Sum all the lengths for your total wall measurement.
- Consider adhesive coverage: Check the product label for how much area each tube covers.
With these steps, you’ll guarantee your coving project reflects your attention to detail and local pride.
Determining Coving Width
Now that you’ve got your wall measurements sorted, let’s focus on the width of the coving.
Different coving styles might catch your eye, from the elegant Victorian to the sleek modern look. It’s essential to measure the width precisely because it directly impacts your adhesive choice.
Grab your tape measure and check the widest part of your chosen coving. Don’t forget, adhesive types vary, so knowing the exact width guarantees you pick the right one—whether it’s a sturdy thick adhesive for a broader profile or a lighter one for slimmer pieces.
Accounting for Corners
When you’re measuring for coving, corners present a unique challenge that shouldn’t be overlooked. These angles can affect both your measurements and adhesive coverage. Making sure you account for corner angles is essential to achieving a seamless look.
Here’s how to tackle those tricky spots:
- Measure Accurately: Use a tape measure, and note the length of each wall, including corner angles, in metres.
- Adjust for Angles: Remember, internal and external angles require different amounts of adhesive.
- Extra Adhesive: Corners often need more adhesive for a secure fit, so plan accordingly.
- Test Fit: Dry fit your coving pieces to make certain the angles align properly before applying adhesive.
Calculating the Amount of Adhesive Needed
Estimating the right amount of coving adhesive will help you avoid unnecessary waste and guarantee a smooth installation process.
Start by measuring the total length of the walls where you’ll install the coving. Different adhesive types come with varying coverage rates, so check the product packaging for specifics.
If you’re using a popular brand here in the UK, like Evo-Stik, you’ll find the coverage rate in square metres per litre. A rule of thumb is that a litre usually covers around 5 to 7 square metres.
Tips for a Smooth and Clean Application
To achieve a flawless finish with your coving adhesive, start by ensuring the wall surface is clean and dry, free from any dust or grease.
Use a notched spreader for even application, which might remind you of spreading jam on your morning toast.
After fitting, a damp cloth can help wipe away any excess adhesive, leaving a crisp and polished look.
If you’re renovating the entire room, it may also be worth coordinating your coving project with upgrades such as new window sills to achieve a more cohesive interior finish.
Surface Preparation Techniques
Before you even think about applying coving adhesive, make certain your surface is properly prepared. A well-prepped surface guarantees your adhesive bonds effectively.
Start with thorough surface cleaning. Remove any dust, grease, or old adhesive residues using a damp cloth or gentle cleaning solution. Check for uneven spots and sand them down to achieve a smooth finish.
It’s wise to do some adhesive testing on a small area to confirm compatibility and adhesion strength. This little step can save a lot of hassle later on.
- Ensure the surface is dry after cleaning.
- Inspect for cracks or damage and repair them beforehand.
- Use a straight edge to check for wall flatness.
- Keep the room at a comfortable temperature, around 18°C, for ideal adhesion.
These steps help create a stable foundation for your project!
Adhesive Application Tools
Getting the right tools can make your coving adhesive application a breeze.
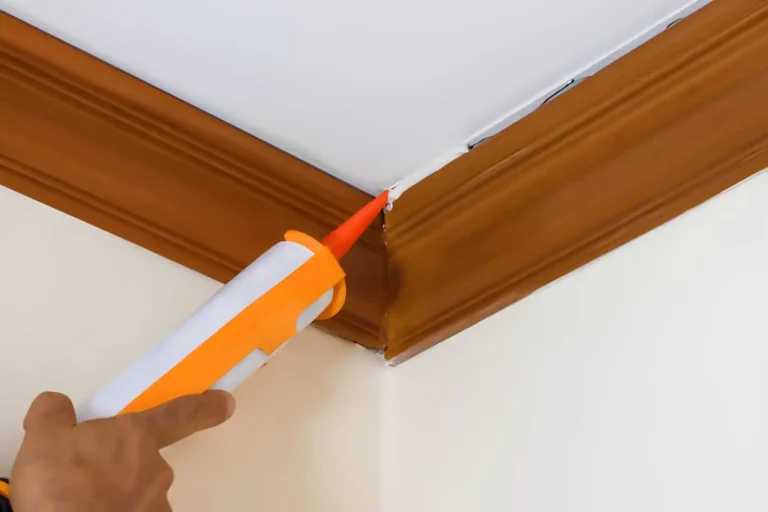
You’ll want to use a notched trowel or a putty knife—these are your best mates for even adhesive application types. If you’re aiming for precision, consider a caulking gun, especially if you’re working in those tricky corners.
Whether you’re tackling a Victorian terrace or a modern flat, adhesive spread techniques like the zigzag pattern can help you achieve a solid bond.
Remember, using a metric measuring tape guarantees your cuts are spot on.
And if you’re in a spot where mates gather over tea and biccies, share your experience—there’s nothing like community wisdom to get the job done right.
Cheers to a smooth and clean finish!
Cleanup and Finishing Tips
When you’re wrapping up your coving project, make certain you’ve got a few cleanup tricks up your sleeve for that professional finish.
Applying coving adhesive can get a bit messy, but with the right cleanup techniques, you’ll achieve those perfect finishing touches. Here’s how you can keep things spick and span:
- Wipe Away Excess Adhesive: Use a damp cloth to remove any spills immediately. It’s easier when it’s still wet.
- Use a Small Brush: A fine brush helps smooth out edges and removes any stray adhesive.
- Inspect the Edges: Make sure there are no gaps or uneven areas, ensuring a seamless look.
- Final Polish: Once dry, gently buff the coving with a clean cloth to give it a polished finish.
With these tips, you’ll have a result to be proud of!
Troubleshooting Common Adhesive Issues
Even if you’ve followed all instructions meticulously, adhesive issues can still arise, causing frustration and delays. Adhesive failures often stem from surface contamination, which is like trying to stick a soggy digestive biscuit back together—it’s just not happening. Verify surfaces are clean and free from dust or grease. If you’re still encountering problems, check this quick guide:
| Issue | Solution |
|---|---|
| Adhesive not sticking | Clean surfaces thoroughly, try again. |
| Slow drying time | Increase ventilation in the room. |
| Uneven application | Use a notched trowel for uniform spread. |
| Weak bond over time | Re-evaluate adhesive suitability. |
Frequently Asked Questions
Final Thoughts
As you stand back and admire your handiwork, the coving seamlessly frames your room like a perfectly tailored suit. You’ve calculated the precise amount of adhesive, ensuring each curve and corner hugs the wall snugly.
Picture a crisp autumn morning, where everything just falls into place—like your coving. With the right adhesive, you’ve transformed your space into a cozy nook, ready for a cuppa and a good book. Now, that’s DIY done right!
For more decorative interiors, coving can also be combined with architectural features such as decorative columns to create a more elegant and traditional design scheme.
If you’re also working out how it all comes together on the ceiling, our guide to How to Fix Coving to the Ceiling walks through the full application process step by step.